
Completing a Disney Stitch building block model is more than just assembling plastic pieces—it’s a celebration of patience, creativity, and fandom. Once the final brick is in place, the next challenge becomes clear: how do you honor that effort with a display worthy of its charm? Too often, these intricate builds end up tucked on a shelf or hidden behind glass, unseen and underappreciated. The truth is, a well-displayed model can become a centerpiece, a conversation starter, or even a tribute to personal achievement. With a little imagination, your Stitch creation can transcend its role as a toy and become art.
Elevate Your Build with Creative Display Solutions
Stitch, with his mischievous grin and iconic blue fur (simulated through clever block color choices), deserves a spotlight. Whether you built him from a major brick brand or a specialty kit, the structure is both delicate and meaningful. A thoughtful display protects it from dust and damage while amplifying its visual appeal. The key is balancing protection with presentation—ensuring visibility without sacrificing safety.
Many collectors default to standard display cases, but there’s room for innovation. Consider not only where you place the model but how lighting, context, and surrounding decor influence perception. A dynamic setup transforms a static object into a storytelling moment.
1. Floating Shelf Illusion with Clear Acrylic Rods
Create a magical “floating” effect by mounting your Stitch model on a transparent acrylic rod attached to a wall-mounted shelf. This minimalist approach draws attention directly to the figure, making it appear suspended in mid-air. Use a high-strength, low-profile adhesive to secure the base of the model to the rod, ensuring stability without visible hardware.
Position the shelf at eye level in a well-lit area—near a window or under recessed lighting—to maximize visibility. Choose a monochrome wall color like matte white or charcoal gray to let Stitch pop against the backdrop.
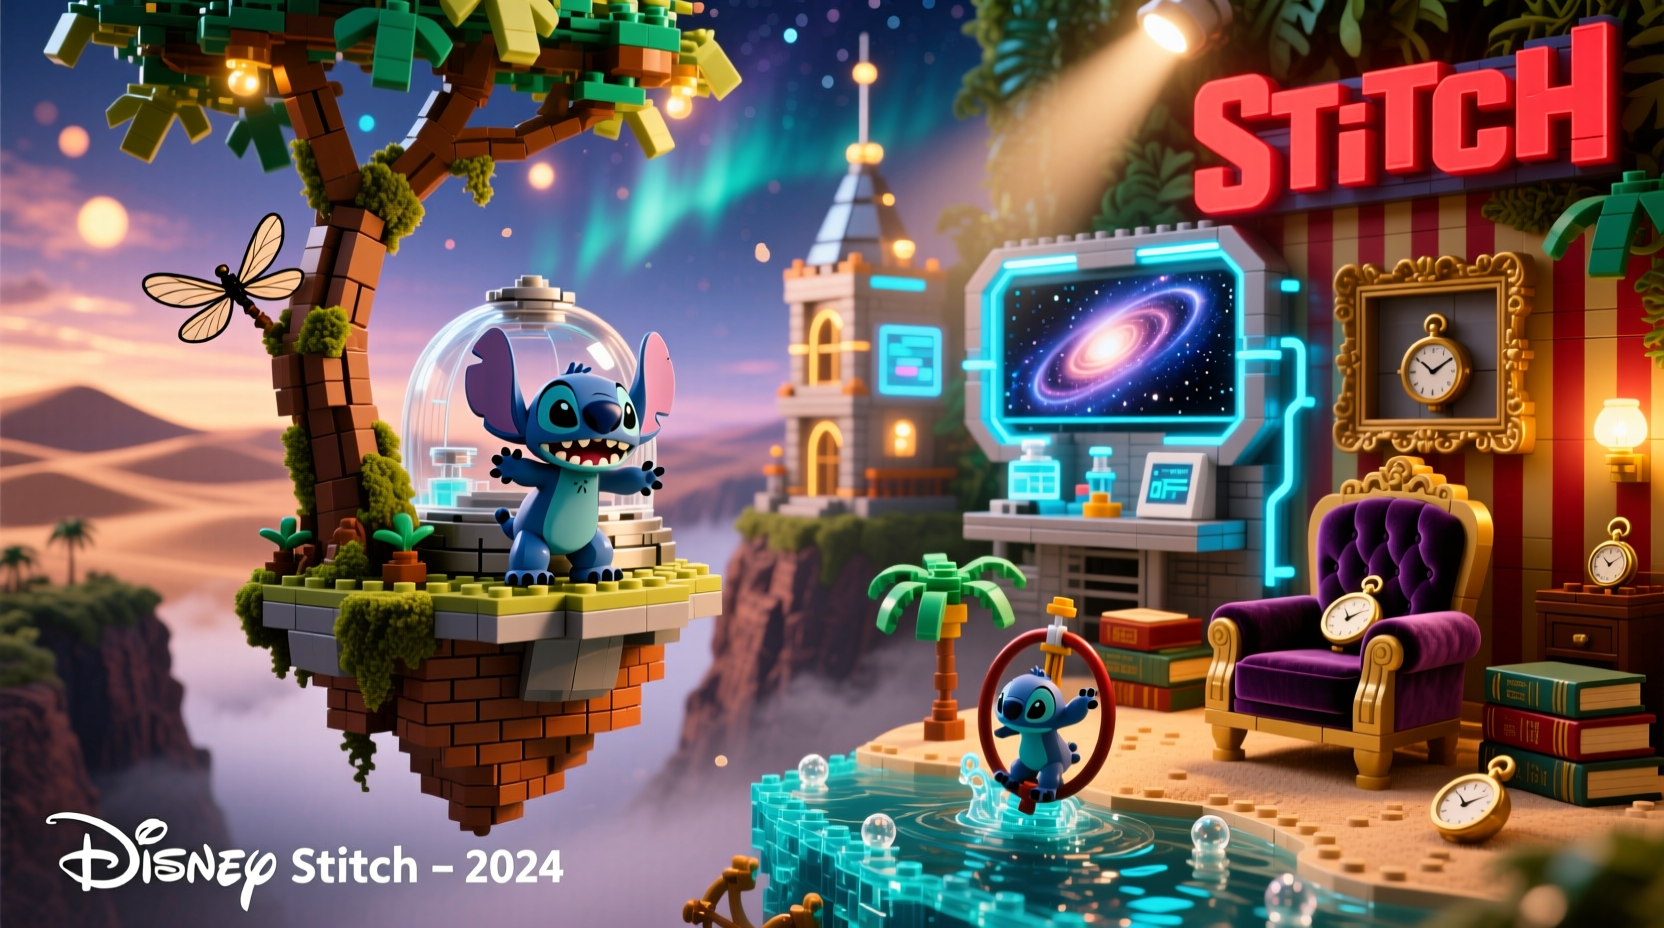
2. Themed Diorama Base with Hawaiian Elements
Since Stitch hails from Kauai in the Lilo & Stitch universe, why not recreate a slice of the island beneath his feet? Design a custom base using foam board, paint, and natural materials like sand, small pebbles, or artificial greenery. Add miniature palm trees, tiny surfboards, or even a Lego-style ocean wave to complete the scene.
This method turns your model into part of a narrative. It’s no longer just a build—it’s an adventure captured in time. For extra realism, use translucent blue bricks or resin to mimic water near the shoreline.
“Displaying collectibles within a story context increases emotional connection and perceived value.” — Marcus Lin, Toy Exhibition Curator
3. Rotating Motorized Turntable Platform
Give viewers a full 360-degree appreciation of your work with a motorized turntable. Small, quiet platforms designed for record players or product photography can support lightweight models. Place the Stitch build on a painted or branded base, then set it atop the turntable inside a dust-proof case.
The slow rotation adds elegance and ensures no detail goes unnoticed—from the curve of his ears to the articulation of his limbs. Ideal for living rooms or home offices, this display subtly commands attention without being flashy.
4. Backlit Glass Enclosure with Color-Changing LEDs
Enhance visual drama with a glass display case equipped with programmable LED strips. Mount the lights along the base or ceiling of the case to cast a soft glow. Choose colors that reflect Stitch’s personality: electric blue for energy, purple for mischief, or warm white for elegance.
Use a remote or smartphone app to change the mood based on the season or occasion. During holidays, switch to festive red and green; on movie nights, pulse the lights in sync with *Lilo & Stitch*’s soundtrack.
| Display Type | Best For | Budget Level | Maintenance Needs |
|---|---|---|---|
| Floating Acrylic Rod | Modern interiors, small spaces | $$ | Low – occasional dusting |
| Diorama Base | Fans, kids' rooms, themed decor | $$$ | Moderate – check for loose elements |
| Rotating Turntable | Showpieces, gift displays | $$$ | Moderate – battery or power checks |
| Backlit Glass Case | Collectors, dark rooms | $$$$ | Moderate – light upkeep, cleaning |
5. Shadow Box with Character Art and Quote Overlay
Frame your Stitch model like a piece of art. Use a deep shadow box to house the figure alongside printed concept art, a famous quote (“Ohana means family”), or a certificate of completion with your build date. Arrange the elements asymmetrically for visual interest—place Stitch slightly off-center with text flowing beside or above.
This approach blends memorabilia with craftsmanship, turning the display into a personalized tribute. Use UV-protective glass to prevent fading if placed in direct sunlight.
6. Interactive Desk Companion with Motion Sensor Lights
Transform your model into an interactive experience. Install a small motion sensor connected to LED lights beneath the display base. When someone approaches, the lights gently illuminate, revealing Stitch in dramatic fashion. Perfect for home offices or study desks, this setup rewards curiosity and adds whimsy to daily routines.
Choose warm-toned LEDs to avoid harsh glare during late-night work sessions. Ensure wiring is neatly concealed and the sensor has a wide enough range to detect movement naturally.
7. Custom LEGO-Style Baseplate Scene
Leverage the modular nature of building blocks by extending the display beyond the model itself. Create a larger scene using compatible bricks—perhaps Stitch standing in front of a miniaturized version of Lilo’s house, a spaceship crash site, or a cityscape he’s playfully “destroying.”
This idea works especially well if you have leftover pieces from the original set. It encourages continued engagement with the hobby and allows for future expansions—new characters, vehicles, or seasonal decorations.
Step-by-Step: Building a LEGO Display Scene
- Sketch a rough layout of your desired scene on paper.
- Select a large baseplate (at least 32x32 studs) for stability.
- Build background elements first (houses, trees, terrain).
- Position Stitch as the focal point, slightly elevated if possible.
- Add details like minifigures, signs, or weather effects (e.g., storm clouds).
- Secure fragile parts with clear adhesive if needed.
- Place under protective casing or in a low-traffic area.
8. Wall-Mounted Gallery Grid with Multiple Builds
If you plan to build more Disney character models in the future, start a gallery grid now. Use a metal grid panel mounted on the wall with adjustable hooks or clear brackets to suspend multiple builds at varying depths. Position Stitch at the center, flanked by future additions like Mickey, Elsa, or WALL-E.
This evolving display becomes a timeline of your building journey. Each new addition marks a milestone, creating a living collection that grows with your skills.
9. Miniature Showcase Inside a Repurposed Appliance
For the creatively daring, convert a small appliance into a quirky display case. An old microwave, DVD player, or even a vintage TV can be cleaned out and retrofitted with lighting and a clear front panel. Imagine Stitch “on screen” inside a hollowed-out CRT monitor, animated by gentle backlighting.
This industrial-chic method blends nostalgia with modern fandom. Just ensure all electrical components are safely disconnected before modification.
10. Seasonal Rotation Display Cabinet
Treat your Stitch model as part of a rotating exhibit. Use a multi-shelf cabinet where each season features a different theme—Halloween, summer luau, Christmas in Hawaii—and adjust Stitch’s surroundings accordingly. Add tiny accessories like a Santa hat, sunglasses, or flower lei to match.
This keeps the display fresh and engaging year-round. It also protects the model by limiting continuous exposure to light and air.
Checklist: Preparing Your Display
- ✅ Clean the model thoroughly before placement
- ✅ Choose a location away from direct sunlight and humidity
- ✅ Secure the model to prevent tipping or vibration damage
- ✅ Test lighting for glare or overheating
- ✅ Label or document the build date and set number
- ✅ Install dust cover or case if in a high-traffic area
Real Example: Sarah’s Living Room Centerpiece
Sarah, a graphic designer and lifelong Disney fan, completed her Stitch model over three weekends. Instead of hiding it on a bookshelf, she designed a custom acrylic stand with a glowing blue base inspired by his spaceship. She placed it on a floating shelf between two framed *Lilo & Stitch* posters. Using a smart LED strip, she programmed the light to turn on at dusk. Guests consistently comment on it, and her young niece calls it “Stitch’s Night Light.” What began as a hobby became a cherished part of her home’s identity.
FAQ
Can I disassemble and reassemble my model for transport?
Yes, but carefully. Take photos during assembly to remember connections. Store pieces in labeled bags by section. Rebuilding may take several hours, so allow ample time.
How do I prevent yellowing of white bricks over time?
Keep the model away from UV light and cigarette smoke. Some collectors use anti-yellowing sprays, but test on a small, hidden area first.
Is it safe to display the model in a child’s room?
Only if placed out of reach. While sturdy, the model can break if dropped. Consider a sealed case if children frequently handle items nearby.
Bring Your Passion Into the Open
Your completed Disney Stitch building block model is more than plastic and imagination—it’s a testament to focus, fandom, and fine motor dedication. By choosing a display method that reflects your personality and space, you transform a static object into a dynamic expression of who you are. Don’t let it gather dust in obscurity. Whether through light, motion, storytelling, or interactivity, give Stitch the stage he deserves. Start today: pick one idea, gather your tools, and make your build impossible to ignore.


 浙公网安备
33010002000092号
浙公网安备
33010002000092号 浙B2-20120091-4
Comments
No comments yet. Why don't you start the discussion?