
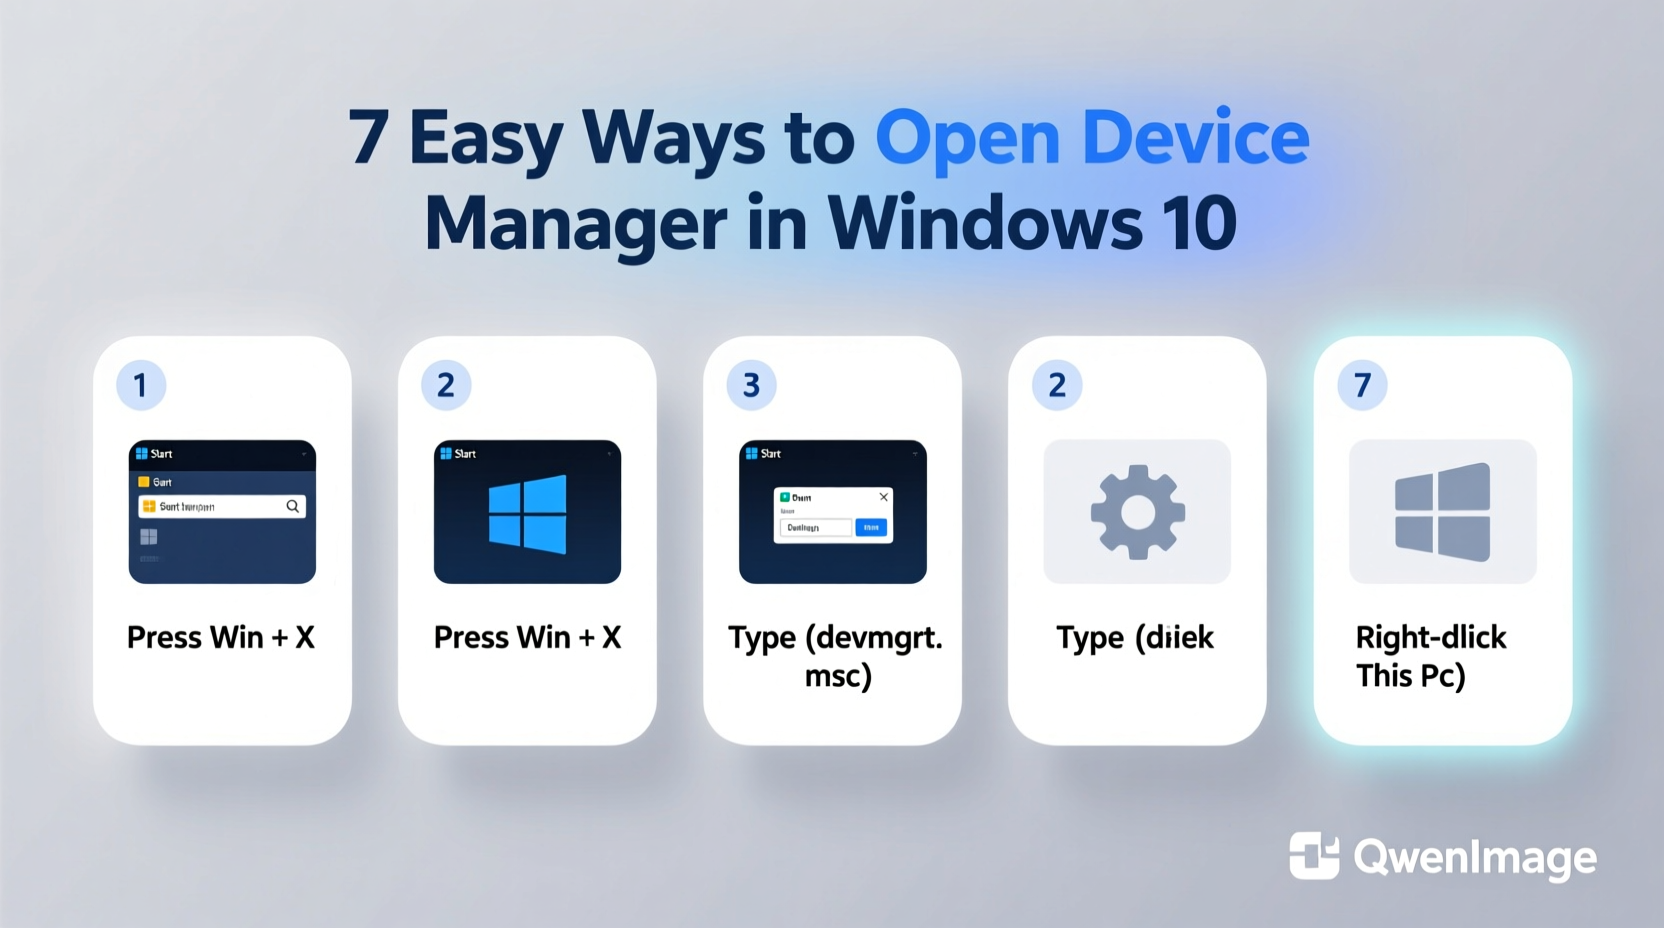
When your printer stops responding, your Wi-Fi adapter disappears, or a peripheral fails to function, the first step in diagnosing the issue is often accessing Device Manager. This powerful built-in Windows tool provides a centralized view of all connected hardware, allowing you to update drivers, disable problematic devices, or troubleshoot conflicts. While many users rely on a single method, knowing multiple ways to access Device Manager can save time—especially when standard menus are unresponsive. Below are seven reliable methods that work across all versions of Windows 10, whether you're using a mouse, keyboard, or even remote access.
Why Device Manager Matters
Device Manager isn’t just a diagnostic tool—it’s essential for maintaining system stability. It displays every piece of hardware recognized by Windows, from internal components like network adapters and graphics cards to external devices such as USB drives and Bluetooth headsets. Each entry shows its status, driver version, and any errors (often marked with a yellow triangle). Resolving these issues early prevents performance degradation and potential hardware failure.
Microsoft emphasizes proactive device management:
“Monitoring device status through Device Manager helps identify outdated drivers and conflicting hardware before they cause system crashes.” — Microsoft Support Team
Familiarity with how to open Device Manager quickly means you’re never more than a few clicks—or keystrokes—away from resolving hardware problems.
Method 1: Keyboard Shortcut (Win + X Menu)
The fastest and most widely used method involves a simple keyboard shortcut. Press Win + X simultaneously to open the Quick Link menu, located at the bottom-left corner of the screen. This context-sensitive menu gives instant access to core administrative tools.
In the list that appears, select Device Manager. It’s usually near the top, making it easy to spot. This method works even if File Explorer is frozen or the Start menu isn’t responding, which makes it ideal during system hiccups.
Method 2: Run Command (Win + R)
If you prefer command-based navigation, the Run dialog offers a direct route. Press Win + R, type devmgmt.msc, and press Enter. This command launches the Device Manager snap-in directly from the Microsoft Management Console (MMC).
This method is particularly useful for advanced users who frequently access system tools via run commands. You can also use alternative commands like hdwwiz.cpl, though devmgmt.msc is the official and most stable option.
Step-by-step guide:
- Press Win + R to open the Run dialog.
- Type
devmgmt.mscexactly—case doesn’t matter. - Press Enter or click “OK”.
- Device Manager will launch immediately.
Method 3: Search Bar in Taskbar
For users who rely on the graphical interface, the taskbar search is intuitive and accessible. Click the search icon (magnifying glass) next to the Start button or simply start typing while on the desktop.
Type “device manager” into the search field. As you type, Windows begins filtering results. When “Device Manager” appears under Best Match or Settings, click it to open. This method is beginner-friendly and requires no memorization of shortcuts or commands.
Method 4: Control Panel Navigation
Though Microsoft has shifted focus to Settings, Control Panel remains fully functional in Windows 10. Navigate to it manually to access Device Manager through a structured menu path.
Go to Start > Control Panel > Hardware and Sound > Device Manager. Alternatively, set Control Panel view to “Large icons” or “Small icons,” then locate and click “Device Manager” directly.
This approach is helpful when teaching others or documenting procedures, as it follows a logical hierarchy. However, it involves more steps than other methods, so it’s best reserved for situations where simpler options aren’t viable.
Method 5: Settings App Shortcut
Windows 10’s modern Settings app integrates some traditional tools. Open Settings by pressing Win + I, then go to Apps > Optional Features or use the search bar within Settings.
Type “device manager” in the Settings search box. A link labeled “View devices and drivers” will appear under System settings. Clicking it opens Device Manager directly. While not as immediate as other routes, this method keeps everything within the streamlined Settings environment.
| Method | Speed | Use Case | Input Required |
|---|---|---|---|
| Win + X Menu | Very Fast | General troubleshooting | Keyboard or right-click |
| Run Command (devmgmt.msc) | Fast | Advanced users, scripting | Keyboard only |
| Taskbar Search | Moderate | Beginner-friendly access | Mouse/keyboard combo |
| Control Panel | Slow | Structured environments | Mouse navigation |
| Settings App Search | Moderate | Modern UI preference | Keyboard input |
Method 6: Right-Click This PC / My Computer
If you have a desktop shortcut for “This PC” or see it in File Explorer, right-clicking it reveals a context menu with administrative options. Select Manage to open Computer Management, then navigate to Device Manager in the left-hand pane under “System Tools.”
Alternatively, some configurations allow direct access to Device Manager from the same menu, depending on user permissions and system setup. This method is especially useful when managing multiple drives or checking hardware status alongside disk utilities.
Method 7: Create a Desktop Shortcut
For maximum convenience, create a permanent desktop shortcut. Right-click an empty area on your desktop, choose New > Shortcut, and enter devmgmt.msc as the location. Name it “Device Manager” and finish the wizard.
You now have instant access with a double-click. Optionally, right-click the shortcut and assign a keyboard shortcut (e.g., Ctrl + Alt + D) for launcher-style speed.
- Right-click desktop → New → Shortcut
- Type:
devmgmt.msc - Name: Device Manager
- (Optional) Assign keyboard shortcut in Properties
Mini Case Study: Resolving a Disappearing Webcam
Sarah, a remote worker, noticed her webcam stopped working before an important video call. The camera app showed “No camera detected.” Instead of rebooting repeatedly, she pressed Win + X and opened Device Manager. Under “Cameras,” her integrated webcam was missing. She expanded “Imaging devices” and found the driver listed with a warning icon.
After right-clicking and selecting “Update driver,” Windows automatically reinstalled the correct software. Within two minutes, the camera reappeared in apps and functioned normally. Sarah avoided downtime and preserved professionalism—all because she knew how to access Device Manager swiftly.
Troubleshooting Tips Checklist
Once Device Manager is open, use this checklist to diagnose common hardware issues:
- Look for yellow exclamation marks or red X icons indicating device problems.
- Right-click suspicious devices and select “Update driver.”
- Choose “Search automatically for updated driver software.”
- If issues persist, try “Uninstall device” and restart—Windows will reinstall it.
- Check “View > Show hidden devices” to uncover disabled or ghosted entries.
- Verify that essential drivers (chipset, GPU, network) are up to date.
Frequently Asked Questions
Can I open Device Manager without admin rights?
Yes, most functions in Device Manager are available without administrator privileges. However, updating, uninstalling, or rolling back drivers typically requires elevated permissions. If prompted, confirm with an admin account or password.
Why don’t I see my USB device in Device Manager?
If a USB device isn’t appearing, first ensure it’s properly plugged in. Then, enable hidden devices by clicking “View > Show hidden devices.” If still missing, try a different port or test the device on another computer to rule out hardware failure.
Is Device Manager available in Windows 11?
Yes. All seven methods described here work identically in Windows 11. The interface may look slightly different, but functionality and command paths remain unchanged.
Final Thoughts and Action Steps
Knowing how to open Device Manager efficiently transforms hardware troubleshooting from frustrating to straightforward. Whether you favor keyboard shortcuts, mouse navigation, or custom shortcuts, having multiple access points ensures you’re never locked out of critical diagnostics.
Try each method once to find your preferred workflow. Consider combining them—use Win + X for emergencies, a desktop shortcut for routine checks, and Run commands for automation. Mastery of these techniques empowers you to maintain system health proactively, reduce downtime, and resolve issues before they escalate.


 浙公网安备
33010002000092号
浙公网安备
33010002000092号 浙B2-20120091-4
Comments
No comments yet. Why don't you start the discussion?