
Yarn puffs—also known as yarn pom-poms or tassels—are soft, fluffy embellishments that add charm to hats, scarves, keychains, baby blankets, and home décor items. They’re surprisingly simple to make, require only a few basic materials, and offer a satisfying introduction to fiber crafts. For beginners eager to explore the tactile joy of working with yarn, creating a yarn puff is both accessible and rewarding. With just a few minutes and some patience, you can produce a decorative accent that looks store-bought but carries the warmth of handmade craftsmanship.
Why Yarn Puffs Are Ideal for Beginners
Unlike complex knitting or crochet patterns, yarn puffs don’t demand mastery of stitches or intricate techniques. They rely on wrapping, cutting, and shaping—skills that are intuitive and forgiving. Mistakes are easily corrected, and even imperfectly shaped puffs have a whimsical, artisanal appeal. Plus, they use minimal yarn, making them an economical way to experiment with color and texture.
Many crafters begin their journey with yarn puffs because the process builds confidence. Once you’ve mastered one, you’ll find yourself adding them to everything from gift toppers to nursery mobiles. The repetitive motion of wrapping yarn around a template is meditative, and the final fluffing stage feels like magic.
“Yarn puffs are the gateway project for so many fiber artists. They teach tension, volume control, and finishing—all in under 15 minutes.” — Lena Torres, Craft Educator & Textile Designer
Materials You’ll Need
Gathering your supplies is the first step toward success. Most of these items are likely already in your home or easily found at a dollar store or craft shop.
- Yarn: Medium-weight (worsted) yarn works best for beginners. Choose acrylic for affordability or wool blends for extra softness.
- Cardboard or plastic template: Cut into a small rectangle (about 3” x 1.5”) with slits on each end to hold the yarn.
- Sharp scissors: Precision is key when trimming the final shape.
- Small ruler or measuring tape: To ensure consistent size.
- Tailor’s chalk or pencil: For marking cut lines on cardboard.
- Extra yarn or thin string: For securing the center before cutting.
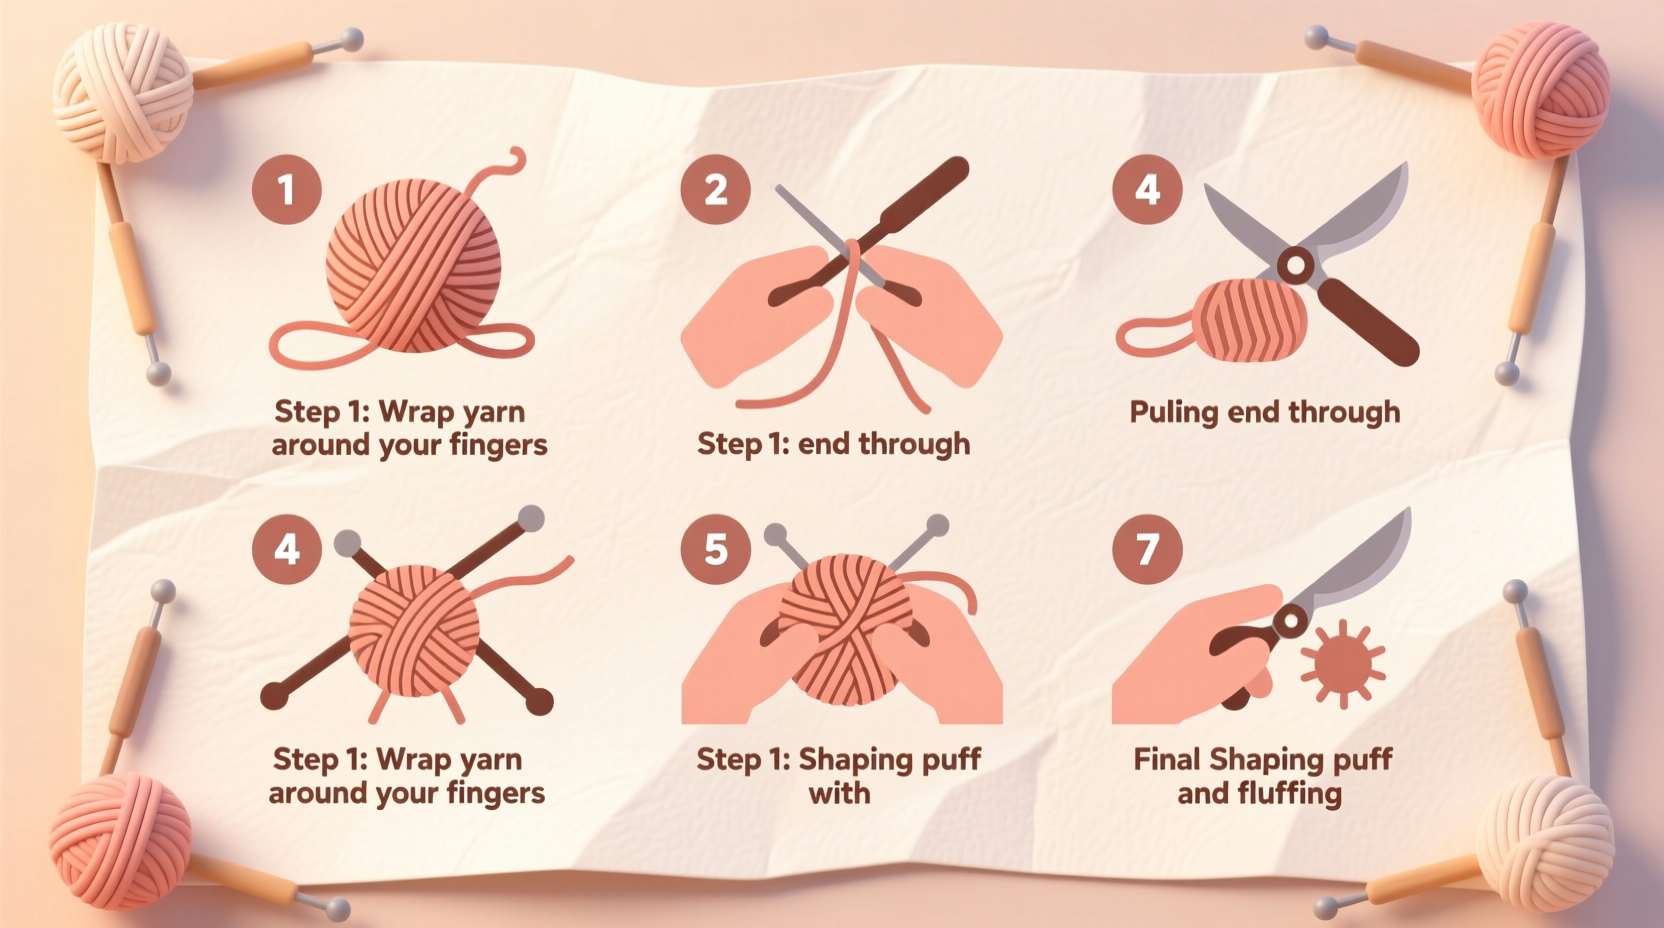
Step-by-Step Guide to Making a Yarn Puff
Follow these seven straightforward steps to create a full, round yarn puff every time.
- Cut your template. Use stiff cardboard or a recycled plastic lid. Draw a rectangle 3 inches long and 1.5 inches wide. Make a small slit (about ¼ inch deep) on both short ends. This creates anchor points for wrapping.
- Secure the tying thread. Cut a 12-inch piece of strong thread or thin yarn. Slide it between the slits and wrap the ends around the outside of the template, crossing in the middle. This will later bind the center of your puff.
- Wrap the yarn. Hold the yarn end against the inside of the template and begin wrapping around both sides. Keep tension even and aim for 75–100 wraps for a full puff. More wraps = denser result.
- Cut the loop ends. Carefully slide scissors between the two arms of the template and cut along both outer edges. You now have two bundles of loose strands held together by the center thread.
- Tie the center tightly. Pull the thread ends firmly and knot them in a double square knot. Trim excess, leaving about 1 inch if you plan to attach the puff to another item.
- Remove the template. Gently wiggle and slide out the cardboard. Don’t force it—if stuck, unwind slightly and reposition.
- Shape and trim. Fluff the puff with your fingers, then use sharp scissors to round off any stray or uneven strands. Rotate as you trim for symmetry.
Common Pitfalls and How to Avoid Them
Even simple projects come with common missteps. Being aware of them helps you achieve better results from the start.
| Issue | Why It Happens | Solution |
|---|---|---|
| Puff is too flat or sparse | Not enough yarn wraps or loose tension | Use 80+ wraps and maintain firm, consistent pressure while winding |
| Center sags or unravels | Knot wasn’t tight enough or thread slipped | Double-knot securely; use waxed thread for grip |
| Shape is lopsided | Uneven trimming or irregular wrapping | Rotate puff as you trim; wrap symmetrically across both sides |
| Template won’t come out | Thread too tight or cardboard too thick | Use thinner cardboard or loosen knot slightly before removal |
Real-Life Application: A Beginner’s First Project
Marina, a college student with no prior crafting experience, wanted to personalize her winter beanie. She watched a short video tutorial, grabbed some leftover yarn and a cereal box, and followed the steps above. Her first puff was slightly lopsided, but after trimming and trying again with tighter wraps, her second attempt was perfectly round and fluffy. She attached it to her hat with a whip stitch and received compliments within hours. Inspired, she made three more in different colors for friends’ birthdays. “It felt like I’d discovered a secret,” she said. “Something so small, but it makes everything feel special.”
Customization Ideas and Creative Uses
Once you’ve mastered the basic puff, the creative possibilities expand quickly. Try these variations:
- Multicolor puffs: Alternate two yarn colors every 10 wraps for a marbled effect.
- Oversized puffs: Use a larger template (4” x 2”) and bulky yarn for dramatic home décor accents.
- Mini puffs: Wrap around two fingers instead of a template for tiny versions ideal for earrings or zipper pulls.
- Layered puffs: Attach two smaller puffs back-to-back for a fuller look.
Use your puffs to embellish baby booties, curtain tiebacks, journal covers, or garlands. Sew several onto a ribbon to create a textured wall hanging. Teachers often use them as cheerful classroom decorations, and pet owners sometimes attach them to handmade toys (supervised use only).
Frequently Asked Questions
Can I wash a yarn puff?
Yes, but gently. Hand-wash in cool water with mild detergent and lay flat to dry. Avoid wringing, as this can distort the shape. Acrylic puffs hold up better to washing than wool.
What if I don’t have cardboard?
You can use a fork (for mini puffs), a piece of stiff plastic, or even your hand as a winding guide. Just keep the number of wraps consistent for uniformity.
How long does it take to make one puff?
For a beginner, about 10–15 minutes per puff. With practice, you can make one in under 5 minutes.
Final Checklist Before You Begin
Before starting your first yarn puff, go through this quick checklist to ensure smooth execution:
- ☐ Gather all materials: yarn, scissors, cardboard, and thread
- ☐ Cut template to correct size with clean slits
- ☐ Choose a yarn color that contrasts slightly with your tying thread
- ☐ Test your scissors—they should cut cleanly without fraying the yarn
- ☐ Set up a well-lit workspace with room to spread out
Start Crafting Today
There’s something deeply satisfying about transforming a simple strand of yarn into a soft, bouncy puff. It’s a small act of creation that yields immediate, visible results. Whether you’re crafting for relaxation, personalizing gifts, or exploring textile arts for the first time, yarn puffs offer a perfect starting point. They require little investment, deliver big visual impact, and build foundational skills you’ll use in more advanced projects.


 浙公网安备
33010002000092号
浙公网安备
33010002000092号 浙B2-20120091-4
Comments
No comments yet. Why don't you start the discussion?