
Modern vehicles rely heavily on technology to maintain safety and performance, and one of the most critical components is the tire pressure monitoring system (TPMS). When your dashboard lights up with a low-pressure warning, it’s more than just an alert—it’s a signal that your vehicle’s efficiency, handling, and safety may be compromised. While some drivers ignore the warning or assume it's a false alarm, understanding how to diagnose and replace a faulty tire pressure sensor can save time, money, and prevent hazardous driving conditions.
This guide walks you through identifying TPMS issues, safely replacing sensors, and ensuring your system remains accurate and reliable for years to come.
Understanding the Tire Pressure Monitoring System
The TPMS is designed to monitor air pressure in your tires and alert you when levels fall 25% below the manufacturer’s recommended inflation. There are two main types: direct and indirect. Direct TPMS uses physical sensors mounted inside each wheel, transmitting real-time pressure data to your vehicle’s computer. Indirect systems rely on wheel speed sensors from the anti-lock braking system (ABS), inferring low pressure based on rotational differences between tires.
Most modern cars use direct TPMS, which means each wheel contains a small electronic sensor. These sensors have limited lifespans—typically 5 to 10 years—due to battery degradation and exposure to road elements. Recognizing when a sensor fails is the first step toward effective maintenance.
Diagnosing a Faulty Tire Pressure Sensor
Before replacing any component, confirm whether the issue lies with the sensor itself or simply requires recalibration. Follow this diagnostic process:
- Check actual tire pressure using a calibrated gauge. Inflate all tires to the recommended PSI (found on the driver’s side door jamb).
- Drive above 20 mph for several minutes to allow the system to reset automatically if possible.
- Observe the TPMS light behavior: Does it stay on steadily, flash, or turn off intermittently?
- Use a TPMS scan tool to read sensor IDs, battery status, and pressure readings from each wheel.
- Note error codes via an OBD2 scanner if available—some vehicles log specific sensor faults.
If tire pressure is correct but the warning persists, especially on one wheel, the sensor is likely malfunctioning. Common signs include delayed alerts, inconsistent readings, or failure to register after tire rotation.
Common Causes of Sensor Failure
- Dead internal battery (non-replaceable in most models)
- Corrosion on the valve stem or electrical contacts
- Physical damage during tire mounting/dismounting
- Signal interference from aftermarket wheels or electronics
- Improper relearn procedure after service
“Over 60% of TPMS-related service visits involve sensors damaged during tire changes. Proper handling and torque specifications are crucial.” — Mark Reynolds, ASE-Certified Technician
Step-by-Step Guide to Replacing a Tire Pressure Sensor
Replacing a TPMS sensor doesn’t require a dealership visit. With basic tools and attention to detail, you can complete the job safely at home or in a garage setting. Follow these steps carefully.
Tools and Materials Needed
- New OEM or compatible TPMS sensor kit
- Valve core removal tool or small screwdriver
- Torx T-15 or T-20 bit (most common)
- Socket wrench (usually 13mm or ½” drive)
- Brake cleaner and lint-free cloth
- Sealant or brass valve stem grommet (included in kits)
- Torque wrench (recommended)
- Jack and jack stands or lift
Replacement Procedure
- Lift and secure the vehicle using a jack and jack stands. Ensure stability before working under the car.
- Remove the wheel by loosening lug nuts slightly before lifting, then fully removing them once elevated.
- Deflate the tire completely by pressing the valve core center pin or unscrewing it with a tool.
- Break the bead if necessary (best done at a shop unless using a manual demount tool), then remove the tire from the rim.
- Unscrew the old sensor from the inside of the wheel using the appropriate Torx bit. Avoid excessive force to prevent cracking the housing.
- Clean the valve hole thoroughly with brake cleaner and inspect for corrosion or debris.
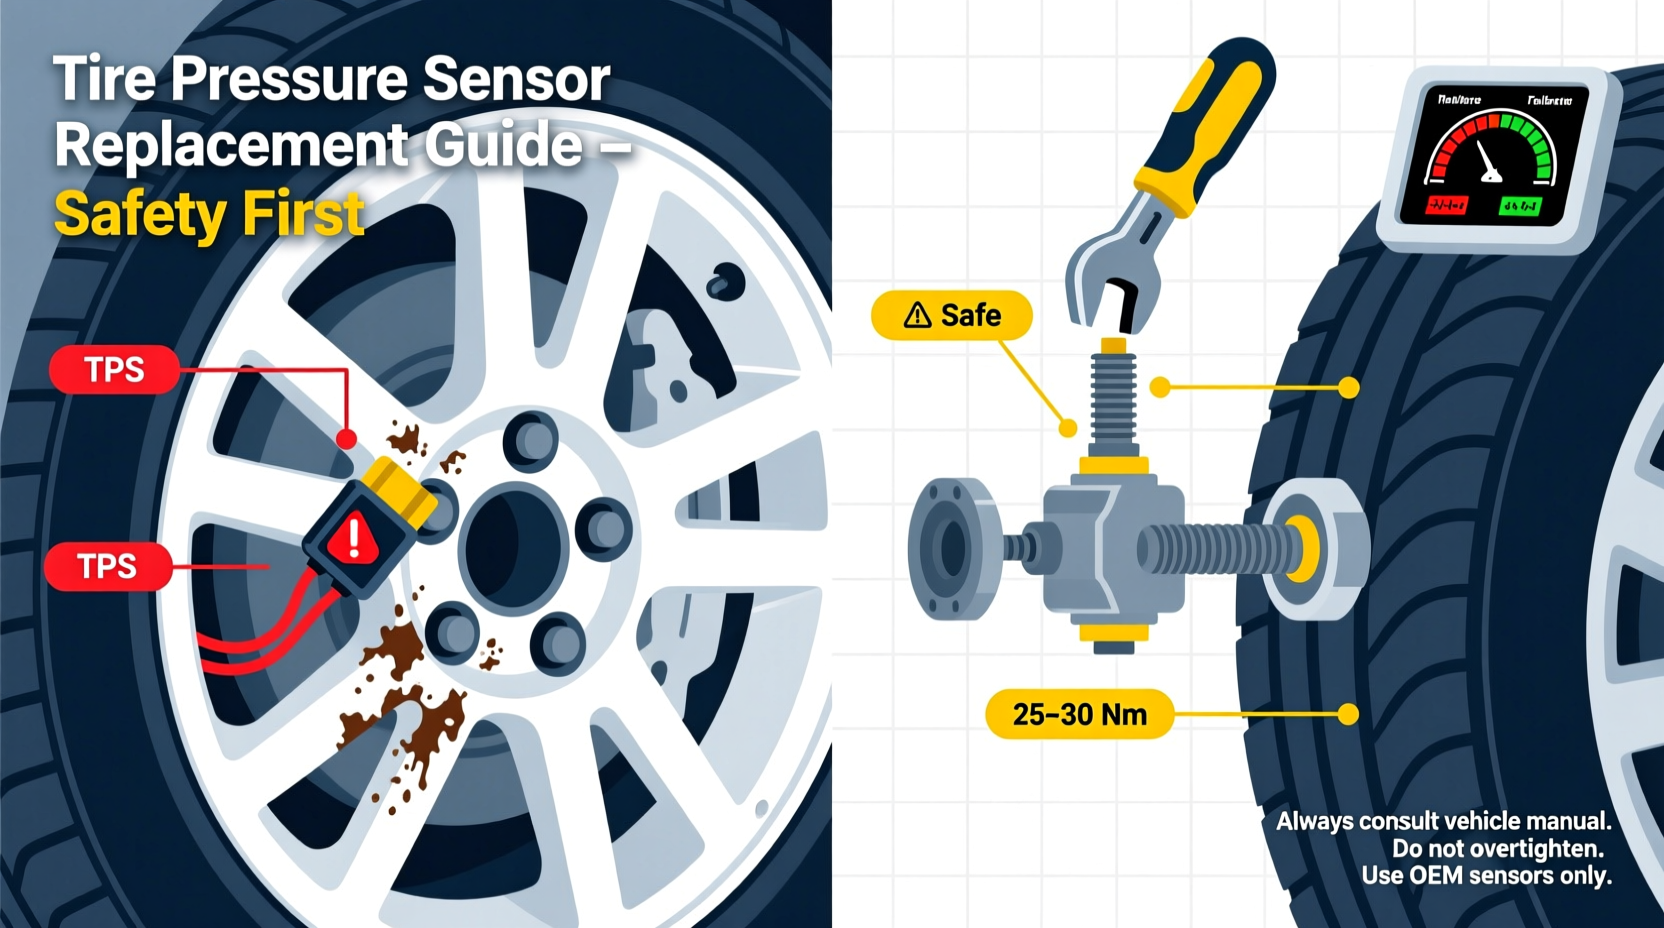
- Install the new sensor: Insert it through the wheel from the outside, hand-tighten the nut, then torque to manufacturer spec (typically 8–10 lb-ft).
- Reinstall the tire on the rim, ensuring proper seating and balance. Inflate temporarily to check for leaks.
- Reattach the wheel to the hub, torque lug nuts in a star pattern to specification.
- Repeat for other wheels as needed.
System Reinitialization and Calibration
After installing new sensors, your vehicle must recognize them through a relearn or reprogramming process. This varies significantly by make and model.
| Vehicle Type | Relearn Method | Approximate Time |
|---|---|---|
| Ford, GM, Chrysler | Sensor activation via magnet or trigger tool | 10–15 minutes |
| Honda, Toyota, Nissan | OBD2-based relearn with scan tool | 15–20 minutes |
| BMW, Mercedes, Audi | Requires dealer-level software or advanced TPMS tool | 20+ minutes |
| Some EVs (e.g., Tesla) | Automatic detection after driving | 5–10 minutes of driving |
To initiate relearning:
- Turn ignition to “ON” without starting the engine.
- Press and hold the TPMS reset button (usually beneath the steering column) until the light blinks slowly.
- Use a TPMS programming tool to activate each sensor in sequence, typically starting with the left front.
- Drive the vehicle above 20 mph for 10 minutes to finalize synchronization.
Checklist: Safe TPMS Sensor Replacement
- ✅ Verify correct replacement sensor model for your vehicle
- ✅ Use proper Torx bit to avoid stripping the sensor
- ✅ Torque sensor nut to manufacturer specification
- ✅ Clean mounting surface and apply sealant if recommended
- ✅ Perform TPMS relearn procedure accurately
- ✅ Test drive and confirm stable readings on dashboard
- ✅ Register new sensor IDs if required (especially for luxury brands)
Real-World Example: A DIYer’s Mistake and Fix
James, a Colorado-based mechanic enthusiast, replaced his SUV’s winter tires last season and decided to upgrade to new TPMS sensors while rotating wheels. He installed the sensors without using a torque wrench, tightening them \"as much as felt right.\" Two weeks later, he noticed a slow leak on the rear passenger side.
Upon inspection, he discovered the aluminum mounting nut had cracked due to over-tightening, compromising the seal. He replaced the sensor again—this time using a calibrated torque wrench—and applied dielectric grease. The leak stopped, and the system synced correctly after using a handheld TPMS tool for reinitialization.
His takeaway: “Just because it’s small doesn’t mean it’s not precision-critical. That sensor costs $50, but ignoring torque specs could lead to a blowout or fire risk.”
Frequently Asked Questions
Can I drive with a bad tire pressure sensor?
You can drive short distances if tire pressure is manually confirmed safe, but prolonged operation without functional TPMS reduces safety and may cause failed emissions or safety inspections in regulated states.
Do all four sensors need to be replaced at once?
No. Replace only the faulty ones. However, if your sensors are over 7 years old, consider replacing all four to prevent staggered failures and reduce future labor costs.
Are aftermarket TPMS sensors reliable?
High-quality universal or OE-equivalent aftermarket sensors perform well when properly programmed. Avoid no-name brands; stick with reputable suppliers like Schrader, Standard Motor Products, or Dill.
Final Thoughts and Action Steps
Maintaining an accurate tire pressure monitoring system is not optional—it’s a fundamental part of vehicle safety. Ignoring a failing sensor risks poor fuel economy, uneven tire wear, reduced braking performance, and even catastrophic tire failure. By learning to diagnose issues early and replace sensors correctly, you take control of your vehicle’s reliability and protect yourself and others on the road.
Start by checking your current TPMS status during routine maintenance. Keep spare sensors on hand if you frequently change wheels or live in harsh climates. Invest in a basic TPMS tool—it pays for itself after one professional service avoided.


 浙公网安备
33010002000092号
浙公网安备
33010002000092号 浙B2-20120091-4
Comments
No comments yet. Why don't you start the discussion?