
Managing credit cards on your iPhone has never been easier thanks to Apple Wallet and Apple Pay. These tools combine convenience with robust security, allowing you to leave your physical wallet behind while making secure purchases in stores, apps, and online. Whether you're a new iPhone user or looking to refine your digital payment setup, understanding how to properly add and manage credit cards is essential for both efficiency and peace of mind.
Apple’s ecosystem ensures that your card information is not stored on your device or shared directly with merchants. Instead, it uses tokenization—a process where your actual card number is replaced with a unique digital identifier—keeping your financial data protected. With this foundation, let’s walk through the full process of adding and managing credit cards on your iPhone.
How to Add a Credit Card to Your iPhone
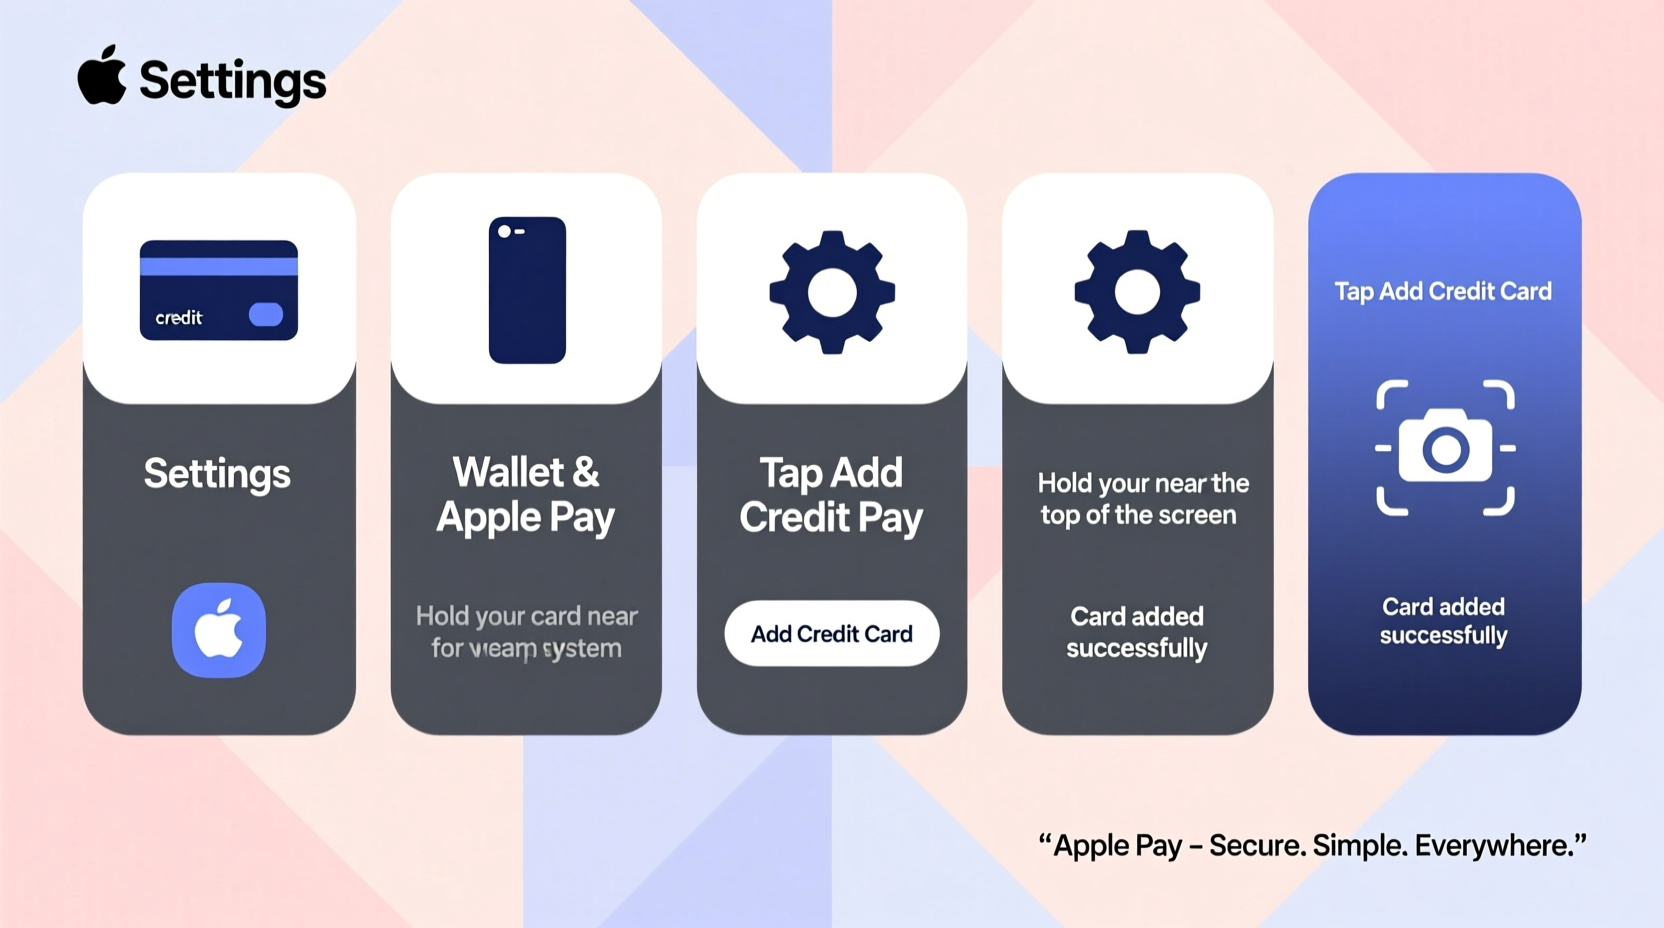
Adding a credit card to your iPhone is a straightforward process that takes just a few minutes. You’ll use the Wallet app, which comes pre-installed on all iPhones with NFC capability (iPhone 6 and later).
- Open the Wallet app – Tap the Wallet icon on your home screen.
- Tap the “+” symbol – This appears in the top-right corner of the screen.
- Select “Debit or Credit Card” – Choose this option to begin adding a new card.
- Use your iPhone’s camera – Position your credit card within the frame so the camera can automatically read the details. Alternatively, enter the information manually.
- Review and confirm card details – Ensure the card number, expiration date, and holder name are correct.
- Agree to the card issuer’s terms – You may be redirected to your bank’s verification process, which could include entering a code sent via SMS or email.
- Wait for approval – Most cards are approved instantly, but some issuers may take up to a few minutes.
Once approved, your card will appear in Apple Wallet and be ready for use with Apple Pay.
Setting Your Default Card for Apple Pay
Your iPhone allows multiple credit cards in Wallet, but only one can be set as the default for contactless payments. This is the card that will automatically be used when you hold your phone near a payment terminal.
To change your default card:
- Open the Wallet app.
- Tap and hold the card you want to set as default.
- Drag it to the front of the stack.
- Confirm the change—the top card becomes your default payment method.
This setting applies to in-store, in-app, and online Apple Pay transactions unless you choose a different card at checkout.
Managing Multiple Cards in Apple Wallet
You can store multiple credit, debit, and rewards cards in Apple Wallet. Organizing them effectively improves usability and helps avoid confusion during transactions.
To manage your cards:
- Rearrange card order by dragging cards into your preferred sequence.
- View transaction history by tapping a card and swiping up (for supported banks).
- Remove a card by opening the card in Wallet, tapping the “More” button (three dots), and selecting “Remove This Card.”
- Edit card nickname to help identify it quickly—especially useful if you have multiple cards from the same bank.
| Action | Steps | Notes |
|---|---|---|
| Add Card | Wallet → + → Scan or Enter Manually | Requires issuer support and verification |
| Set Default | Drag card to front position | Only one default card allowed |
| Remove Card | Card → More → Remove | Removal doesn’t cancel the physical card |
| Nickname Card | Card → Info → Edit Nickname | Helps distinguish similar cards |
Mini Case Study: Sarah’s Daily Commute
Sarah uses her iPhone for nearly all daily transactions. She added three cards: a rewards credit card for groceries, a low-interest card for larger purchases, and a debit card linked to her checking account. By setting the rewards card as her default, she automatically earns points every time she taps to pay at the coffee shop or grocery store. When shopping online, she selects the debit card to avoid accruing debt. Her organized Wallet setup saves time and supports her budgeting goals—all without carrying a single physical card.
Security Features and Best Practices
Apple Wallet is designed with multiple layers of security. Your actual card number is never stored on your device or shared with merchants. Instead, a Device Account Number is assigned, encrypted, and securely stored in the Secure Element—a dedicated chip on your iPhone.
Each transaction requires authentication via Face ID, Touch ID, or your passcode, ensuring that even if your phone is lost, unauthorized users cannot make payments.
“Apple Pay remains one of the most secure mobile payment platforms because it combines hardware-level encryption with biometric verification.” — David Lin, Cybersecurity Analyst at TechShield Security Group
Checklist: Securing Your Digital Wallet
- ✅ Use a strong device passcode (6-digit or alphanumeric)
- ✅ Enable Face ID or Touch ID
- ✅ Turn on Find My iPhone
- ✅ Review card permissions regularly
- ✅ Remove unused or expired cards promptly
- ✅ Monitor bank statements for unauthorized activity
Frequently Asked Questions
Can I add someone else’s credit card to my iPhone?
No. Apple requires cardholder verification through the issuing bank, which typically involves receiving a code on the cardholder’s registered phone or email. Sharing credentials violates most card agreements and compromises security.
What happens if I lose my iPhone?
If your iPhone is lost, log in to iCloud.com or use the Find My app on another Apple device to put your phone in Lost Mode. This disables Apple Pay and prevents new cards from being added. You can also remotely erase your device, which removes all payment cards and personal data.
Are there any fees for using Apple Pay?
No. Apple does not charge users to add or use credit cards via Apple Pay. However, standard data rates may apply if you’re not connected to Wi-Fi. Some banks may offer cashback or rewards for Apple Pay usage.
Conclusion: Take Control of Your Financial Tools
Your iPhone is more than a communication device—it’s a powerful financial tool. By learning how to add and manage credit cards in Apple Wallet, you gain access to faster checkouts, enhanced security, and better spending control. The process is simple, the protections are strong, and the benefits are immediate.
Start by adding one trusted card today. Organize your digital wallet, set your preferred default, and experience the convenience of tapping to pay with confidence. As you grow more comfortable, explore additional features like transit passes, loyalty cards, and event tickets—all in one secure place.


 浙公网安备
33010002000092号
浙公网安备
33010002000092号 浙B2-20120091-4
Comments
No comments yet. Why don't you start the discussion?