
Creating custom dog tags at home doesn’t require industrial tools or expensive materials. With polyurethane—a resilient, waterproof resin—you can craft tags that withstand weather, impact, and daily wear. Unlike metal tags that may rust or engrave poorly over time, polyurethane offers a lightweight, shock-resistant alternative ideal for pets that are active or live in humid environments. This guide walks through the entire process: from selecting materials to demolding your finished tag, ensuring professional results without leaving your workshop.
Gathering Materials and Tools
The success of your DIY dog tags depends heavily on the quality and compatibility of materials. Polyurethane resin is available in two-part systems (Part A: resin, Part B: hardener), which must be mixed precisely to achieve optimal strength and clarity. Choose an aliphatic polyurethane designed for outdoor use—it resists UV yellowing and maintains flexibility under temperature shifts.
- Two-part polyurethane resin (clear, UV-stable)
- Silicone mold (dog tag-shaped, 1.5” x 2” recommended)
- Digital scale (0.1g precision)
- Plastic mixing cups and wooden stir sticks
- Isopropyl alcohol and lint-free cloth
- Pencil or fine-tip permanent marker (for design transfer)
- Optional: pigments, glow-in-the-dark powder, or embedded text inserts
Designing Your Custom Tag
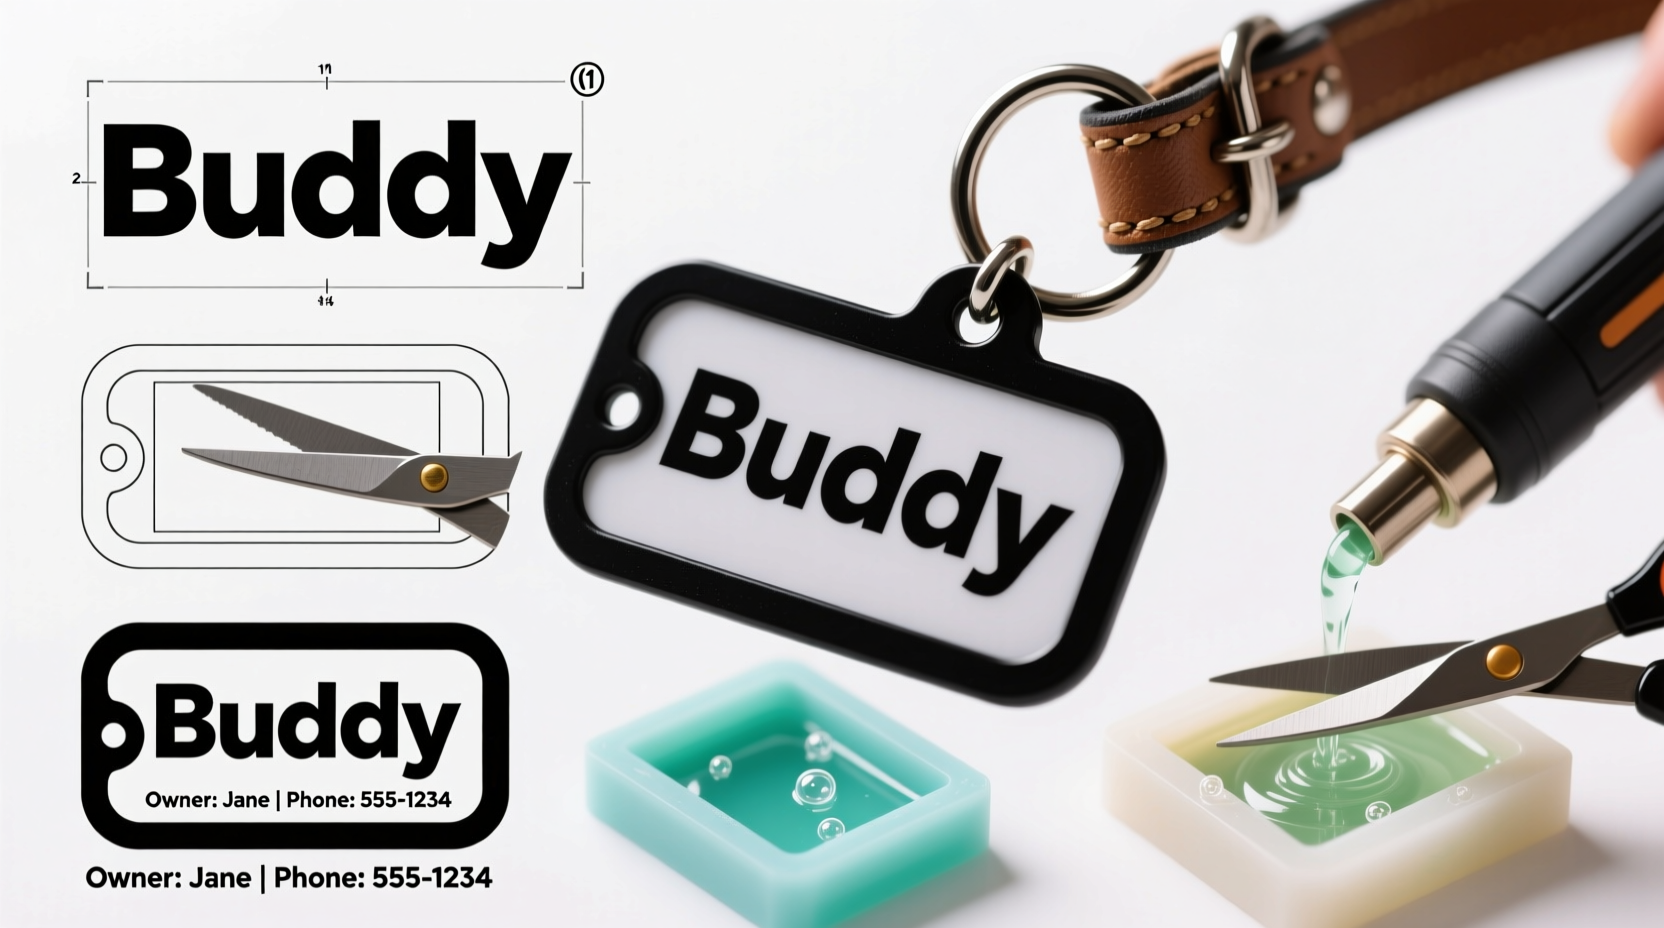
Before pouring resin, plan the information and aesthetics of the tag. Most pet owners include the dog’s name, owner’s phone number, and sometimes an address or medical note like “Vaccinated” or “Friendly.” Avoid overcrowding; legibility is critical in emergencies.
To embed text or designs, write directly onto the bottom of the silicone mold using a fine permanent marker. For more intricate artwork, print a miniature version on thin paper, seal it with clear tape, and place it face-down in the mold before pouring. Alternatively, use transparent vinyl stickers cut to size—they bond well with cured resin.
“Customization isn’t just about looks—it’s about functionality. A clearly readable tag can mean the difference between a lost dog returning home or not.” — Dr. Lena Torres, Veterinary Behaviorist
Step-by-Step Crafting Process
Follow this sequence carefully to ensure strong, bubble-free tags with a glass-like finish.
- Clean the mold: Wipe the silicone mold with isopropyl alcohol to remove dust and oils. Let it dry completely.
- Prepare workspace: Cover your surface with wax paper or a silicone mat. Ensure room temperature is between 70–75°F (21–24°C) for best results.
- Weigh components: Using a digital scale, measure equal parts of polyurethane resin and hardener as specified by the manufacturer (typically 1:1 ratio). Do not estimate by volume unless the product explicitly allows it.
- Mix slowly: Stir the mixture gently for 2–3 minutes, scraping the sides and bottom of the cup. Over-mixing introduces air bubbles; under-mixing leads to soft spots.
- Add color (optional): Incorporate a drop of UV-stable pigment or a pinch of glow powder if desired. Mix thoroughly but gently.
- Pour into mold: Slowly dispense the resin into each cavity, filling to the brim. Tilt the mold slightly to help resin reach corners.
- Remove bubbles: Pass a heat gun or lighter flame briefly over the surface to pop trapped bubbles. Hold 6–8 inches away to avoid distorting the mold.
- Cure undisturbed: Let the mold sit flat for 24 hours. Avoid moving or touching it during this period.
- Demold carefully: Gently flex the silicone to release the tag. Trim any flash edges with fine sandpaper or nail file.
- Drill hole (if needed): Use a 1/8” rotary tool bit to create a clean hole at the top. Support the tag on wood to prevent cracking.
Do’s and Don’ts: Best Practices Table
| Do’s | Don’ts |
|---|---|
| Use a digital scale for accurate resin-to-hardener ratios | Estimate mix amounts by sight or volume unless specified |
| Work in a dust-free environment to avoid imperfections | Pour resin near open windows where debris can fall in |
| Cure at stable room temperature (70–75°F) | Expose uncured resin to moisture or cold drafts |
| Add text inserts sealed in tape to prevent ink bleed | Use unsealed paper or water-soluble ink inside the mold |
| Sand edges lightly with 400+ grit paper for smooth finish | Use coarse sandpaper that can scratch or deform the tag |
Real-World Example: Max’s Outdoor Adventure Tag
Sarah, a dog trainer in Oregon, needed rugged ID tags for her working border collie, Max, who regularly treks through wet forests and rocky trails. Metal tags dented and corroded within months. She experimented with polyurethane using a silicone mold shaped like a paw. She printed Max’s name and her contact info on rice paper, sealed it with clear packing tape, and placed it face-down in the mold. After mixing a UV-resistant polyurethane blend with a hint of blue pigment, she poured and cured the tag for 48 hours. The result was a lightweight, crystal-clear tag that survived mud, rain, and drops from heights. Six months later, it remained intact and fully legible—proof that thoughtful material choice enhances both safety and durability.
Frequently Asked Questions
Can I reuse the silicone mold?
Yes, high-quality silicone molds can be reused 50+ times. Clean them with mild soap and water after each use, then dry thoroughly before storing flat.
How long do polyurethane dog tags last?
With UV-stable resin and proper care, they typically last 3–5 years outdoors. Avoid prolonged sun exposure when not in use to extend lifespan.
Are polyurethane tags safe for dogs?
Once fully cured, polyurethane is inert and non-toxic. Ensure the tag is securely attached and free of sharp edges to prevent injury.
Final Checklist Before You Begin
- Checklist:
- ☐ Acquire UV-resistant two-part polyurethane resin
- ☐ Obtain a food-safe silicone dog tag mold
- ☐ Prepare digital scale and mixing supplies
- ☐ Design and test layout of text/artwork
- ☐ Seal any paper inserts with waterproof tape
- ☐ Set up a clean, level, ventilated workspace
- ☐ Allow 24–48 hours for uninterrupted curing
- ☐ Sand and drill hole post-cure if needed
Conclusion
Crafting durable dog tags at home with polyurethane combines practicality with personalization. By following precise mixing ratios, maintaining a clean environment, and allowing adequate cure time, you produce tags that are not only functional but also meaningful keepsakes. Whether you're making one for your own pet or creating a small batch for friends, the process empowers you to deliver a product that outperforms many commercial alternatives. These tags resist the elements, maintain clarity, and carry vital information in a format that lasts.


 浙公网安备
33010002000092号
浙公网安备
33010002000092号 浙B2-20120091-4
Comments
No comments yet. Why don't you start the discussion?