
Minecraft’s blocky charm becomes breathtaking when enhanced with realistic lighting, shadows, reflections, and depth through shaders. Among the most accessible and high-performing options available today is Iris Shaders — a lightweight, open-source mod that brings advanced visual effects to both modern and older hardware. Unlike traditional shader packs that require OptiFine, Iris integrates everything into a single streamlined platform, making installation easier and performance more stable.
This guide walks you through every stage of acquiring and setting up Iris Shaders, ensuring your world transforms from pixelated simplicity to immersive realism — without unnecessary complications or technical roadblocks.
Understanding Iris Shaders: What Sets It Apart
Iris Shaders began as a community-driven alternative to OptiFine-based shader systems. It was developed in response to growing concerns over OptiFine’s maintenance delays and restrictive licensing. Built on Fabric, Iris offers native support for shader packs using GLSL (OpenGL Shading Language), delivering smooth performance even on mid-range machines.
The mod supports popular shader formats like BSL, Complementary Reimagined, and Sildur’s Enhanced Default, all while maintaining low memory usage and minimizing crashes. Because it runs independently of OptiFine, users avoid version conflicts and dependency issues common in large mod setups.
“By decoupling shaders from bloated client modifications, Iris represents the next evolution in visual customization for Minecraft.” — Linus Griffith, Open-Source Mod Developer
System Requirements and Compatibility Check
Before diving into installation, verify your system can handle enhanced visuals. While Iris is optimized for efficiency, shaders are GPU-intensive. Below is a quick reference table outlining recommended specifications:
| Component | Minimum Requirement | Recommended for Smooth Performance |
|---|---|---|
| CPU | Intel i3 or equivalent | Intel i5 / AMD Ryzen 5 or better |
| GPU | Integrated Intel HD 4000 or NVIDIA GeForce GTX 750 | NVIDIA GTX 1060 / AMD RX 580 or newer |
| RAM | 6 GB allocated | 8–12 GB allocated |
| Minecraft Version | 1.19.4 or later | 1.20.1+ (latest stable) |
| Operating System | Windows 10, macOS 12+, Linux kernel 5.4+ | Same, with updated drivers |
If your machine meets at least the minimum requirements, you’re ready to proceed. Note that Iris only works with Fabric Loader, not Forge, so ensure your modloader choice aligns accordingly.
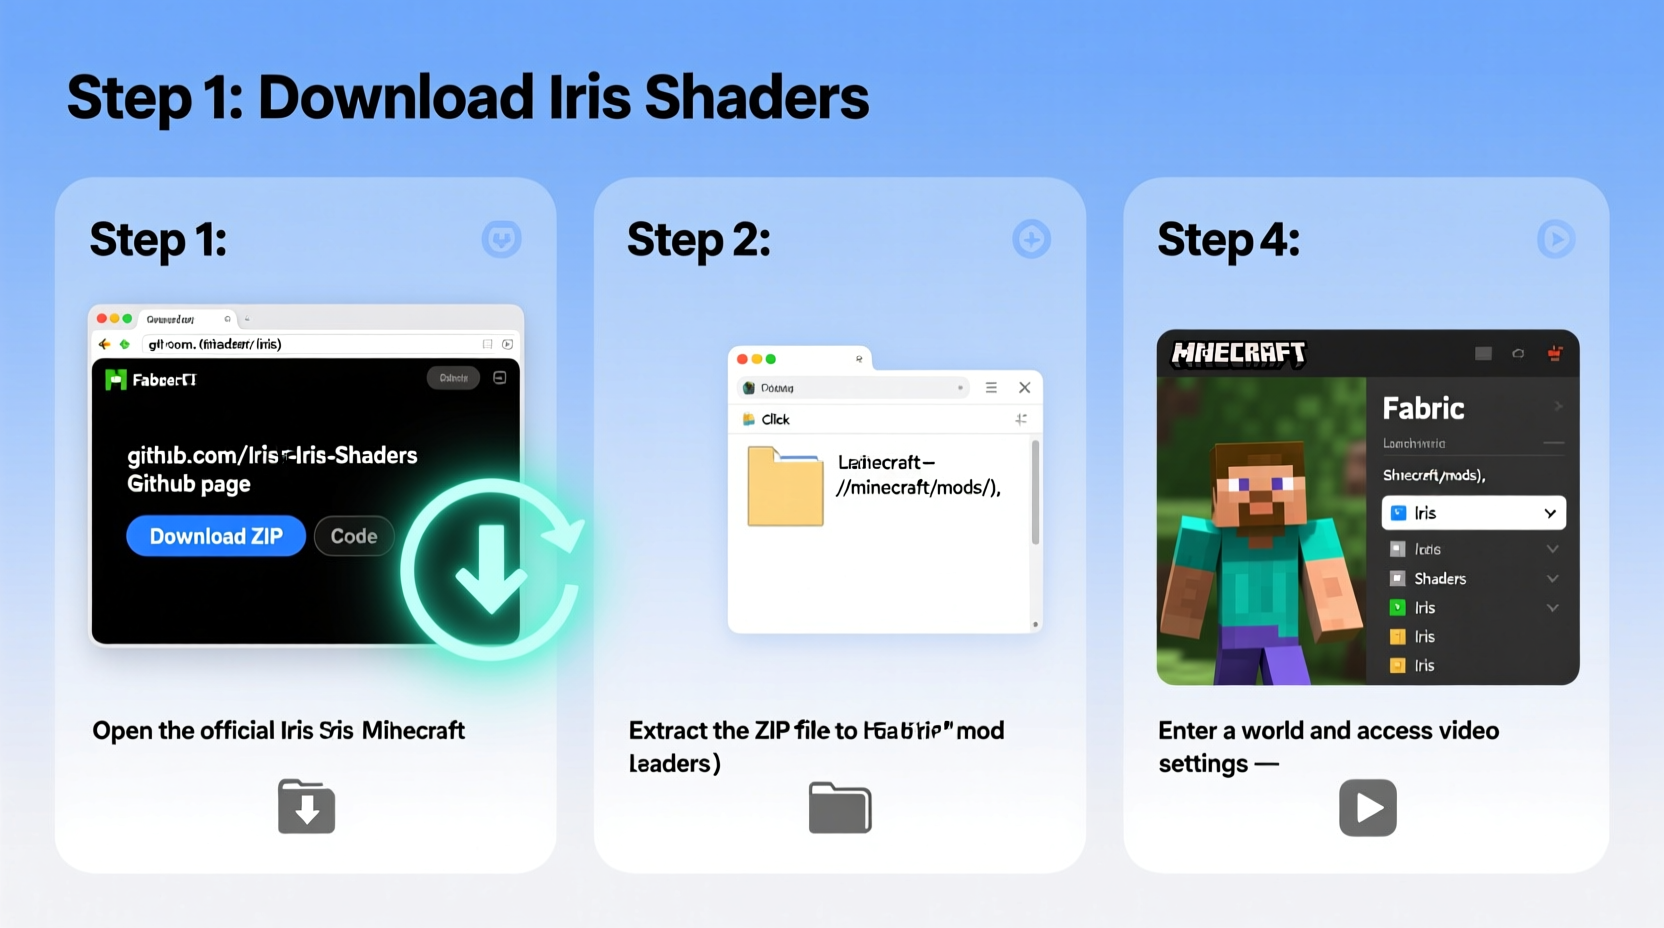
Step-by-Step Installation Process
Follow this structured timeline to install Iris Shaders correctly. Each step builds upon the last, reducing errors and configuration conflicts.
- Install Java Development Kit (JDK) 17
Modern Minecraft versions require JDK 17. Download it from the official Oracle or Adoptium website. Avoid outdated JRE installations. - Download and Install the Latest Minecraft Launcher
Use the official Mojang launcher if you haven’t already. Third-party launchers may interfere with modded profiles. - Install Fabric Loader
Visit fabricmc.net, download the latest Fabric installer, and run it. Select your Minecraft version (preferably 1.20.1 or higher). The installer will set up the necessary libraries automatically. - Create a New Fabric Profile in the Launcher
In the Minecraft Launcher, go to “Installations,” click “New Installation,” choose the Fabric version you installed, and name the profile (e.g., “Minecraft_Iris”). - Download Iris Shaders Mod
Navigate to irisshaders.net or its official GitHub repository. Download the latest stable release of Iris (.jar file). Save it to an easily accessible folder. - Move Iris to the Mods Folder
Launch Minecraft once using the Fabric profile to generate required directories. Close the game, then navigate to your Minecraft directory:
- Windows:%appdata%\\.minecraft\\mods
- macOS:~/Library/Application Support/minecraft/mods
- Linux:~/.minecraft/mods
Place the downloaded Iris .jar file into themodsfolder. - Launch Minecraft with the Fabric Profile
Open the launcher, select your Fabric installation, and start the game. Upon successful load, you’ll see “Mods” in the main menu — confirming Iris is active. - Install a Shader Pack
Download a compatible shader pack (e.g., BSL Shaders, Complementary Reimagined) from trusted sources like CurseForge. These come as .zip files. In-game, go to Options → Video Settings → Shaders → Shaders Folder. Place the .zip file here. - Activate Your Chosen Shader
Return to the Shaders menu, select the newly added pack, and confirm. The game will reload with the selected visual effects applied.
Optimizing Performance After Installation
Even with efficient design, shaders demand resources. Fine-tune your experience with these adjustments:
- Reduce render distance to 10–12 chunks unless you have a powerful GPU.
- Disable dynamic fog and tweak shadow distance in the shader settings menu.
- Enable FABRIC Sync for smoother frame pacing under heavy loads.
- Allocate sufficient RAM via the launcher JVM arguments:
-Xmx8G -Xms4Gfor 8GB systems. - Update your graphics drivers regularly; NVIDIA and AMD often release optimizations for Minecraft-specific workloads.
Mini Case Study: Emma’s Upgrade Journey
Emma, a university student playing on a 2019 laptop with integrated Intel UHD 620 graphics, initially struggled with lag when trying Sildur’s Vibrant Shaders on OptiFine. After switching to Iris on Minecraft 1.20.1 with Fabric, she found she could run BSL Shaders at 45–55 FPS at 720p resolution by lowering cloud detail and disabling volumetric lighting. Her experience highlights how Iris lowers the entry barrier for shader enjoyment — especially for players without dedicated GPUs.
Troubleshooting Common Issues
Despite careful setup, problems can arise. Here’s how to resolve frequent obstacles:
- Game crashes on startup: Verify Iris version matches your Minecraft version. Remove any conflicting mods like OptiFabric or OptiFine .jar files.
- Shaders appear flat or broken: Ensure the shader pack supports Iris. Some legacy packs require OptiFine-specific features.
- No “Shaders” option in video settings: Confirm Iris .jar is in the correct
modsfolder and the game launched with Fabric. - Black screen or OpenGL errors: Update GPU drivers. On laptops, ensure Minecraft runs on the discrete GPU via NVIDIA Control Panel or AMD Software.
Frequently Asked Questions
Can I use Iris Shaders with other mods?
Yes, Iris works well alongside most Fabric-compatible mods such as Sodium, Lithium, and Phosphor. However, avoid installing OptiFine or OptiFabric, as they conflict directly with Iris.
Is Iris Shaders free?
Absolutely. Iris is open-source and completely free to download and use. There are no premium tiers or locked features.
Do I need OptiFine to use shader packs with Iris?
No. Iris replaces OptiFine entirely for shader functionality. Most major shader packs now offer Iris-compatible versions, eliminating the need for OptiFine altogether.
Final Checklist Before Launching
📋 Installation Verification Checklist:- ✅ Installed Fabric Loader for correct Minecraft version
- ✅ Created dedicated Fabric profile in launcher
- ✅ Placed Iris .jar file in
modsfolder - ✅ Downloaded and installed a compatible shader pack
- ✅ Launched game successfully with Iris detected
- ✅ Selected and activated shader from in-game menu
- ✅ Adjusted render settings for optimal performance
Bring Your World to Life
With Iris Shaders properly installed, your Minecraft universe gains depth, atmosphere, and emotional resonance. Sunlight filters through leaves with golden precision, water ripples with lifelike refraction, and nightfall wraps the landscape in cinematic shadow. This isn’t just a visual upgrade — it’s a redefinition of how the game feels to play.
Now that your setup is complete, explore different shader packs, experiment with settings, and share your screenshots with the community. Whether you're building grand cities or surviving deep underground, Iris ensures every moment looks as stunning as it plays.


 浙公网安备
33010002000092号
浙公网安备
33010002000092号 浙B2-20120091-4
Comments
No comments yet. Why don't you start the discussion?