
Facebook connects billions of people, but with that connectivity comes the need for careful privacy management. One of the most overlooked yet powerful aspects of your digital footprint on the platform is how your friend list is shared. Whether you're concerned about professional visibility, personal safety, or simply want more control over your social presence, adjusting who can see your friends is a crucial first step.
Your friend list isn't just a directory—it reveals relationships, networks, and potentially sensitive affiliations. By default, Facebook sets many profiles to \"Public\" or \"Friends of Friends,\" which may expose more than you intend. This guide walks you through practical steps to take full control of your friend list visibility across devices and scenarios.
Why Friend List Privacy Matters
Many users assume that only their friends can see who they’re connected to. That’s not always true. If your settings are set to “Public,” anyone—strangers, employers, marketers—can view your entire network. This exposure can lead to unwanted contact, data scraping, or even social engineering attempts.
Consider this: A 2023 report from the Pew Research Center found that 64% of social media users have adjusted their privacy settings in the past year due to concerns about data misuse. Yet, fewer than half had reviewed who could see their friend lists. Controlling this setting enhances both personal security and digital autonomy.
“Your friend list is a map of your social graph. In the wrong hands, it can reveal patterns of behavior, affiliations, and vulnerabilities.” — Dr. Lena Torres, Digital Privacy Researcher at Stanford University
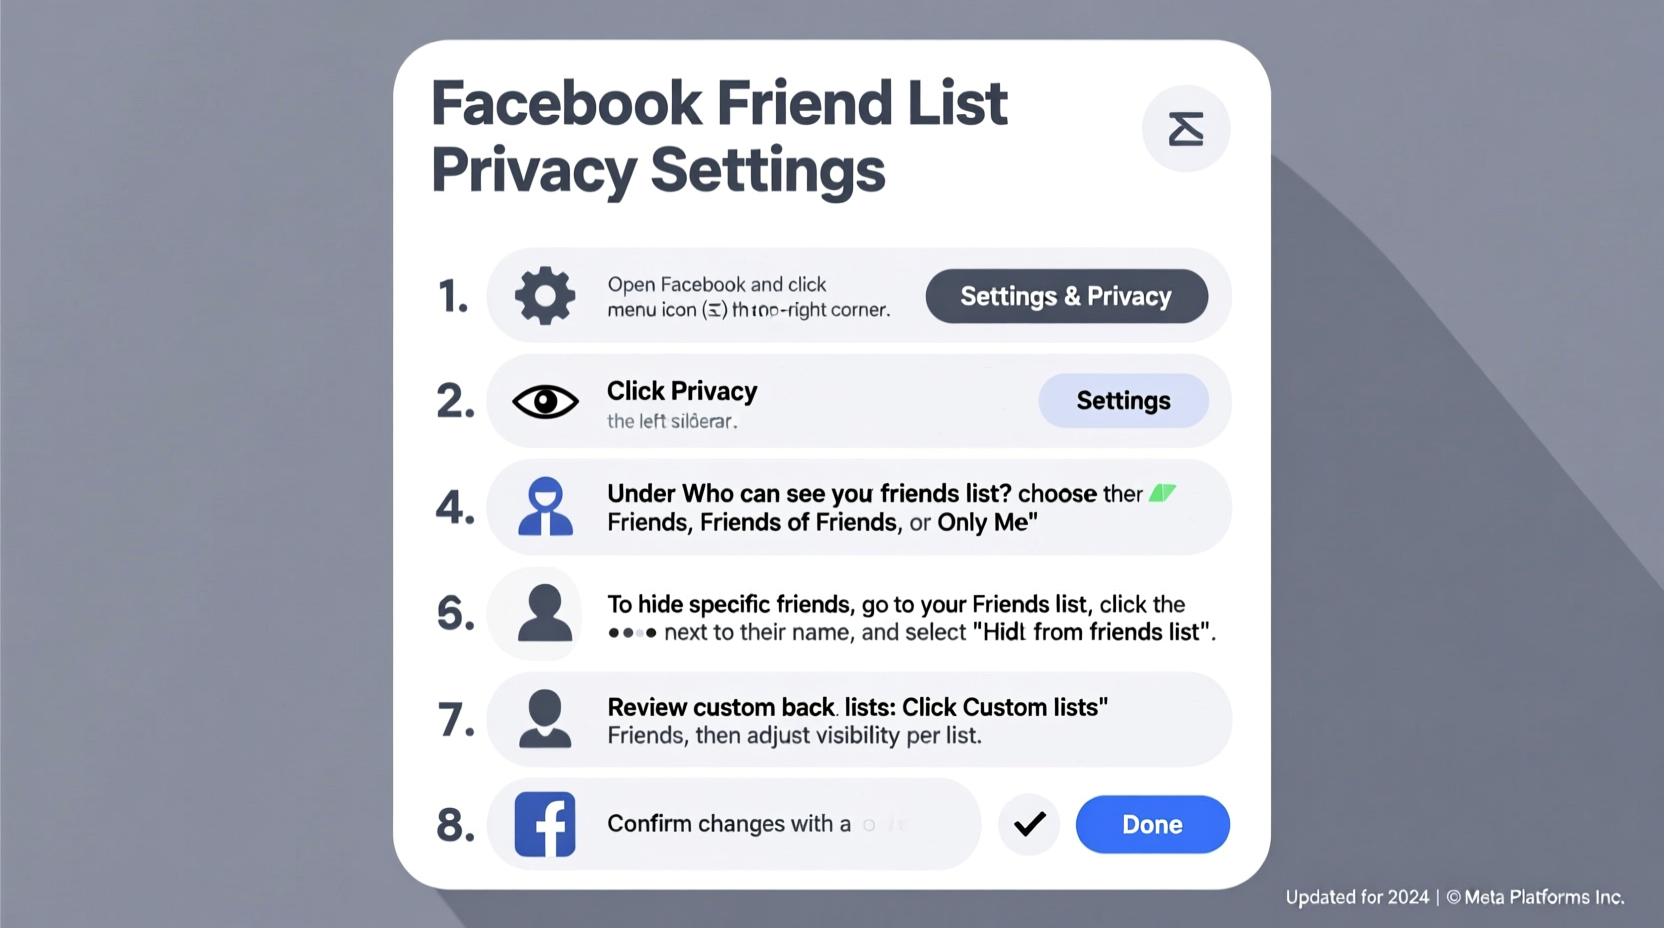
Step-by-Step: How to Change Friend List Privacy on Desktop
If you're using Facebook on a computer, follow these clear steps to adjust who sees your friends:
- Log in to your Facebook account via a web browser.
- Navigate to your profile by clicking your name in the top-right menu.
- Below your cover photo, locate the “Friends” section and click it.
- Click the three dots (⋯) next to “See All Friends.”
- Select “Edit the Privacy” from the dropdown menu.
- Choose your desired audience: “Only Me,” “Friends,” “Friends Except Acquaintances,” or “Specific Friends.”
- Click “Save Changes” to apply the new setting.
This change applies globally to your entire friend list. Once updated, only the selected audience will be able to view who you're friends with when visiting your profile.
Adjusting Friend List Visibility on Mobile Devices
The Facebook mobile app offers similar controls, though the navigation differs slightly between iOS and Android.
For iPhone and Android Users:
- Open the Facebook app and tap your profile picture in the top-left corner.
- Scroll down and tap “Friends” under your profile info.
- Tap the three dots (⋯) in the top-right corner.
- Select “Edit Privacy.”
- Tap the current audience label (e.g., “Public”) and choose a new option.
- Select “Save” to confirm.
Note: The interface may vary slightly depending on app updates, but the core path remains consistent. Always ensure your app is updated to access the latest privacy tools.
Customizing Privacy for Individual Friends
While you can’t hide specific friendships selectively from certain people without hiding the entire list, Facebook allows nuanced control through its “Audience Selector” tool. You can also use the “Close Friends” and “Acquaintances” lists to manage what different groups see in other contexts.
To create or edit friend lists:
- Go to your profile > Friends > See All Friends.
- Click “Create List” or edit an existing one (e.g., “Work,” “Family”).
- Add or remove people as needed.
- Use these lists later when posting content to limit visibility.
Although these lists don’t directly hide your overall friend list from others, they empower targeted sharing—helping you maintain boundaries without severing connections.
Do’s and Don’ts of Friend List Privacy
| Do’s | Don’ts |
|---|---|
| Do review your settings every few months. | Don’t assume your settings stay the same after Facebook updates. |
| Do use “Only Me” if privacy is a priority. | Don’t leave your list public if you share personal posts. |
| Do educate family members or teens on these settings. | Don’t ignore friend requests from strangers—they expand your visible network. |
| Do use custom lists for targeted content sharing. | Don’t rely solely on unfriending to manage visibility. |
Real-World Scenario: Protecting Professional Boundaries
Sarah, a marketing consultant, noticed that clients were viewing her personal friendships, including ex-partners and distant relatives she hadn’t spoken to in years. After landing a corporate contract, she realized her public friend list could be perceived as unprofessional.
She followed the desktop steps outlined above and changed her friend list visibility to “Only Me.” She also created a “Clients & Colleagues” list to share industry-related updates without exposing her personal circle. Within weeks, she felt more confident sharing content knowing her network was no longer on display.
This case illustrates how small privacy adjustments can significantly impact professional perception and personal comfort.
Common Questions About Friend List Privacy
Can someone tell if I’ve hidden my friends list?
No. When you set your friend list to “Only Me,” others won’t receive notifications or alerts. They’ll simply see a message like “This person hasn’t shared their friends list” when visiting your profile.
Does hiding my friends affect mutual friend suggestions?
Yes, to some extent. Facebook may still suggest mutual friends based on interactions (likes, comments), but hiding your list reduces the accuracy of network-based recommendations.
Will my friends know if I change my privacy settings?
No. Facebook does not notify friends when you update your privacy settings. Changes are silent and immediate.
Checklist: Securing Your Facebook Friend List
Follow this actionable checklist to fully secure your friend list privacy:
- ✅ Log in to Facebook on desktop or mobile.
- ✅ Navigate to your Friends section.
- ✅ Click the privacy edit option (three dots).
- ✅ Set audience to “Only Me” or “Friends.”
- ✅ Save changes and test by logging out or using a secondary account.
- ✅ Review friend requests monthly; remove unknown accounts.
- ✅ Create custom lists for safer content sharing.
- ✅ Repeat this process every 90 days or after major Facebook updates.
Take Control of Your Digital Identity
Your Facebook profile is more than a social space—it's part of your digital identity. Who sees your friends shapes how you're perceived online, influences algorithmic recommendations, and affects your personal security. Taking just ten minutes to adjust your friend list privacy can prevent long-term exposure and give you peace of mind.
Privacy isn’t about secrecy; it’s about choice. You decide who gets insight into your relationships. Don’t leave that decision to default settings shaped by engagement metrics rather than user well-being.


 浙公网安备
33010002000092号
浙公网安备
33010002000092号 浙B2-20120091-4
Comments
No comments yet. Why don't you start the discussion?