
Selling unused or extra event tickets can turn a missed opportunity into a financial win. TickPick, a popular fan-to-fan ticket marketplace, offers a streamlined platform for reselling concert, sports, and theater tickets with transparency in seating and competitive pricing. However, simply listing a ticket doesn’t guarantee a sale. Success depends on timing, pricing strategy, and presentation. This guide walks through the entire process—from account setup to final payout—with actionable insights to help you sell quickly and profitably.
Understanding How TickPick Works
Unlike traditional resale platforms that act as brokers, TickPick operates as a transparent exchange where buyers compare seat locations and prices across multiple sellers. Every listing shows an interactive seat map, allowing purchasers to choose the exact seats they want. As a seller, you set your price, but market competition plays a major role in whether your listing stands out.
Tickets are typically listed as either “Verified Resale” (original barcode guaranteed) or standard resale. The platform charges a commission on successful sales—usually between 10% and 15%, depending on the event and demand—but there are no upfront listing fees. Payouts are processed via direct deposit or PayPal after the event concludes, ensuring buyer delivery before funds are released.
“Sellers who price strategically and list early see up to 3x higher conversion rates than those who wait until the last week.” — Jason Reed, Secondary Ticket Market Analyst
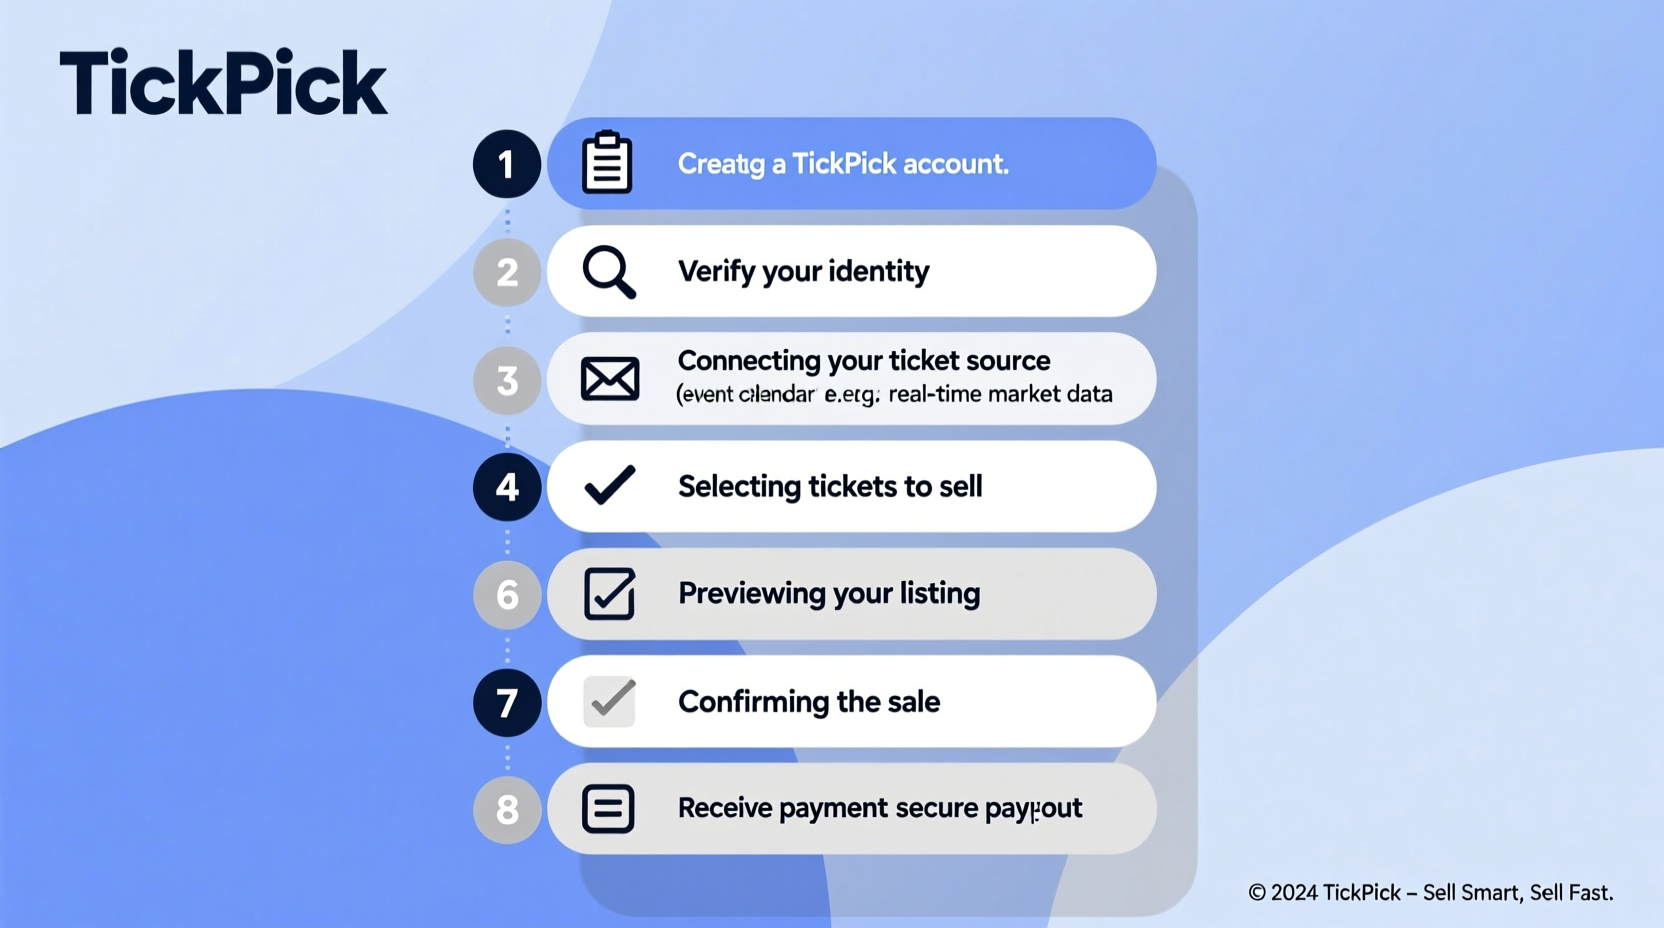
Step-by-Step Process to Sell on TickPick
Step 1: Create and Verify Your Account
Visit tickpick.com and sign up using your email or social media account. Complete profile verification by providing a government-issued ID and linking a valid payment method. Verified accounts gain buyer trust and unlock faster payouts.
Step 2: Locate Your Event
Use the search bar to find the event you’re selling tickets for. Ensure the date, venue, and section match your tickets exactly. If the event isn’t live on TickPick yet, you can request it be added, though this may delay your listing window.
Step 3: Enter Ticket Details
Select the specific seats you’re selling. You’ll need to input:
- Section number
- Row
- Seat numbers
- Number of tickets (if selling in pairs or groups)
- Original price (optional but helpful for buyer context)
Step 4: Set a Competitive Price
This is the most critical step. Check the current lowest price for identical or nearby seats. Pricing 5–10% below the current lowest listing can make your ticket appear at the top of buyer filters. Avoid overpricing based on sentimental value; the market rewards realism.
Step 5: Confirm and Publish
Review all details for accuracy. Once published, your listing goes live instantly. You’ll receive email notifications when someone purchases your tickets or asks a question.
Step 6: Deliver Tickets Securely
After a sale, deliver tickets through TickPick’s secure upload system. Acceptable formats include PDFs, mobile screenshots (with visible barcodes), or physical tickets shipped via insured mail if required. Do not send tickets outside the platform.
Step 7: Receive Payment
Payouts are issued 2–5 business days after the event ends. Funds go directly to your linked bank account or PayPal. Keep track of transaction history for tax reporting, especially if you're a frequent seller.
Pricing Strategies That Work
Setting the right price separates fast sellers from stagnant listings. Consider these approaches:
- Undercut Slightly: Be the lowest-priced option in your row or section.
- Bundle Smartly: Offer a small discount for buying two or more tickets together.
- Dynamic Pricing: Monitor demand weekly and adjust prices down as the event date nears.
| Pricing Strategy | Best For | Expected Time to Sell |
|---|---|---|
| 10–15% below market | High-demand events (playoffs, festivals) | 1–7 days |
| Match current low price | Moderate interest events | 1–3 weeks |
| 10% above average | Rare or premium seats | Unsold or last-minute |
Real Example: Selling Concert Tickets Before the Rush
Sophia bought two front-row Taylor Swift Eras Tour tickets for $420 each but had to cancel due to a work conflict. She listed them on TickPick three weeks before the concert. Initially priced at $600 each, they received views but no offers. After analyzing competing listings, she reduced her price to $540—$30 below the next closest seller in her section. Within 48 hours, both tickets sold. After fees, she earned $1,026, recovering over 80% of her initial investment.
Her success came from balancing competitiveness with realistic expectations—and acting before the final week, when panic buyers disappear and prices plummet.
Common Mistakes to Avoid
Even experienced sellers make errors that delay or derail sales. Watch out for these pitfalls:
- Inaccurate Seat Information: Mislabeling a row or section leads to disputes and potential account penalties.
- Waiting Until the Last Minute: Demand peaks 10–14 days pre-event. Waiting too long reduces visibility.
- Ignoring Buyer Messages: Prompt responses build trust and close sales faster.
- Overpricing Based on Face Value: The original price rarely reflects resale value, especially for lower-demand events.
Frequently Asked Questions
Can I sell partial lots, like one ticket from a pair?
Yes, you can list individual tickets. However, keep in mind that many buyers prefer matching pairs, so single tickets may take longer to sell unless priced aggressively.
What happens if my tickets don’t sell?
If your tickets don’t sell, there’s no penalty. You can relist them later, lower the price, or explore other platforms. TickPick does not charge for unsold listings.
Are there any restricted events on TickPick?
Some events have resale restrictions due to local laws or artist policies. These will be clearly marked. Always check the event page for resale eligibility before purchasing tickets intended for resale.
Final Checklist Before Listing
Ensure your listing is optimized for success with this quick checklist:
- ✅ Account fully verified with ID and payment method
- ✅ Exact event, date, and venue confirmed
- ✅ Seat numbers and row entered correctly
- ✅ Price checked against current market listings
- ✅ Ticket format ready for upload (PDF, screenshot, etc.)
- ✅ Communication settings enabled for buyer messages
Maximize Your Success on TickPick
Selling tickets on TickPick is straightforward—but mastering it requires strategy. By listing early, pricing smartly, and staying responsive, you position yourself ahead of the competition. Whether you’re offloading a last-minute cancellation or capitalizing on high-demand access, the platform gives you control over your resale experience. Use the tools available, monitor your listing performance, and don’t hesitate to adjust your approach.


 浙公网安备
33010002000092号
浙公网安备
33010002000092号 浙B2-20120091-4
Comments
No comments yet. Why don't you start the discussion?