
Every pet owner knows how crucial identification is. A lost dog without proper ID can face serious risks, from prolonged separation to permanent loss. While microchips are valuable, a visible dog tag remains the fastest way for someone who finds your pet to contact you. That’s where PetSmart’s in-store dog tag machines come in—offering fast, affordable, and fully customizable ID tags in minutes. This guide walks you through every detail of using the machine effectively, ensuring your pet gets a durable, legible, and personalized tag that meets their needs.
Why Use the PetSmart Dog Tag Machine?
PetSmart stores across the U.S. feature self-service kiosks that allow customers to design and produce engraved pet ID tags on the spot. These machines eliminate the wait associated with online orders and provide immediate peace of mind. Unlike third-party vendors, PetSmart’s system uses high-quality metal tags and industrial engraving tools designed to withstand daily wear. The process is intuitive, takes under five minutes, and costs significantly less than many boutique pet tag services.
According to Dr. Linda Harper, a veterinary behaviorist with over 15 years of clinical experience:
“Visible ID tags are the first line of defense when a pet goes missing. Even the most responsible owners can have accidents—a gate left open, a leash slip. A well-engraved tag increases recovery odds by over 60%.” — Dr. Linda Harper, DVM
Step-by-Step Guide to Using the PetSmart Dog Tag Machine
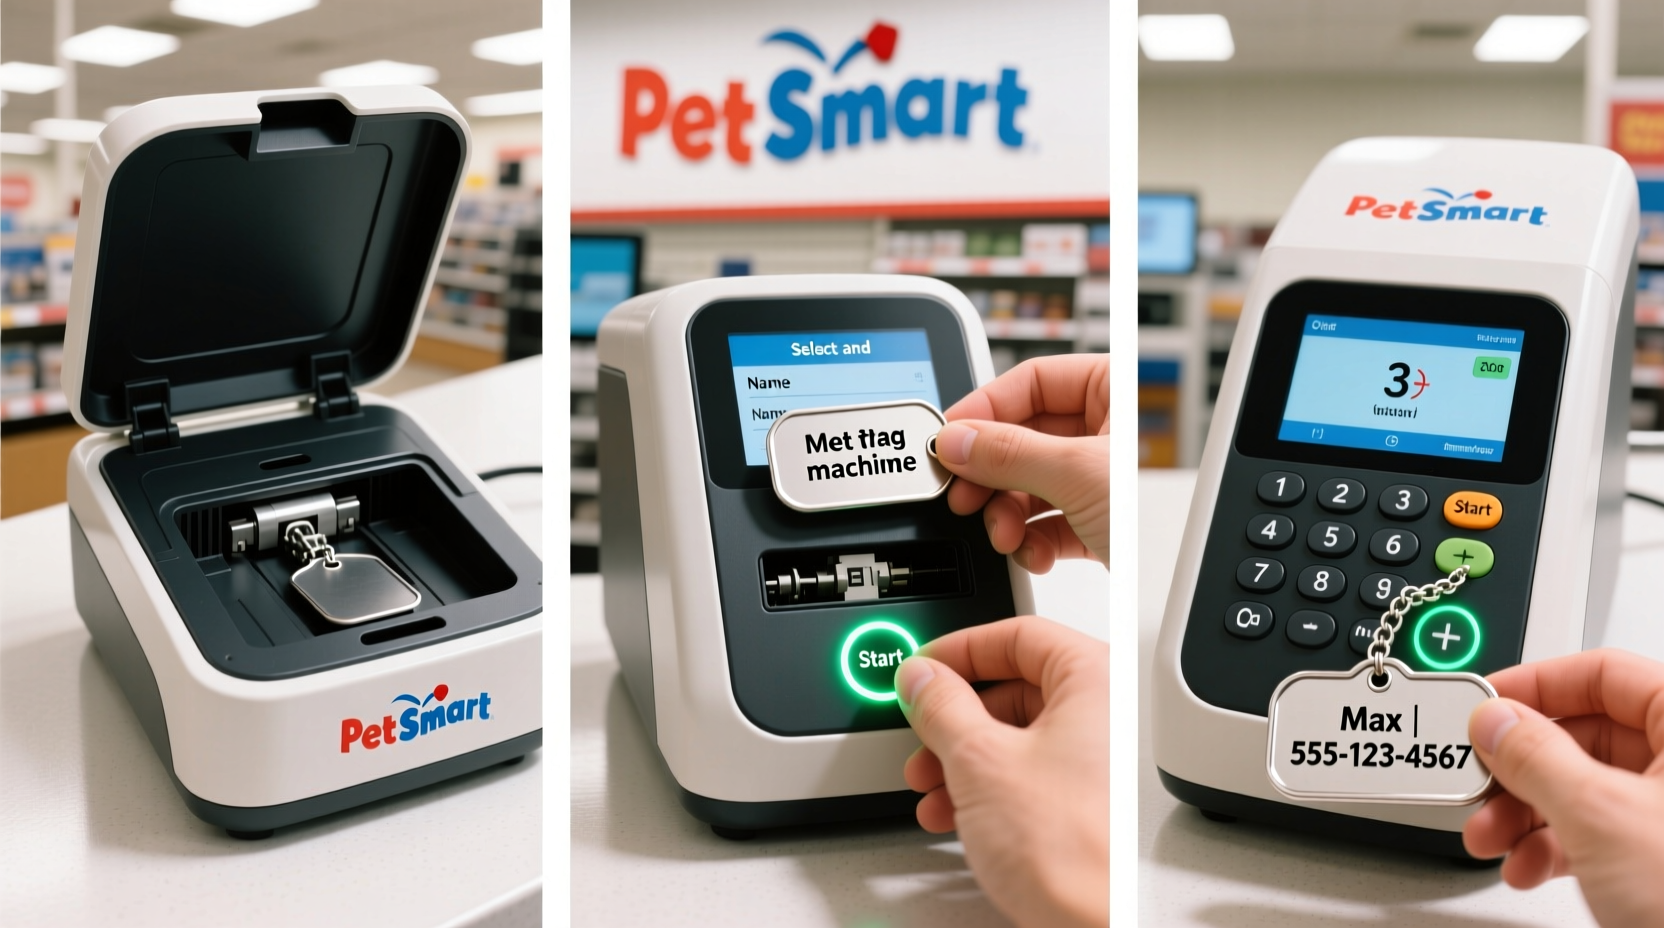
The process is designed for ease and efficiency. Follow these steps carefully to create a professional-quality tag during your next store visit.
- Locate the Tag Machine: Most PetSmart locations place the kiosk near the front entrance or beside the grooming counter. Look for a touchscreen station labeled “Pet ID Tags” or “Custom Dog Tags.” If unsure, ask a store associate—they’re trained to assist.
- Select Your Tag Style: Choose from a variety of shapes (round, bone-shaped, heart, rectangle) and materials (stainless steel, aluminum, brass). Stainless steel is recommended for durability, especially for active dogs.
- Pick a Size: Tags typically range from 1 inch to 1.5 inches in diameter. Larger breeds benefit from bigger tags for longer information; small dogs do well with compact designs to avoid noise or discomfort.
- Customize the Engraving: This is the core step. You’ll input up to four lines of text. Common formats include:
- Line 1: Dog’s Name (e.g., “Max”)
- Line 2: Owner’s Phone Number (e.g., “555-123-4567”)
- Line 3: Home Address or City (e.g., “Brooklyn, NY”)
- Line 4: Special Note (e.g., “I’m microchipped” or “Allergic to chicken”)
- Preview and Edit: Before finalizing, use the preview function. Check spacing, capitalization, and clarity. The machine may suggest abbreviations if text exceeds space limits (e.g., “St.” instead of “Street”).
- Confirm and Pay: Prices vary by material and size but generally range from $8.99 to $14.99. Payment is accepted via credit/debit card only. Once paid, the machine automatically engraves and cuts the tag.
- Attach to Collar: Retrieve your tag from the output tray and snap it onto your dog’s collar using the included split ring. Ensure it’s secure but not tight against the metal clasp.
Best Practices for Effective Tag Design
While customization is fun, the primary goal is functionality. An overly decorative or cluttered tag may look appealing but reduce readability. Consider the following guidelines when designing your tag.
| Do’s | Don’ts |
|---|---|
| Use clear, simple fonts (avoid script styles) | Overload with emojis or symbols (not supported anyway) |
| Include at least one phone number | Put your full home address (privacy risk) |
| Add a note like “Reward if found” | Use all caps for every word (harder to read) |
| Choose contrasting finishes (e.g., black-filled engraving on silver) | Select fragile or noisy tag shapes |
Real-Life Example: How a Tag Made the Difference
Sarah Thompson, a pet owner from Austin, Texas, shared her story after her Australian Shepherd, Daisy, slipped out during a neighborhood storm. “The wind blew the gate open, and she bolted,” Sarah recalled. “I searched for hours, posted online, called shelters. Two days later, a neighbor spotted Daisy two miles away and used the phone number on her PetSmart tag to call me directly.”
Sarah had created the tag just three weeks earlier using the in-store machine. “I almost skipped it because I thought the microchip was enough. But the person who found her didn’t have a scanner. The tag was what brought Daisy home.”
What Information Should You Include?
Balance usefulness with privacy. You want anyone who finds your dog to be able to reach you quickly—but without exposing sensitive data. Here’s a recommended checklist:
- ✅ Pet’s name (helps build trust when calling them)
- ✅ Primary phone number (preferably mobile)
- ✅ City or neighborhood (helpful if far from home)
- ✅ “Microchipped – Contact Vet” (encourages scanning)
- ✅ Medical alert (if critical, e.g., “Diabetic – Needs insulin”)
- ❌ Full street address (security risk)
- ❌ Email address (slower than a phone call)
- ❌ Owner’s full name (unnecessary and private)
Frequently Asked Questions
Can I edit or fix a tag after it’s been made?
No. Once the tag is engraved and dispensed, it cannot be altered. If there’s an error, you’ll need to purchase a new one. That’s why previewing carefully is essential.
How long does the engraving last?
PetSmart uses deep laser-style engraving on durable metals. Under normal conditions, text should remain legible for 3–5 years or longer. Exposure to saltwater, mud, or excessive friction may accelerate wear.
Are the tags waterproof?
Yes. Stainless steel and aluminum tags are rust-resistant and suitable for dogs that swim or live in humid climates. However, it’s wise to rinse the tag occasionally if exposed to chlorine or ocean water.
Final Tips for Success
To get the most out of the PetSmart dog tag machine, keep these points in mind:
- Visit during off-peak hours: Weekday mornings are often quieter, giving you time to focus without feeling rushed.
- Bring your dog’s collar: Test the tag size and fit before leaving the store. Some large tags may not fit narrow collars.
- Update tags annually: Reassess your contact info and your dog’s needs each year. Change numbers, add medical notes, or upgrade materials as needed.
- Keep a backup: Consider making a second tag as a spare, especially if your dog is prone to losing gear.
Conclusion
Creating a custom ID tag at PetSmart isn’t just convenient—it’s a proactive step in responsible pet ownership. With just a few minutes and under $15, you can give your dog a lifeline that might one day bring them safely back to you. The machine is user-friendly, the results are professional, and the peace of mind is priceless. Next time you’re shopping for treats or toys, take a moment to stop by the tag kiosk. Your dog’s safety deserves more than hope—it deserves a plan.


 浙公网安备
33010002000092号
浙公网安备
33010002000092号 浙B2-20120091-4
Comments
No comments yet. Why don't you start the discussion?