
Air conditioning units are essential for comfort during hot months, but when you notice a puddle forming around your indoor unit, it’s time to pay attention. Water leakage from an AC unit is more than just a mess—it can lead to water damage, mold growth, and reduced cooling efficiency. While some leaks are minor and easy to fix, others indicate deeper mechanical issues. Understanding the root causes and knowing how to respond can save you money, time, and stress.
Why Air Conditioners Produce Condensation
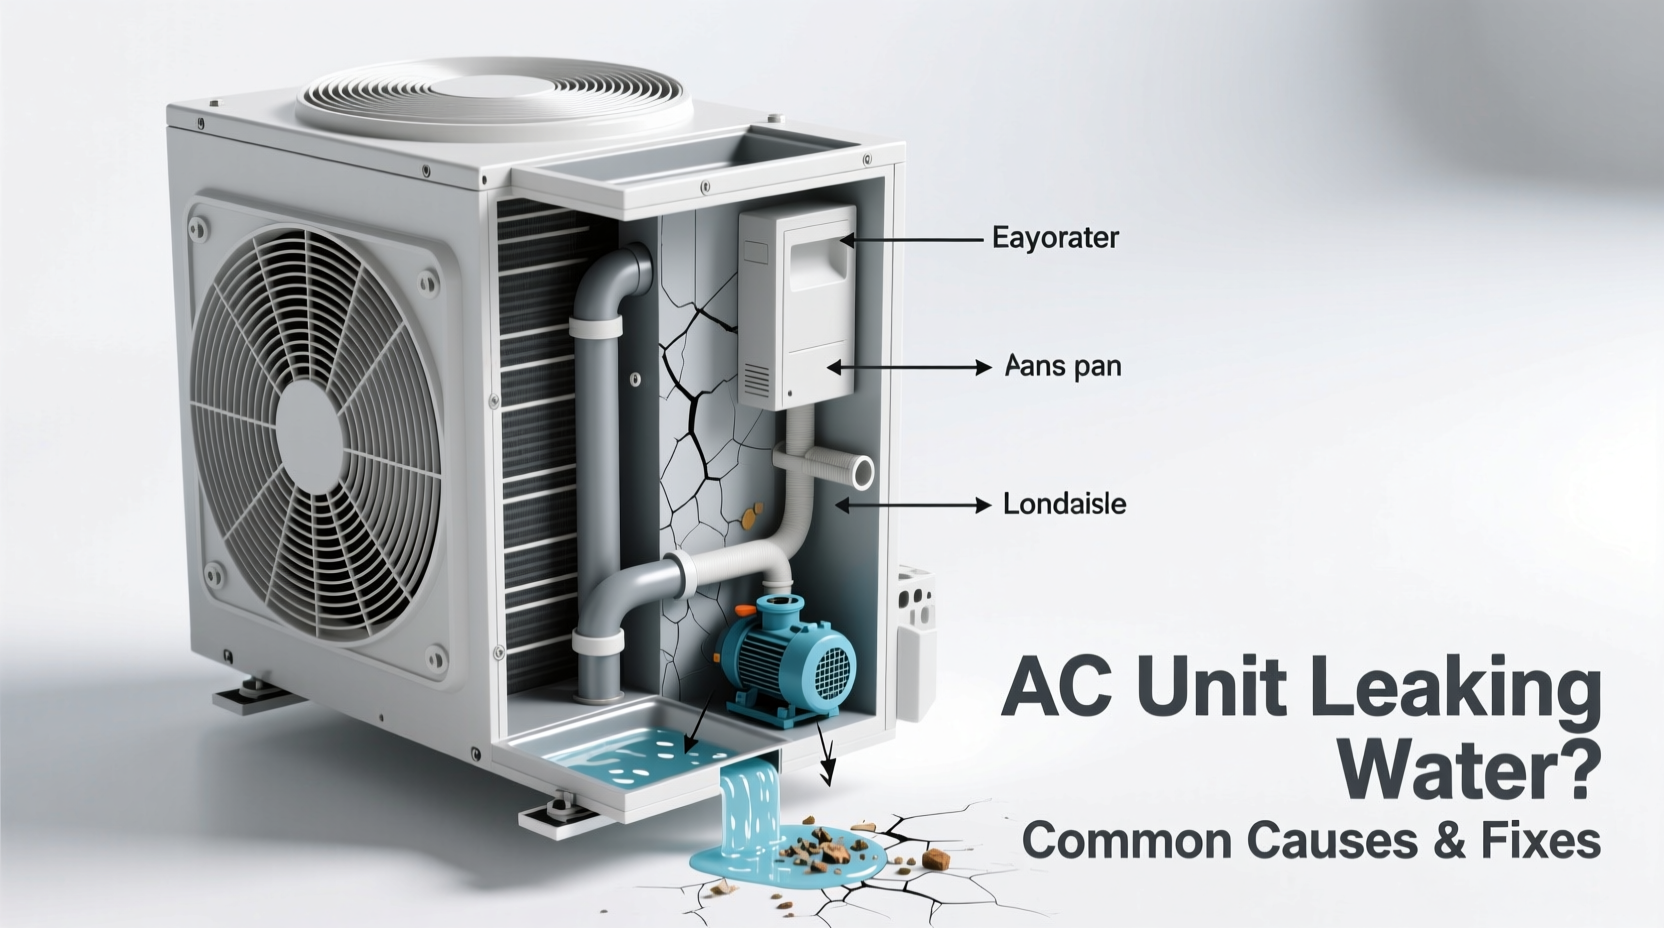
It’s normal for air conditioners to produce condensation as part of their cooling process. Warm indoor air passes over cold evaporator coils, causing moisture in the air to condense into water. This water typically drains through a designated condensate line into a floor drain or outside the home. Problems arise when this drainage system becomes compromised or components fail, leading to leaks.
The key is distinguishing between normal operation and problematic leakage. A small amount of moisture near the outdoor unit may be harmless, especially in humid conditions. But persistent indoor dripping, standing water around the indoor unit, or water stains on ceilings or walls signal a malfunction that requires immediate action.
Common Causes of AC Water Leaks
Several factors can disrupt the proper flow of condensate water. Identifying the cause is the first step toward resolution.
Clogged Condensate Drain Line
The most frequent culprit behind indoor AC leaks is a blocked drain line. Over time, algae, dirt, dust, and microbial growth accumulate inside the PVC pipe, restricting water flow. When the line clogs, water backs up into the drain pan and eventually spills onto the floor.
Dirty or Frozen Evaporator Coils
Evaporator coils remove heat and moisture from the air. If they become dirty due to lack of maintenance, airflow is restricted, causing the coils to freeze. When the ice melts—often rapidly—it overwhelms the drain pan, resulting in overflow and leakage.
Full or Damaged Drain Pan
The drain pan collects condensate before directing it to the drain line. Pans made of rust-prone metal can corrode over time, developing cracks or holes. Plastic pans may warp or degrade after years of use. A compromised pan cannot hold water effectively, leading to leaks even if the rest of the system functions properly.
Improper Installation or Unit Tilt
Indoor AC units must be installed with a slight backward tilt (toward the rear) to encourage water flow into the drain line. If the unit tilts forward due to settling or poor initial installation, water will run the wrong way and drip out the front.
Refrigerant Leak or Low Charge
Low refrigerant levels reduce coil temperature excessively, causing ice buildup. As with dirty coils, melting ice floods the drain pan. While not a direct water source, refrigerant issues indirectly contribute to leaks by disrupting normal thermal dynamics.
Pump Failure (In High-Rise or Attic Installations)
In systems where gravity drainage isn’t possible—such as units installed in attics or upper floors—a condensate pump lifts water to a higher discharge point. If the pump fails or its float switch sticks, water accumulates and spills over.
“Over 60% of service calls for indoor AC leaks are due to clogged drain lines or failed pumps. Regular maintenance prevents most of these.” — James Rutherford, HVAC Technician with 18 years of field experience
Step-by-Step Guide: What to Do When Your AC Is Leaking
If you discover water pooling around your AC unit, follow this sequence to minimize damage and diagnose the issue safely.
- Turn Off the System Immediately
Switch off both the thermostat and the circuit breaker to prevent electrical hazards and further water accumulation. - Contain the Spill
Use towels, mops, or a wet-dry vacuum to remove standing water. Protect flooring and nearby electronics. - Inspect the Drain Pan and Line
Locate the indoor air handler (usually in a closet, basement, or attic). Check if the drain pan is overflowing or cracked. Look for visible blockages in the drain line outlet. - Clean the Drain Line
Use a wet/dry vacuum on the drain line’s exterior opening to dislodge clogs. Alternatively, flush the line with a mixture of vinegar and water (1:1 ratio) to dissolve algae and sludge. - Check Air Filter and Coils
Replace a dirty air filter. If coils appear icy, allow them to thaw completely before restarting the system. - Verify Unit Leveling
Use a level tool to confirm the indoor unit is tilted slightly backward. Adjust mounting brackets if necessary. - Test the Condensate Pump (if applicable)
Pour water into the pump reservoir to see if it activates and drains properly. Clean debris from the inlet and check for stuck float switches. - Restart and Monitor
Once cleared, restore power and observe the system for at least 30 minutes. Watch for recurring leaks.
Preventive Maintenance Checklist
Regular upkeep significantly reduces the risk of leaks. Use this checklist monthly or before each cooling season:
- ✅ Replace or clean air filters every 1–3 months
- ✅ Flush condensate drain line with vinegar solution
- ✅ Inspect drain pan for corrosion or warping
- ✅ Clear debris from outdoor unit to maintain airflow
- ✅ Schedule annual professional HVAC inspection
- ✅ Test condensate pump operation (if installed)
- ✅ Ensure drain line has no sagging sections where water can pool
Real Example: Resolving a Recurring Attic Unit Leak
Homeowner Maria L. in Houston noticed water stains appearing on her second-floor ceiling each summer. She’d mop up the mess but assumed it was humidity-related. After repeated incidents, she called an HVAC technician. Inspection revealed her attic-mounted air handler had a failing condensate pump. The float switch was stuck, preventing automatic shutoff when the pump failed. Water backed up and leaked through the ceiling register.
The technician replaced the pump, added an auxiliary overflow switch, and recommended quarterly maintenance. Since the repair, Maria hasn’t had a single leak—even during record-breaking heat waves. Her case highlights how hidden installations require extra vigilance and smart safety features.
Do’s and Don’ts: Managing AC Leaks
| Do’s | Don’ts |
|---|---|
| Turn off power before inspecting leaks | Ignore small drips—they often worsen |
| Clean the drain line regularly | Use chemical drain cleaners that can damage PVC pipes |
| Replace air filters consistently | Run the AC with a dirty filter or frozen coils |
| Hire a licensed technician for refrigerant issues | Attempt DIY repairs on refrigerant lines (illegal and dangerous) |
| Install a secondary drain pan under attic units | Let standing water sit—mold can grow in 24–48 hours |
Frequently Asked Questions
Is it normal for my AC to drip water outside?
Yes. Outdoor dripping is usually condensation from the condenser unit or drain line discharge. However, excessive or continuous outdoor leakage could indicate internal problems like overcooling or improper drainage slope.
Can a leaking AC cause mold?
Yes. Standing water near insulation, ductwork, or drywall creates ideal conditions for mold growth. Mold can compromise indoor air quality and lead to health concerns, especially for allergy sufferers. Address leaks promptly and ensure areas are thoroughly dried.
How much does it cost to fix a leaking AC unit?
Costs vary by issue. Simple drain line cleaning may cost $75–$150. Replacing a condensate pump runs $200–$500. Major repairs like coil replacement or refrigerant recharge can exceed $1,000. Annual maintenance plans ($150–$250/year) often prevent costly emergencies.
Conclusion: Act Now, Avoid Bigger Problems Later
A leaking AC unit is a warning sign—not just an inconvenience. Left unattended, minor leaks escalate into structural damage, mold infestations, and premature system failure. Most causes are preventable with routine care and early detection. By understanding how your AC manages condensation and taking swift action when leaks occur, you protect your home and extend your system’s lifespan.


 浙公网安备
33010002000092号
浙公网安备
33010002000092号 浙B2-20120091-4
Comments
No comments yet. Why don't you start the discussion?