
For many gamers, the golden era of pixelated sprites, chiptune soundtracks, and simple yet addictive gameplay remains unmatched. The nostalgia of booting up a Super Nintendo or inserting a Sega Genesis cartridge is more than sentiment—it’s a cultural touchstone. But reliving those moments shouldn’t require deep pockets or rare collector’s items. Today, there are numerous affordable and reliable ways to enjoy a genuine retro gaming experience, whether through original hardware, modern recreations, or carefully optimized emulators.
The key lies in balancing authenticity, cost, and usability. Some players want the tactile feel of original controllers and cartridges; others prioritize plug-and-play simplicity or high-definition output. Fortunately, the current market offers solutions across all these needs—all while staying within reasonable budgets.
Original Hardware: Authenticity on a Budget
Playing on original consoles delivers the most authentic retro experience. The input lag, controller ergonomics, and even the slight screen flicker contribute to a nostalgic immersion no emulator can perfectly replicate. However, finding working systems at fair prices requires patience and some technical awareness.
Classic consoles like the NES, SNES, Sega Genesis, and Nintendo 64 can often be found secondhand for $30–$80, especially if purchased from local thrift stores, online marketplaces, or garage sales. The trick is avoiding overpriced \"collector's editions\" unless you're specifically curating rare variants.
One common issue with aging hardware is capacitor degradation, which can lead to audio static or power failure. Refurbished units from reputable sellers (such as Retro Game Repair or Consolevariations) often include recapped motherboards and cleaned AV ports, offering better long-term reliability for under $100.
Modern Reproductions: Plug-and-Play Perfection
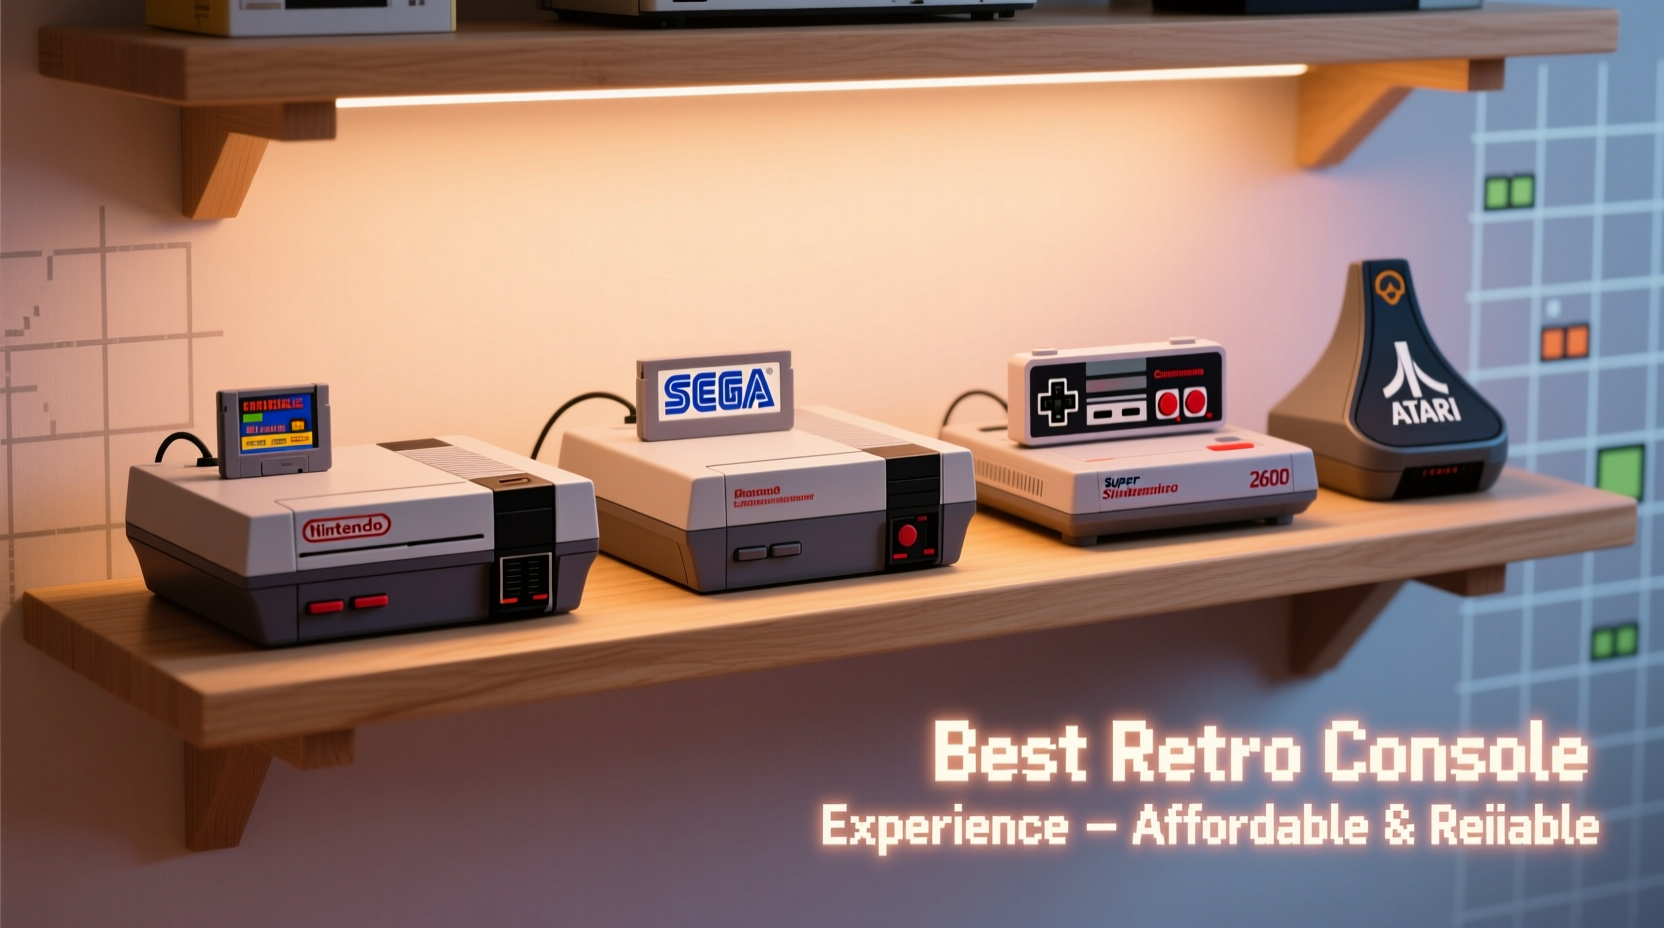
Over the past decade, companies have released officially licensed mini versions of classic consoles. Devices like the Nintendo Classic Mini: NES/SNES, Sega Genesis Mini, and Atari Flashback series offer curated game libraries in compact, HDMI-ready packages.
These devices typically retail between $50 and $70 and come preloaded with 20–40 titles. While they lack expandability (you can't add your own ROMs), their plug-and-play design, accurate emulation, and faithful controller replicas make them ideal for casual retro fans or gift-givers.
“Mini consoles strike a perfect balance between affordability and accessibility—they’re how most people should start exploring retro gaming.” — James Carter, Editor at *RetroGamer Magazine*
However, supply can be inconsistent. Many mini consoles were limited releases and now trade above MSRP on resale markets. Your best bet is to watch for restocks during holiday seasons or consider open-box deals at electronics retailers.
Open-Source Emulation: Power and Flexibility
For tech-savvy users, building a retro emulation setup offers unmatched flexibility. Platforms like RetroPie, Lakka, or Recalbox turn low-cost single-board computers into powerful multi-system emulators capable of running games from the Atari 2600 up to the PlayStation 1 and beyond.
The Raspberry Pi 4 (4GB model), priced around $55, is the most popular base. With free software and a microSD card, it becomes a full retro hub. Pair it with USB controllers (many third-party SNES-style pads cost under $15), and you’ve got a system that supports thousands of games across dozens of platforms.
Step-by-Step: Building a Basic RetroPie Setup
- Purchase a Raspberry Pi 4 (4GB), power supply, microSD card (32GB+), and HDMI cable.
- Download RetroPie image and flash it to the SD card using Raspberry Pi Imager.
- Insert the card, connect the Pi to your TV, and power it on.
- Configure controllers via the on-screen menu.
- Add ROMs legally (from backed-up cartridges you own) and organize them by system.
- Enjoy instant access to a vast library of retro games in HD.
This approach requires initial setup time but pays off in long-term value and customization. You can tweak shaders for CRT effects, create custom themes, and even integrate save states—features absent in original hardware.
Aftermarket Clones: Affordable Alternatives with Caveats
A growing number of third-party manufacturers produce FPGA-based clones such as the Analogue Pocket (portable), Analogue NT Mini (NES-focused), and budget-friendly alternatives like the Hyperkin Retron 5 or Polymega. These aim to blend original cartridge compatibility with modern enhancements like HDMI output and zero input lag.
While Analogue’s products are premium (often $200+), other brands offer similar functionality at lower price points. For example, the Polymega starts at $180 and supports CD-based systems like the original PlayStation and Sega Saturn—something few emulators handle seamlessly.
| Device | Price Range | Cartridge Support | HDMI Output | Best For |
|---|---|---|---|---|
| Raspberry Pi + RetroPie | $55–$80 | No (ROM files only) | Yes | Customization & variety |
| Nintendo Entertainment System: NES Classic Edition | $50–$100 (used) | No | Yes | Casual players & collectors |
| Polymega | $180+ | Yes (SNES, Genesis, PS1, etc.) | Yes | CD & cartridge hybrid lovers |
| Retron 77 (Atari 2600 Clone) | $90 | Yes | Yes | Original cartridge purists |
| Used SNES (refurbished) | $60–$90 | Yes | No (unless modded) | Authentic gameplay feel |
Real Example: How Sarah Built Her Living Room Retro Station
Sarah, a 32-year-old teacher and lifelong gamer, wanted to introduce her kids to the games she played as a child. She didn’t want to spend hundreds on rare hardware or deal with unreliable eBay purchases. Instead, she opted for a hybrid solution.
She bought a refurbished SNES for $75 from a local retro shop, ensuring it had been tested and cleaned. She paired it with a $20 HDMI converter so it would work on her 4K TV. For broader variety, she set up a Raspberry Pi 4 with RetroPie, loading it with legal ROM backups of games she still owned.
She also picked up a couple of wireless SNES-style controllers for $12 each, allowing both her and her son to play multiplayer titles like *Super Mario World* and *Donkey Kong Country*. Total cost: under $150. “It feels just like I remember,” she said, “but looks crisp on the big screen.”
Checklist: Building Your Affordable Retro Setup
- ✅ Define your priority: authenticity, convenience, or variety?
- ✅ Set a budget (most effective setups cost under $100)
- ✅ Choose a platform: original hardware, mini console, or emulator
- ✅ Source reliable controllers (original or compatible replicas)
- ✅ Ensure video output works with your display (HDMI adapters may be needed)
- ✅ Test performance and adjust settings (e.g., scanlines, audio sync)
- ✅ Store games securely—especially physical cartridges in cool, dry places
Frequently Asked Questions
Is emulation legal?
Emulation itself is legal. However, downloading ROMs for games you don’t physically own infringes copyright law. To stay compliant, back up ROMs only from cartridges you own.
Can I use original controllers with emulators?
Yes. Most retro emulation platforms support USB adapters for original controllers. Products like the Mayflash Magic-SNES or Brook USB adapters let you use genuine SNES, N64, or Genesis pads with a PC or Raspberry Pi.
What’s the cheapest way to start?
The most affordable entry point is a used console like an NES or SNES, often available for under $50. Alternatively, a Raspberry Pi Zero (under $20) can run earlier-generation systems and doubles as a learning tool.
Conclusion: Reconnect with Gaming History—Without the High Cost
The joy of retro gaming doesn’t need to come with a collector’s price tag. Whether you choose original hardware, a polished mini console, or a customizable emulator build, today’s options make it easier than ever to revisit classic titles affordably and reliably. The technology exists not just to preserve gaming history, but to make it accessible, enjoyable, and sharable across generations.


 浙公网安备
33010002000092号
浙公网安备
33010002000092号 浙B2-20120091-4
Comments
No comments yet. Why don't you start the discussion?