
Desktop laser engraving has transitioned from a niche industrial process to an accessible tool for makers, small business owners, educators, and hobbyists. With advancements in diode laser technology and increased competition among manufacturers, it’s now possible to find machines that combine affordability with high performance. The key is knowing which models offer real value—balancing cost, precision, durability, and software compatibility. This guide explores top budget-friendly options, highlights essential features to prioritize, and provides practical advice for selecting a machine that meets both current needs and future ambitions.
What Makes a Desktop Laser Engraver Worth the Investment?
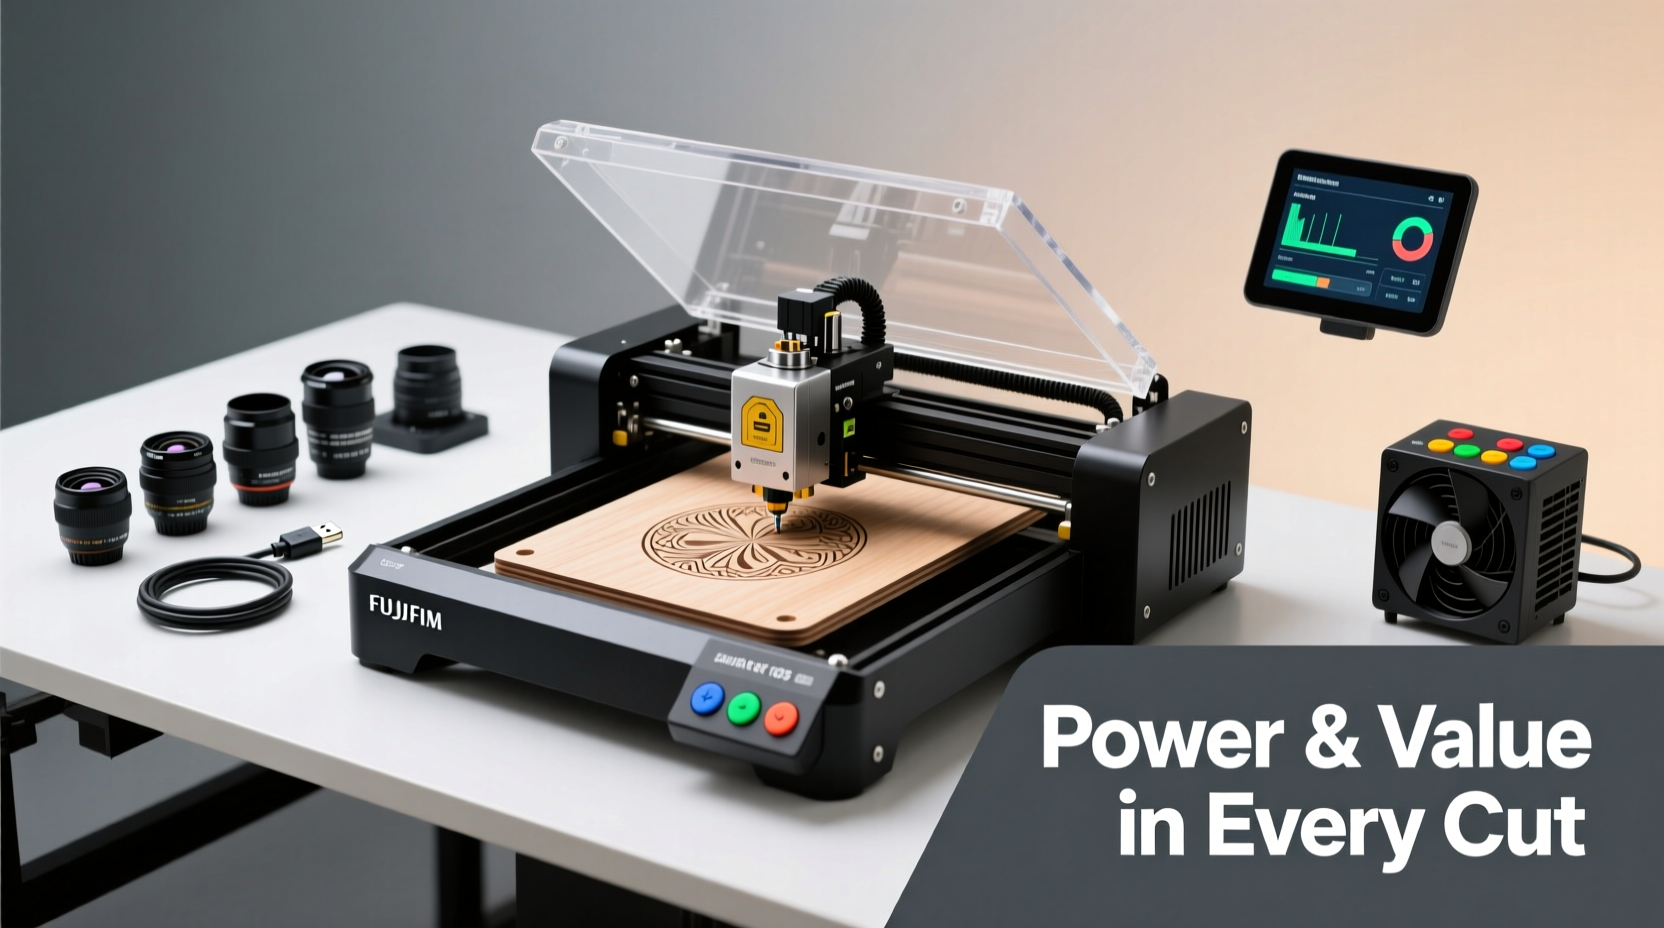
Affordability doesn’t mean compromising on capability. The best value comes from machines that deliver consistent results across materials like wood, leather, acrylic, glass, and coated metals. Modern diode lasers have closed the gap with CO2 systems in many applications, especially when paired with advanced focusing optics and stable build platforms.
Key factors influencing long-term satisfaction include:
- Laser power (405nm–450nm diodes): Ranges from 5W to 20W, affecting engraving depth and speed.
- Build quality: Aluminum frames reduce vibration and improve accuracy.
- Software integration: Compatibility with LightBurn, LaserGRBL, or open-source tools enhances flexibility.
- Cooling and safety: Built-in fans, enclosed designs, and emergency stop functions increase usability.
- Upgradability: Modular components allow for future enhancements like rotary attachments or autofocus modules.
“Today’s sub-$500 laser engravers can achieve 90% of what professionals need—if you choose wisely.” — Raj Patel, MakerSpace Technical Director
Top Affordable Desktop Laser Engravers with Powerful Features
Several brands stand out by offering robust hardware at accessible price points. These are not entry-level toys but capable tools trusted by Etsy sellers, craft studios, and educational labs.
| Model | Laser Power | Work Area | Key Features | Price Range |
|---|---|---|---|---|
| XTool D1 Pro | 20W Diode | 430 x 400 mm | Interchangeable lenses, dual-laser head option, auto-focus, LightBurn compatible | $499–$699 |
| Ortur Laser Master 2S | 16W Diode | 400 x 400 mm | Real-time preview camera, silent TMC drivers, modular design | $399–$479 |
| Sculpfun S30 Pro | 10W/16W Diode | 400 x 400 mm | Air assist, red dot pointer, optional rotary attachment | $329–$429 |
| Comgrow Cyclone Pro | 20W Diode | 430 x 400 mm | Enclosed chassis, HEPA filter port, Wi-Fi control via app | $599–$749 |
The XTool D1 Pro leads in versatility, particularly for users planning to scale production. Its interchangeable lens system allows switching between wide-area marking and fine-detail work. Meanwhile, the Ortur 2S impresses with its integrated camera, enabling precise alignment before engraving—a feature typically found on much more expensive systems.
Essential Features That Maximize Value
When comparing similarly priced machines, subtle differences in features can significantly impact daily use. Prioritize these capabilities to ensure lasting performance:
Auto-Focus Systems
Manual focusing requires guesswork and repeated test runs. Machines with mechanical or capacitive auto-focus detect material height instantly, reducing setup time and errors—especially important when working with uneven surfaces like leather or curved wood.
Red Dot Pointer & Camera Alignment
A red dot shows where the laser will strike, preventing costly misalignment. Higher-end budget models like the Ortur 2S add a live camera feed, letting you frame designs directly over the material using software overlays.
Air Assist Functionality
This small nozzle blows compressed air at the engraving point, clearing debris and minimizing charring. It improves edge definition and extends lens life by reducing residue buildup.
Rotary Attachments
For cylindrical objects—tumblers, pens, bottles—a rotary module is invaluable. Some vendors offer it as an add-on ($50–$100), while others bundle it during promotions.
Open-Source Software Support
Machines compatible with LightBurn (a one-time $60 license) unlock vector editing, batch processing, and multi-device management. Avoid units locked to outdated or buggy manufacturer software.
Step-by-Step: Choosing and Setting Up Your First Laser Engraver
Selecting the right machine involves more than just reading specs. Follow this sequence to make a confident decision:
- Define your primary use case: Are you personalizing gifts, creating signage, or prototyping products? This determines required power and work area size.
- Set a realistic budget: Include costs for accessories (lenses, spare tubes, fumes filters) and software licenses.
- Research community feedback: Check Reddit (r/lasercutting), Facebook groups, and YouTube reviews for long-term reliability reports.
- Purchase from reputable sellers: Look for U.S./EU warehouses if faster shipping and local support matter to you.
- Assemble and calibrate carefully: Level the bed, align the laser head, and run low-power test engravings before full operation.
- Invest in ventilation: Even low-power lasers emit fumes. Use a window exhaust or filtered enclosure, especially indoors.
“I started with a $300 Sculpfun and grew my custom pet tag business into six figures. The machine paid for itself in three months.” — Dana Reyes, Small Business Owner
Frequently Asked Questions
Can affordable laser engravers cut materials, or only mark them?
Most desktop diode lasers under $600 are optimized for engraving rather than cutting. They can cut thin materials like balsa wood, paper, or 3mm plywood with multiple passes, but thick acrylic or metal require CO2 or fiber lasers. Focus on deep engraving if cutting isn’t critical to your projects.
How long do diode laser modules last?
High-quality diodes last 5,000–10,000 hours with proper cooling and maintenance. Avoid running the laser at 100% power continuously; lower speeds with moderate power extend tube life and produce cleaner results.
Are cheaper lasers safe to use at home?
Yes, provided you follow safety protocols. Always wear laser-safe goggles rated for 450nm wavelengths, operate in a well-ventilated space, and never leave the machine unattended. Enclosed models like the Comgrow Cyclone Pro add an extra layer of protection.
Checklist: Before You Buy a Budget Laser Engraver
- ✅ Confirmed compatibility with LightBurn or GRBL software
- ✅ At least 10W laser power for meaningful engraving depth
- ✅ Minimum 400x400mm work area for flexibility
- ✅ Auto-focus or reliable manual focus mechanism
- ✅ Positive user reviews regarding customer support response times
- ✅ Availability of spare parts and upgrade paths
- ✅ Includes basic safety gear (goggles, cover)
Conclusion: Smart Choices Unlock Big Possibilities
The era of laser engraving being exclusive to large workshops is over. Today’s market offers tools that blend affordability with serious capability, empowering creators to produce professional-grade work from a desk. By focusing on build quality, software freedom, and scalable features, even budget-conscious buyers can invest in a machine that grows with their skills. Whether you're launching a side hustle or enhancing classroom projects, the right desktop laser engraver opens doors to precision, personalization, and innovation. Evaluate your needs honestly, prioritize enduring value over upfront savings, and start building something remarkable.


 浙公网安备
33010002000092号
浙公网安备
33010002000092号 浙B2-20120091-4
Comments
No comments yet. Why don't you start the discussion?