
In today’s digital environment, the ability to mirror or extend video across multiple screens is no longer a luxury—it’s a necessity. Whether you're managing a small business presentation, running a classroom with synchronized displays, or building a home media wall, an HDMI splitter offers a cost-effective way to duplicate high-definition content across several monitors. The good news? You don’t need to spend hundreds of dollars to achieve reliable performance. With the right affordable HDMI splitter, you can create a seamless multi-display setup that performs like a premium system.
Understanding HDMI Splitters: What They Do and Why You Need One
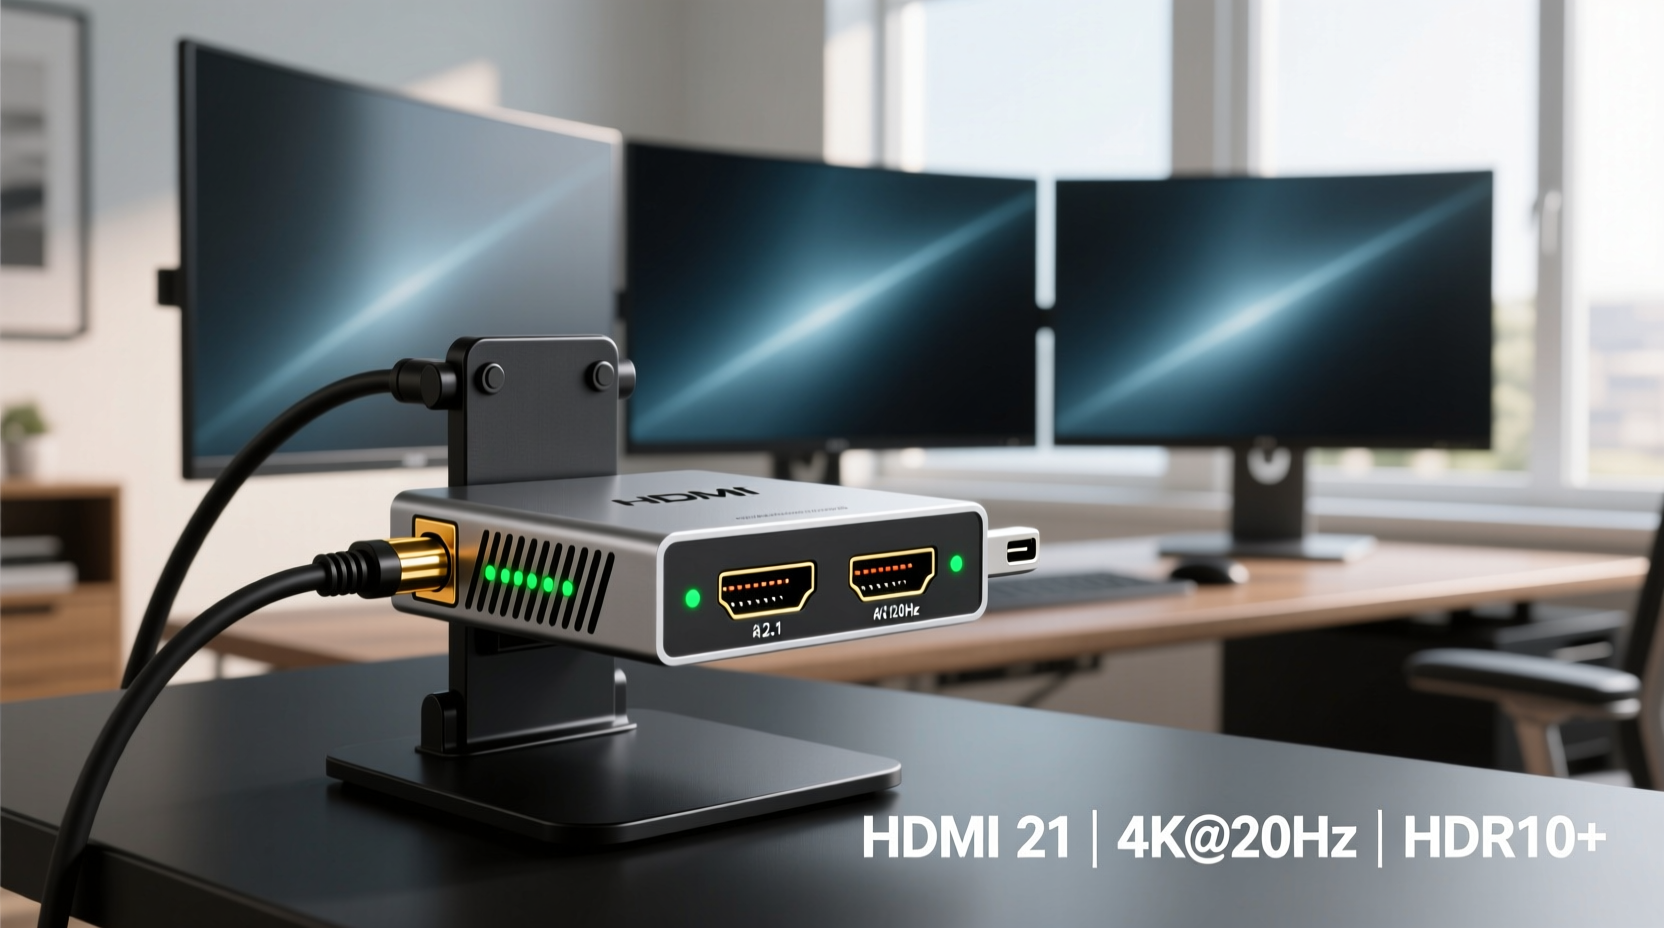
An HDMI splitter takes a single HDMI input signal—such as from a laptop, media player, or gaming console—and duplicates it to two or more HDMI outputs. This allows identical content to appear simultaneously on multiple screens. Unlike HDMI switches (which let you choose between multiple sources), splitters distribute one source to many displays.
This functionality is essential in environments where consistency matters: training rooms, retail kiosks, conference halls, and even home gyms using workout apps across large screens. For budget-conscious users, affordable HDMI splitters deliver professional-grade results without the complexity or price tag of networked AV systems.
“HDMI splitters have democratized multi-screen setups. Today, even small organizations can project high-quality visuals across rooms without investing in enterprise hardware.” — Rajiv Mehta, AV Integration Consultant
Key Features to Look for in an Affordable HDMI Splitter
Not all budget-friendly HDMI splitters are created equal. To ensure reliability and compatibility, focus on these critical features:
- HDMI Version Support: Choose models supporting at least HDMI 1.4 for 1080p@60Hz or HDMI 2.0 for 4K@30Hz. Avoid outdated versions that may not support modern HDR or audio formats.
- Number of Outputs: Most affordable options offer 1x2 or 1x4 splitting. Assess how many displays you need to power simultaneously.
- Signal Amplification: Built-in amplifiers help maintain signal integrity over longer cable runs, preventing flickering or dropouts.
- EDID Management: Ensures the source device recognizes the correct resolution by emulating display capabilities, avoiding handshake issues.
- Power Requirements: Passive splitters may fail with long cables or high-resolution signals. Opt for externally powered units (via USB or AC adapter) for stable performance.
- Audio Support: Confirm compatibility with common audio formats like Dolby Digital and DTS, especially if used with sound systems.
Top Budget-Friendly HDMI Splitters Compared
| Model | Outputs | Max Resolution | Power Source | Price Range (USD) | Best For |
|---|---|---|---|---|---|
| Anker 4K HDMI Splitter (1x2) | 2 | 4K@30Hz | USB-powered | $25–$35 | Home offices, dual-monitor setups |
| TESmart 1x4 HDMI Splitter | 4 | 1080p@60Hz | AC adapter | $40–$50 | Classrooms, retail displays |
| J-Tech Digital JDA-HD2SPL20 | 2 | 4K@60Hz HDR | AC adapter | $50–$60 | Media walls, gaming setups |
| Portta 1x2 HDMI Splitter | 2 | 1080p@60Hz | Passive (no external power) | $15–$20 | Short-distance use, temporary setups |
| Tripp Lite B124-2A1-HD | 2 | 4K@60Hz | AC adapter | $70–$85 | Professional installations |
The Anker and TESmart models consistently receive high user ratings for plug-and-play simplicity and durability. While slightly pricier, the J-Tech Digital unit stands out for handling 4K HDR content—a rare feature in this price bracket.
Step-by-Step Guide to Setting Up Your Multi-Display System
Deploying an HDMI splitter doesn’t require technical expertise. Follow this straightforward process to get everything working smoothly:
- Gather Equipment: HDMI splitter, compatible HDMI cables, power adapter (if required), and your source device (e.g., PC, Blu-ray player).
- Position Devices: Place your source near the splitter. Arrange displays so cable lengths won’t exceed 15 feet unless using amplified cables.
- Connect Input: Plug the source device into the “IN” port on the splitter using a high-speed HDMI cable.
- Attach Displays: Connect each monitor or TV to an “OUT” port on the splitter.
- Power On: Connect the splitter to its power source. Turn on the source device first, then the displays.
- Verify Signal: Check that all screens show the same image. If blank, restart devices and confirm HDMI input selection on each display.
- Adjust Settings: On your source device, set the output resolution to match the lowest native resolution among your displays for optimal compatibility.
Real-World Application: A Community Center’s Digital Upgrade
A neighborhood community center in Portland needed an affordable way to broadcast daily schedules, event reminders, and safety announcements across three TVs in different wings of the building. Their IT volunteer installed a $45 TESmart 1x4 HDMI splitter connected to a low-cost Android media box. Using free digital signage software, they scheduled rotating content throughout the day.
The result? Clear, synchronized messaging across all areas without relying on Wi-Fi streaming or individual players. Maintenance is minimal—just occasional updates via USB drive. “We wanted something simple and bulletproof,” said the center’s operations manager. “This setup has worked flawlessly for over a year.”
Common Pitfalls and How to Avoid Them
Even with quality hardware, problems can arise. Here are frequent issues and solutions:
- No Signal on One Display: Check cable integrity and try swapping ports. A faulty HDMI cable is the most common culprit.
- Flickering or Intermittent Output: Use shorter cables or upgrade to active (amplified) ones. Also ensure the splitter is properly powered.
- Resolution Mismatch: Configure your source device to output at a resolution supported by all connected displays. 1080p is safest for mixed-age screens.
- Lip Sync Issues: Some splitters introduce slight audio delay. Enable audio compensation in your display settings or use external speakers tied to the source.
FAQ: Frequently Asked Questions
Can I use an HDMI splitter to extend my desktop across multiple screens?
No. HDMI splitters only duplicate the same image on all connected displays. To extend your desktop, you need either multiple GPU outputs or a video matrix/USB docking station with multi-display support.
Do affordable HDMI splitters support HDCP?
Most reputable models do. HDCP (High-bandwidth Digital Content Protection) compliance is essential for playing protected content like streaming movies. Ensure your splitter is labeled HDCP 1.4 or 2.2 compliant depending on your resolution needs.
Will using a splitter reduce video quality?
Not if you use a quality splitter and proper cabling. The signal is duplicated digitally, so there’s no inherent loss. However, poor power delivery or long cable runs can cause handshake failures or pixelation.
Final Checklist Before Buying
- ✅ Verify Supported Resolutions:
- Match the splitter’s specs with your source and display capabilities.
- ✅ Check Power Requirements:
- Externally powered splitters perform better, especially with 4K or long cables.
- ✅ Confirm HDCP Compliance:
- Necessary for streaming services and commercial content playback.
- ✅ Read User Reviews:
- Look for feedback about stability, heat generation, and longevity.
- ✅ Consider Future Needs:
- If you plan to add more screens later, consider a 1x4 now rather than upgrading soon.
Conclusion: Smart Investment, Big Impact
An affordable HDMI splitter is one of the most practical tools for anyone needing consistent, high-quality video distribution. From educators to small business owners, the ability to share content across multiple screens enhances communication, engagement, and efficiency. By selecting a model with solid build quality, proper power delivery, and up-to-date HDMI standards, you can achieve a professional multi-display experience without overspending.


 浙公网安备
33010002000092号
浙公网安备
33010002000092号 浙B2-20120091-4
Comments
No comments yet. Why don't you start the discussion?