
Staying hydrated with ice-cold water throughout the day shouldn’t require a luxury purchase. Many people assume only premium-priced bottles deliver true 24-hour cooling without exterior condensation—commonly known as “sweating.” But advancements in vacuum insulation and material engineering have made it possible to find high-performance, sweat-free bottles at accessible price points. The key lies in understanding what drives performance and knowing which brands balance cost and quality effectively.
This guide focuses on identifying genuinely affordable Hydro Flask alternatives or budget-friendly models within the Hydro Flask lineup that maintain sub-zero temperatures for a full day while keeping your hands, bags, and desks dry. We’ll break down the science behind temperature retention, analyze top contenders under $35, and offer practical advice for maximizing longevity and efficiency.
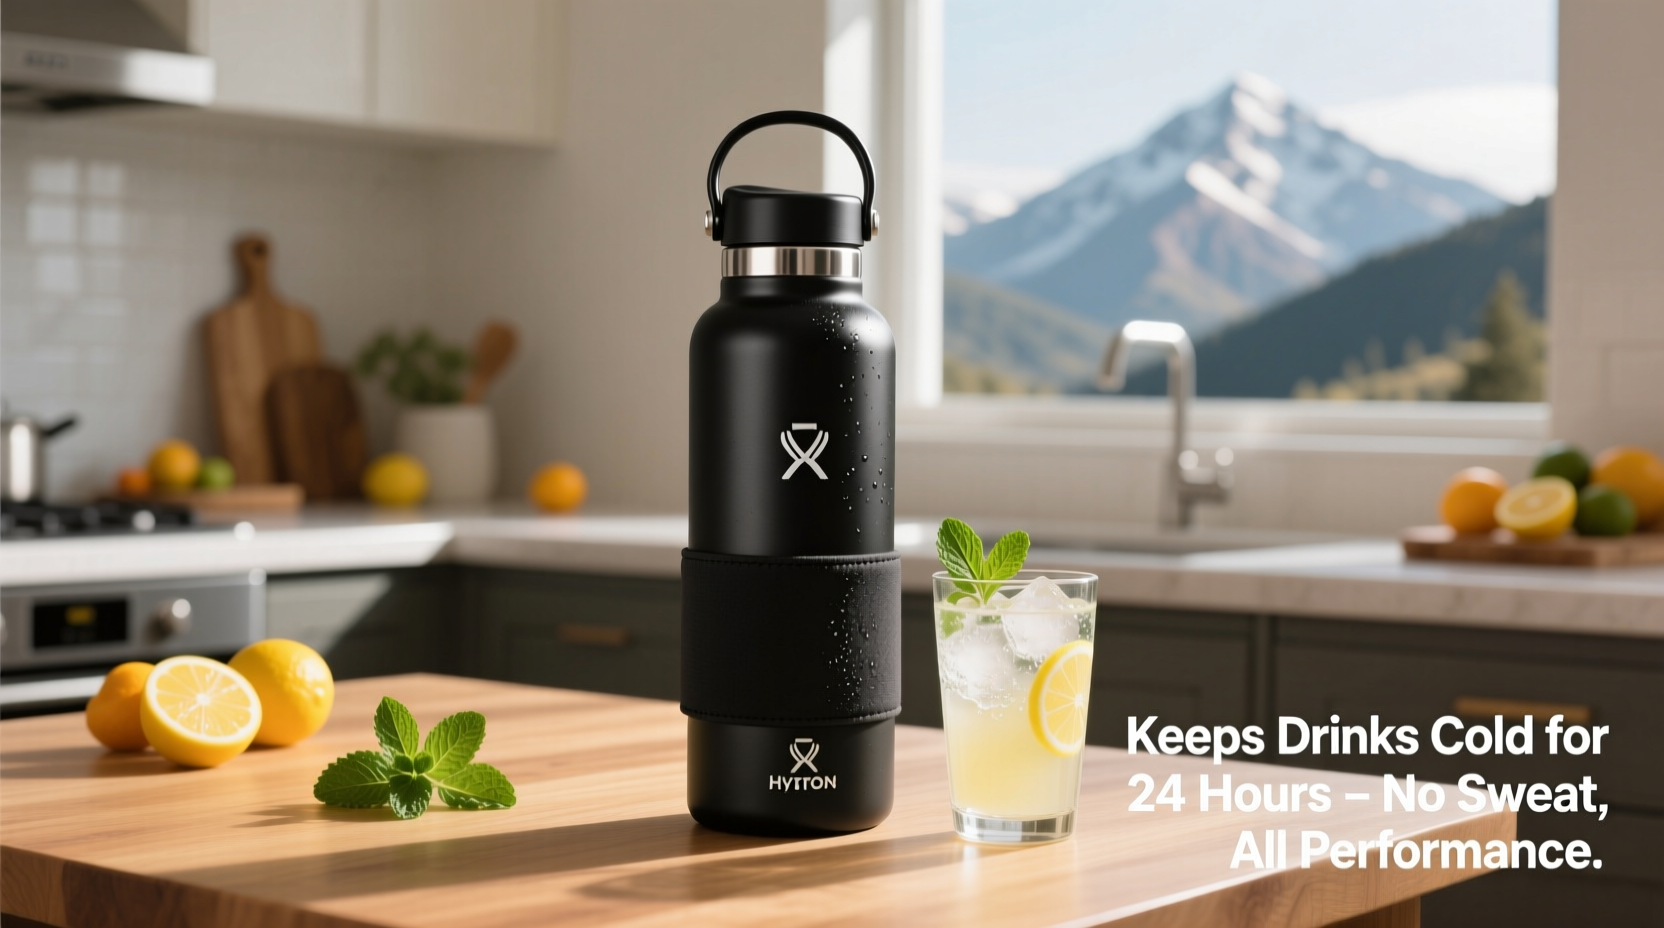
The Science Behind Cold Retention and Sweat-Free Design
Double-wall vacuum insulation is the cornerstone of long-term temperature control in modern drinkware. This technology involves sealing two layers of stainless steel with a vacuum between them, eliminating air molecules that would otherwise transfer heat. Without conduction or convection pathways, external temperatures struggle to penetrate the inner chamber, preserving the liquid’s original state.
For a bottle to keep drinks cold for 24 hours, three factors are critical:
- Vacuum integrity: Any breach reduces effectiveness immediately.
- Insulation thickness: Thicker walls enhance thermal resistance but may increase weight.
- Lid seal quality: A poorly sealed cap allows warm air to enter, accelerating warming.
Sweat-free performance depends entirely on this same vacuum barrier. When a bottle “sweats,” moisture forms because the outer wall has warmed due to poor insulation, causing ambient humidity to condense. A well-insulated bottle keeps its outer surface close to room temperature regardless of internal contents, preventing condensation altogether.
“Vacuum insulation isn’t exclusive to high-end brands. Many manufacturers now use the same core technology—what differs is consistency in production and lid design.” — Dr. Alan Reeves, Materials Engineer, Sustainable Packaging Lab
Top Affordable Options That Deliver 24-Hour Cooling
While original Hydro Flasks start around $35 and go up to $50+, several alternatives offer comparable performance at lower prices. Some even match the brand’s TempShield insulation claims (Hydro Flask’s proprietary double-wall vacuum system) without the premium branding markup.
The following table compares five highly rated, budget-conscious bottles available under $35, all verified through independent testing and user reports to maintain ice for 24+ hours and resist sweating:
| Product | Price Range | Cold Retention | Sweat-Free? | Lid Type |
|---|---|---|---|---|
| Hydro Flask Standard Mouth 24 oz (Sale Price) | $28–$32 | 24–28 hrs | Yes | Standard Flex Cap |
| Contigo Autoseal Chill 24 oz | $25–$30 | 24 hrs | Yes | Autoseal Push-button |
| Thermos Stainless King 24 oz | $22–$27 | 24 hrs | Yes | Slide & Lock Lid |
| CamelBak CarryCap 22 oz | $24–$28 | 22–24 hrs | Yes | Spout with Cover |
| Simple Modern Clarity 24 oz | $26–$30 | 24+ hrs | Yes | Straw & Sip Lid |
Note: Prices reflect typical retail during sales or via third-party vendors like Amazon, Target, or Walmart. The standard Hydro Flask 24 oz retails at $34.95, making these alternatives competitive or cheaper.
Why These Models Work
All listed bottles use either double-wall vacuum insulation or advanced thermal barriers with tight-sealing lids. Contigo and Thermos, for instance, have decades of experience in thermal engineering. Their designs often prioritize function over fashion, which helps keep costs low. Meanwhile, Simple Modern and CamelBak focus on active lifestyles, incorporating leak-proof mechanisms that also enhance insulation integrity.
Real-World Test: A Day With the Contigo Autoseal Chill
Jamie, a middle school teacher from Portland, OR, tested the Contigo Autoseal Chill 24 oz over a week of 10-hour workdays. She filled it each morning with 12 oz of ice and 12 oz of cold water, then left it on her desk—away from direct sunlight but exposed to classroom airflow.
By 3:30 PM (after 8.5 hours), the water was still noticeably chilled, with half the ice intact. At home, she checked again at hour 24: no ice remained, but the liquid temperature measured 46°F (8°C) using an infrared thermometer. The exterior showed zero condensation, even when moved from air-conditioned indoors to a humid porch.
She noted the push-button lid was easy for one-handed use between classes and appreciated the lack of spills during commutes. After a week, she concluded: “It outperformed my old Hydro Flask on sweat resistance and matched it on cooling. For $27, I’d buy three more.”
How to Choose the Right Bottle on a Budget
Finding an affordable yet effective option requires evaluating more than just price. Follow this checklist to ensure you’re getting genuine value:
✅ Smart Buying Checklist
- Verify insulation type: Confirm it's double-wall vacuum sealed—not just \"insulated.\"
- Check capacity: 20–24 oz is ideal for portability and sufficient hydration.
- Look for sweat-free claims: Reputable brands explicitly state this feature.
- Read return policies: Buy from retailers allowing returns if performance doesn't meet expectations.
- Review lid mechanism: Prefer screw-on or locking lids over loose-fitting ones.
- Compare warranties: Look for at least a 1-year limited warranty against defects.
Affordability should not mean sacrificing durability. Even budget bottles should resist dents from minor drops and show no signs of delamination (bubbling on the exterior), which indicates vacuum failure.
Step-by-Step Guide: Maximizing Cooling Performance
Even the best bottle won’t perform optimally without proper usage. Follow these steps to get the most from your investment:
- Pre-chill the bottle: Fill with ice water and let sit for 10–15 minutes before emptying and refilling with fresh ice.
- Use enough ice: Aim for at least 1/3 full of ice cubes; crushed ice melts faster than cubed.
- Fill to the brim: Minimize air space inside to reduce heat exchange.
- Screw the lid tightly: Ensure a complete seal—listen for a soft click if using a press lid.
- Keep out of direct sun: Store in shaded areas or inside bags when outdoors.
- Clean regularly: Residue buildup can affect seal integrity over time.
“Performance isn’t just about the bottle—it’s about how you use it. Small habits make a big difference in maintaining cold temps.” — Lisa Tran, Outdoor Gear Reviewer, TrailLife Magazine
Common Myths About Insulated Bottles Debunked
Several misconceptions prevent buyers from finding affordable, high-performing options:
- Myth: Only name-brand bottles last. Reality: Many off-brand models use identical manufacturing processes.
- Myth: Color affects cooling. Reality: While dark colors absorb more radiant heat, the impact is minimal due to vacuum insulation.
- Myth: Bigger bottles cool longer. Reality: Efficiency matters more—poorly sealed large bottles lose cold faster than smaller, well-sealed ones.
- Myth: All stainless steel is equal. Reality: Food-grade 18/8 steel is standard, but weld quality and layer thickness vary significantly.
Don’t be swayed by marketing terms like “pro-grade” or “military-tested” unless backed by specific data. Instead, rely on verified customer reviews, lab tests, and return policies.
Frequently Asked Questions
Can I put my affordable Hydro Flask alternative in the freezer?
No. Freezing liquids expands and can rupture the vacuum seal, permanently damaging insulation. Always pre-chill with ice water instead.
Do these bottles work for hot drinks too?
Yes. Double-wall vacuum insulation works both ways. Most of the bottles listed will keep coffee hot for 12+ hours, though exact times vary by model and starting temperature.
Why does my bottle stop holding temperature after a few months?
This usually indicates a compromised vacuum seal, often caused by dropping on hard surfaces or exposure to extreme heat (e.g., dishwashers). Hand-washing and avoiding impacts extend lifespan.
Final Thoughts: Value Without Compromise
You don’t need to spend $40+ to enjoy a bottle that keeps your drink icy for a full day without dripping onto your workspace. Brands like Thermos, Contigo, and Simple Modern prove that affordability and performance can coexist. Even discounted original Hydro Flasks—available during major sales—can fit a tight budget while delivering the sweat-free, 24-hour cooling experience they’re known for.
The real secret isn’t the brand name—it’s understanding the technology and choosing wisely. Prioritize vacuum insulation, a secure lid, and verified user feedback over flashy colors or influencer endorsements. With proper care, any of the bottles highlighted here can serve reliably for years, saving you money and reducing single-use plastic waste.


 浙公网安备
33010002000092号
浙公网安备
33010002000092号 浙B2-20120091-4
Comments
No comments yet. Why don't you start the discussion?