
In today’s digital entertainment landscape, building a powerful yet budget-friendly media center is more accessible than ever. Kodi, the open-source media player software, stands at the forefront of this revolution. With the right configuration, users can transform low-cost hardware into a sleek, high-performance streaming hub—no monthly fees required. The key lies in selecting an optimal combination of hardware, add-ons, and user interface themes that balance affordability with style and functionality.
This guide explores how to create a visually appealing and efficient Kodi setup without spending excessively. From choosing the right device to customizing skins and installing reliable add-ons, each step contributes to a seamless, cinema-like experience at home.
Choosing the Right Hardware on a Budget
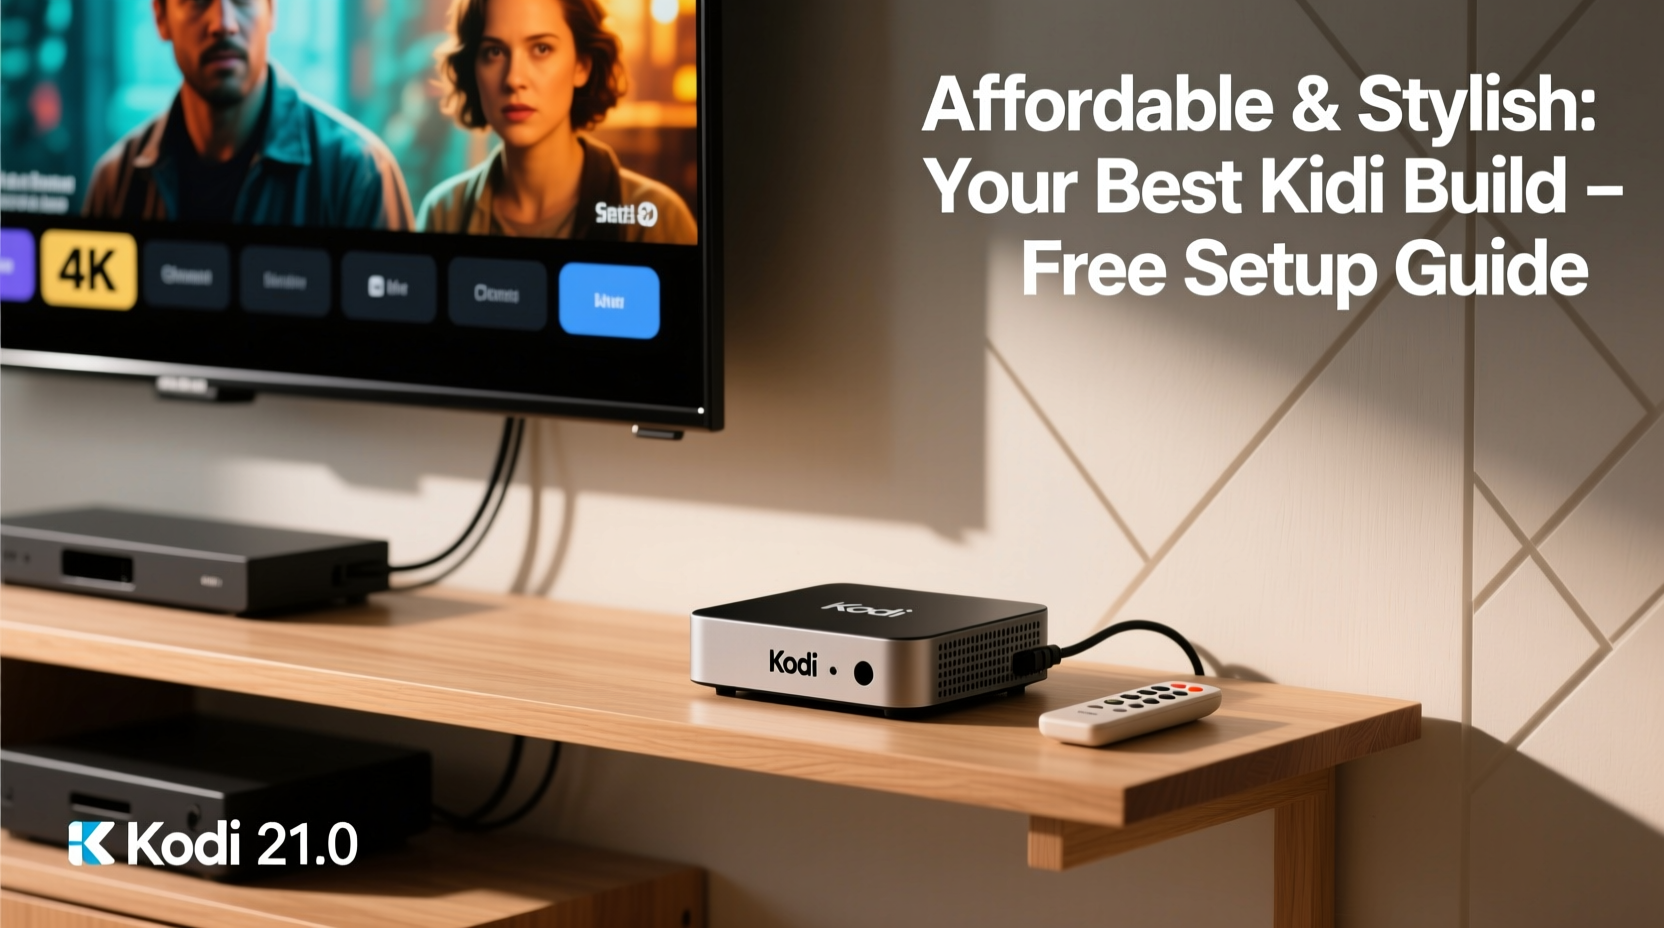
The foundation of any Kodi build is the hardware. While high-end Android boxes exist, they aren’t necessary for smooth performance. Several affordable devices deliver excellent compatibility and 4K support.
- Raspberry Pi 4 (4GB): Priced around $55, it runs LibreELEC or OSMC flawlessly, offering energy efficiency and quiet operation.
- Amazon Fire Stick 4K: At approximately $50, it provides intuitive navigation and strong codec support when paired with Kodi.
- Android TV Boxes (e.g., MX10, X96 Max): Available from $35–$60, these offer ample processing power and expandable storage via microSD.
These platforms allow full customization and run Kodi versions optimized for stability and speed. For long-term use, prioritize units with active cooling and USB 3.0 ports for external drive connectivity.
Top Stylish and Lightweight Kodi Skins
A polished interface enhances usability and aesthetic appeal. Modern skins transform Kodi from a basic media player into a visually immersive dashboard. Here are three top-tier, lightweight options ideal for budget hardware:
| Skin Name | Style Focus | RAM Usage | Best For |
|---|---|---|---|
| Ares Fusion | Minimalist, dark theme with dynamic backgrounds | Low | Beginners seeking elegance without bloat |
| Embuary | Cinema-centric design with poster walls and metadata | Moderate | Movie enthusiasts wanting a theater feel |
| Arctic Zephyr | Clean, responsive layout; highly customizable | Very Low | Older or entry-level devices |
Installing a new skin is simple: navigate to Add-ons > Download > Look and Feel > Skin, then select and activate your preferred option. Arctic Zephyr, for example, uses minimal graphics while maintaining responsiveness—perfect for Raspberry Pi users who value speed over flashiness.
“User experience isn’t just about content—it’s about how quickly and beautifully you access it.” — Daniel Ruiz, Open-Source Media Developer
Essential Free Add-Ons for Maximum Value
Kodi’s real power comes from its add-on ecosystem. While paid subscriptions dominate mainstream streaming, many free, legal add-ons provide rich content libraries and live TV streams. Below is a curated checklist of reliable, non-intrusive tools.
✅ Recommended Free Add-On Checklist
- Install YouTube add-on for unlimited educational and entertainment content.
- Add PlexKodiConnect to stream personal media remotely.
- Enable Internet Archive for public domain films and historical footage.
- Use Stremium for curated live news and sports streams.
- Include Audio Podcasts for audio-only content on demand.
Always download add-ons only from official repositories or trusted community sources like the Kodil Repository (used responsibly). Avoid third-party ZIP files unless verified through forums such as Reddit’s r/koditips or Kodi Community Forums.
Step-by-Step: Building Your First Affordable Kodi Setup
Follow this timeline to assemble a fully functional, stylish Kodi system in under two hours.
- Day 1 – Acquire Hardware (30 min): Purchase a Fire Stick or Raspberry Pi kit online. Ensure you have a microSD card (minimum 16GB), HDMI cable, and power supply.
- Install OS (45 min): Flash LibreELEC onto the SD card using BalenaEtcher if using Raspberry Pi. For Fire Stick, install Kodi directly from Amazon Appstore.
- Initial Setup (20 min): Launch Kodi, set language, enable UPnP/DLNA sharing, and connect to Wi-Fi.
- Customize Interface (30 min): Install Arctic Zephyr skin, configure menu shortcuts, and adjust splash screen settings.
- Add Content Sources (30 min): Link local folders (USB drives), network locations (NAS), and online repositories for add-ons.
- Final Optimization (15 min): Disable unused visualizations, reduce animations, and schedule automatic library updates.
This sequence ensures a lean, fast-performing system tailored to both visual appeal and practical function—all within a $60 total spend.
Real Example: Maria’s Living Room Upgrade
Maria, a freelance designer in Portland, wanted a cord-cutting solution that matched her modern apartment aesthetic. She purchased a second-hand Fire Stick for $30 and spent one evening configuring Kodi with the Embuary skin. By linking her Google Drive (hosting family videos) and adding the Internet Archive, she created a personalized archive of classic films and home recordings.
She mounted the stick behind her 4K TV and used a Bluetooth remote with backlit keys. The result? A clutter-free, cinematic interface that impressed guests and eliminated her $15/month streaming habit. “It looks like a premium system,” she said, “but cost less than a single subscription.”
Avoiding Common Pitfalls
Even well-intentioned builds can go wrong. Below are frequent missteps and their solutions:
| Don’t | Do Instead |
|---|---|
| Install dozens of unknown third-party add-ons | Stick to official repos and vetted community plugins |
| Overload startup with auto-launching services | Disable unnecessary boot scripts in Settings > System > Startup |
| Use default Confluence skin without tweaks | Switch to lightweight, modern alternatives like Aeon Nox Silvo |
| Ignore regular cache clearing | Clear thumbnails and packages monthly via Maintenance Tools |
Regular maintenance keeps performance sharp. Consider setting a calendar reminder every four weeks to purge temporary files and review installed add-ons for relevance.
Frequently Asked Questions
Is Kodi legal to use?
Yes, Kodi itself is completely legal. It is open-source software designed to organize media. Legality depends on how it's used—streaming copyrighted content without permission violates laws in most countries.
Can I watch live TV for free with Kodi?
You can access legitimate free-to-air channels via add-ons like Stremium or Pluto TV. Some regions also offer HDHomeRun integration for over-the-air broadcasts. Avoid unauthorized IPTV services promising hundreds of channels for free—they often distribute pirated streams.
How do I make my Kodi look more professional?
Choose a unified skin like Embuary or Arconaitv, remove unused menu items, enable fan art and subtitles automatically, and sync with a mobile remote app (e.g., Official Kodi Remote). Small touches like consistent iconography and dark mode elevate the experience significantly.
Conclusion: Style Meets Savings
An affordable Kodi build doesn’t mean compromising on style or capability. With careful selection of hardware, thoughtful skin choices, and smart add-on usage, anyone can create a sophisticated media center for under $60. The beauty of Kodi lies not just in its zero-cost model but in its flexibility—every user can shape it to reflect their taste and needs.


 浙公网安备
33010002000092号
浙公网安备
33010002000092号 浙B2-20120091-4
Comments
No comments yet. Why don't you start the discussion?