
For anyone venturing into the world of at-home manicures, the choice between traditional nail polish and newer alternatives like 5D nail stickers can feel overwhelming. Nail polish has long been the go-to for color and creativity, but advancements in beauty tech have introduced simpler, faster solutions. Among them, 5D nail stickers—known for their depth, shimmer, and intricate designs—have gained popularity for their ease of use and salon-like finish. But are they truly easier than polish, especially for beginners? The answer depends on technique, time, and personal preference.
Understanding 5D Nail Stickers vs. Traditional Nail Polish
Before comparing usability, it’s important to understand what sets these two options apart. Traditional nail polish requires multiple steps: base coat, color application (often two layers), top coat, and drying time. It demands precision, steady hands, and patience. Mistakes often mean cleanup with acetone or starting over.
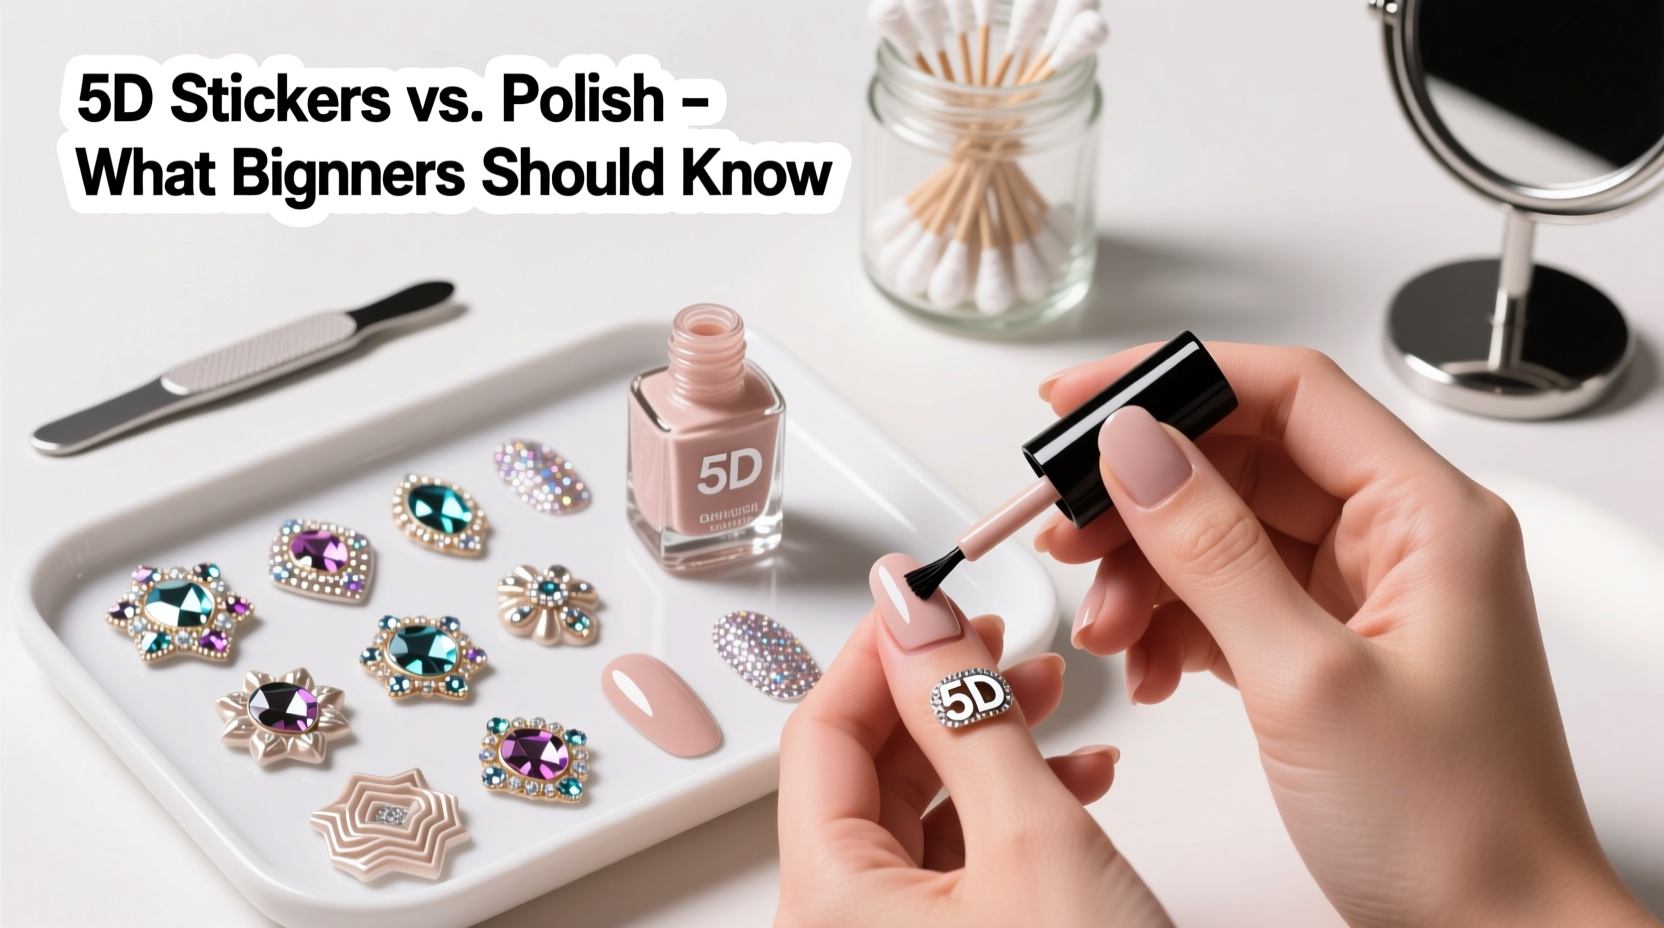
In contrast, 5D nail stickers are pre-designed adhesive overlays. They feature multi-dimensional effects such as holographic shine, floral patterns, gem accents, or gradient finishes. These stickers are applied directly onto clean nails and sealed with a top coat. No painting, no drying time between layers, and minimal risk of smudging.
The “5D” label refers not to actual dimensions but to advanced visual effects—depth, gloss, texture, movement, and realism—that mimic high-end gel or acrylic art without the complexity.
Why Beginners Often Prefer 5D Nail Stickers
Beginners frequently struggle with uneven brush strokes, bleeding onto cuticles, or chipping within days. 5D nail stickers eliminate many of these frustrations. Their ready-to-use nature means you don’t need artistic skill or special tools beyond tweezers and a file.
Application is straightforward: select a sticker that fits your nail, peel, place, press, and seal. Most kits come with multiple sizes per design, allowing customization across fingers. This consistency makes them ideal for those who want polished results without investing hours in practice.
Additionally, 5D stickers typically last longer than regular polish when properly sealed. While standard polish may chip in three to five days, stickers can endure up to two weeks if protected with a quality top coat and avoided from excessive water exposure.
“Nail stickers have revolutionized at-home manicures. For clients who lack time or confidence, I recommend 5D options as a low-risk entry point to creative nail art.” — Lila Chen, Licensed Nail Technician & Educator
Step-by-Step Guide to Applying 5D Nail Stickers
While simpler than polish, correct application ensures longevity and professional appearance. Follow this sequence for best results:
- Prep your nails: Remove old polish, wash hands, and push back cuticles. Lightly buff the nail surface to remove shine and improve adhesion.
- Shape and size: File nails to desired length and shape. This helps the sticker align cleanly with the nail edge.
- Choose the right sticker: Match the sticker size to your nail. Don’t stretch or force a larger piece—it will lift at the edges.
- Peel carefully: Use tweezers or a cuticle stick to lift one corner and gently peel the sticker from its backing.
- Align and apply: Center the sticker on your nail. Press down firmly from the middle outward to avoid air bubbles.
- Seal the edges: Once all stickers are applied, use a quick-dry top coat to lock in the design and prevent lifting.
- Cure (optional): If using a UV/LED top coat, cure for 30–60 seconds to enhance durability.
Comparison: Nail Stickers vs. Nail Polish for Beginners
| Feature | 5D Nail Stickers | Traditional Nail Polish |
|---|---|---|
| Learning Curve | Low – minimal technique required | High – requires control and even strokes |
| Application Time | 10–15 minutes | 30+ minutes (including drying) |
| Durability | Up to 14 days with top coat | 3–7 days average |
| Mistake Tolerance | High – repositionable before sealing | Low – errors require cleanup or removal |
| Design Complexity | High – intricate patterns readily available | Limited by user skill |
| Cost Over Time | Moderate – kits range $8–$20 | Lower per bottle, but frequent repurchase |
Common Pitfalls and How to Avoid Them
Despite their simplicity, 5D nail stickers aren’t foolproof. Common issues include peeling edges, air bubbles, and poor fit. These often stem from improper prep or rushing the process.
- Oily nails: Residue prevents adhesion. Wipe each nail with rubbing alcohol before applying.
- Wrong sizing: Using oversized stickers causes overhang and snagging. Trim slightly if needed.
- Skipping the top coat: Without sealing, stickers lift quickly. Use a non-acetone top coat to preserve the design.
- Exposure to water: Wait at least an hour after application before washing dishes or showering.
Real Example: Sarah’s First At-Home Manicure
Sarah, a college student with no prior nail experience, wanted a festive look for a holiday party. She bought a red-and-gold 5D nail sticker set online for $12. After watching a short tutorial, she spent 12 minutes applying the stickers. She used a base coat for grip, pressed each sticker carefully, and finished with a glossy top coat. The result looked professionally done. Two weeks later, only one nail had lifted—and only after she used her nails to open a package. “I can’t believe I did this myself,” she said. “Polish always ends up messy.”
Frequently Asked Questions
Can I reuse 5D nail stickers?
No, most 5D nail stickers are designed for single use. Once removed, the adhesive loses its stickiness and the material may tear.
Are 5D nail stickers safe for natural nails?
Yes, when applied and removed correctly. Avoid peeling them off forcefully. Soak with acetone-free remover for a few minutes to loosen gently.
Can I mix stickers and polish?
Absolutely. Many users apply stickers to accent nails while painting others with coordinating polish for a custom hybrid look.
Final Checklist Before You Start
- ✔️ Clean and dry all nails thoroughly
- ✔️ Choose the correct sticker size for each finger
- ✔️ Work in a dust-free, well-lit area
- ✔️ Have tweezers and nail file ready
- ✔️ Apply a base coat (optional but recommended)
- ✔️ Seal with a durable top coat
- ✔️ Avoid water and heavy use for first hour
Conclusion
For beginners, 5D nail stickers offer a clear advantage over traditional nail polish: simplicity without sacrificing style. They reduce the learning curve, save time, and deliver impressive results with minimal effort. While polish remains a versatile option for those who enjoy the process, stickers provide instant gratification and consistent outcomes—especially valuable when experimenting with bold or complex designs.
The key is preparation and attention to detail. When applied correctly, 5D nail stickers can rival salon-quality manicures. Whether you're preparing for a special occasion or just want to express yourself creatively, they’re a practical, accessible tool worth trying.


 浙公网安备
33010002000092号
浙公网安备
33010002000092号 浙B2-20120091-4
Comments
No comments yet. Why don't you start the discussion?