
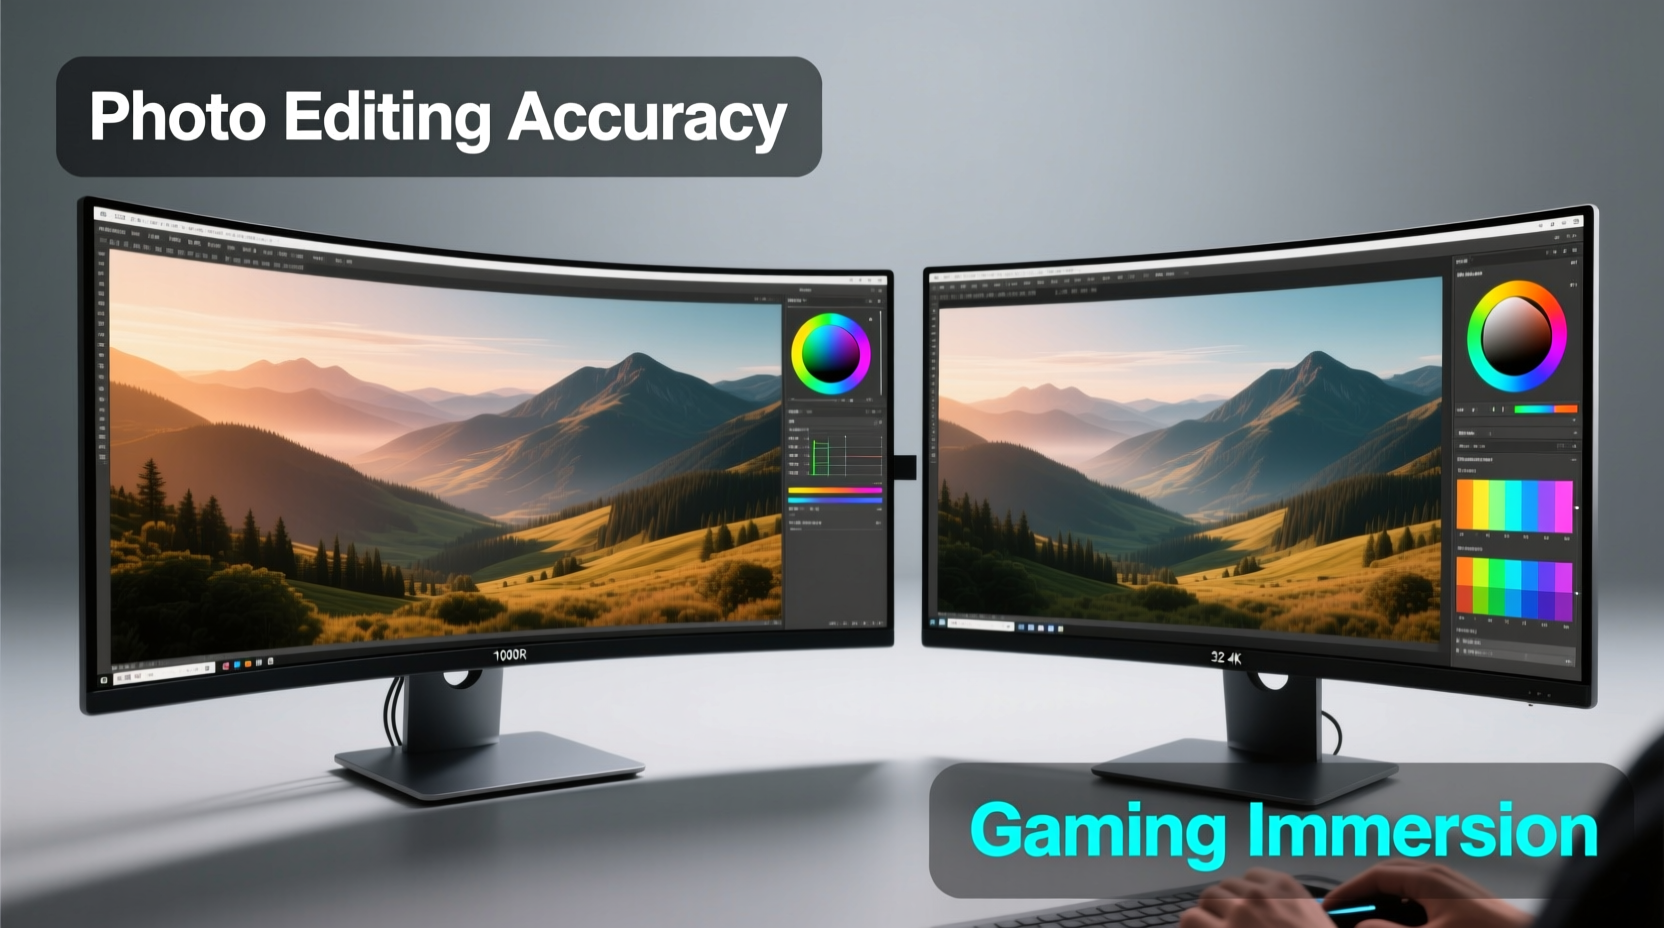
For years, flat-screen monitors have been the standard in professional design studios. But as display technology evolves, curved monitors are becoming more common — not just in gaming setups, but on the desks of photographers, graphic artists, and digital editors. The big question remains: are curved monitors actually beneficial for photo editing, or are they primarily a gaming gimmick?
The answer isn't straightforward. While curved screens offer immersive viewing and reduced eye strain in certain scenarios, they also introduce potential distortions that can compromise color accuracy and image consistency — two non-negotiables in professional photo editing. To make an informed decision, it's essential to understand how curvature affects perception, calibration, workflow efficiency, and long-term comfort.
Understanding Monitor Curvature: What It Actually Does
Monitor curvature is measured using a radius value, such as 1800R or 1500R, which indicates how tightly the screen is bent. A lower number means a tighter curve. For example, a 1500R monitor curves more than an 1800R model. This curvature is designed to match the natural arc of human peripheral vision, theoretically creating a more uniform distance from your eyes to all parts of the screen.
In practice, this can reduce distortion at the edges and minimize the need for excessive head movement when working across wide displays. However, the effectiveness depends heavily on screen size, viewing distance, and the user’s seating position. Most experts recommend curved monitors only for screens 27 inches and larger, where the benefits of immersion and edge clarity become more noticeable.
Still, while gamers benefit from the wraparound effect during fast-paced action, photo editors require precision over immersion. The key concern is whether the curve introduces parallax errors or makes accurate color grading difficult, especially near the screen’s outer edges.
Pros and Cons of Curved Monitors for Photo Editing
Curved monitors bring both advantages and drawbacks to creative workflows. Understanding these helps determine whether one suits your editing needs.
Advantages
- Reduced Eye Strain: Because the screen wraps toward the viewer, your eyes don’t have to move as much to scan from edge to edge. This can improve comfort during long editing sessions.
- Better Immersion: When reviewing full-resolution images or panoramic shots, the curved surface enhances depth perception and visual engagement.
- Fewer Reflections: The angled edges of a curved panel often deflect ambient light better than flat screens, reducing glare in multi-window environments.
- Ergonomic Fit: For ultra-wide formats (like 34” or 38”), curvature can help maintain consistent focus across the entire field of view without turning your head.
Drawbacks
- Perspective Distortion: Objects near the edges may appear stretched or skewed, particularly if you're not seated dead-center.
- Calibration Challenges: Colorimeters and spectrophotometers used for monitor calibration assume a flat plane. Curved surfaces can lead to inconsistent readings across the screen.
- Limited Mounting Options: VESA mounts may not support deep curves, and dual-monitor setups can create awkward seams between panels.
- Cost Premium: High-quality curved IPS or OLED panels often come with a higher price tag than comparable flat models.
“While curved monitors excel in cinematic experiences, their use in critical color work requires careful evaluation. Even slight geometric distortion can affect how skin tones render at the periphery.” — Lena Petrova, Digital Imaging Specialist, Adobe Certified Instructor
Flat vs. Curved: A Side-by-Side Comparison
| Feature | Flat Monitor | Curved Monitor |
|---|---|---|
| Edge Clarity | Consistent across screen | May blur or stretch at extremes |
| Color Accuracy | Uniform; ideal for calibration | Can vary slightly at edges |
| Viewing Comfort | Good, but requires more eye movement | More ergonomic for wide screens |
| Multi-Monitor Setup | Seamless alignment possible | Gaps and misalignment likely |
| Best Use Case | Professional photo/video editing | Immersive review, casual editing |
Real-World Example: A Freelance Photographer’s Experience
Sophie Tran, a travel photographer based in Vancouver, switched from a 27-inch flat IPS monitor to a 34-inch ultrawide curved display last year, hoping for a more immersive way to edit her landscape portfolios. Initially, she loved the panoramic feel and reduced neck strain when scrolling through hundreds of RAW files.
But after submitting a series for print publication, she noticed subtle inconsistencies in sky gradients — smooth in the center, but slightly banded near the left and right edges. Upon testing with a colorimeter, she discovered that her monitor’s curvature caused uneven luminance readings, especially in the corners. After recalibrating multiple times and adjusting her seating position, she found that only by sitting perfectly centered could she achieve acceptable results.
Ultimately, Sophie returned to a dual-flat-monitor setup: one dedicated calibrated screen for editing, and a secondary curved display for reference and previewing. Her takeaway? “The curve felt futuristic, but accuracy won out. If you’re serious about print-ready output, flat is still safer.”
What Professionals Recommend: Calibration and Workflow Tips
If you're considering a curved monitor for photo editing — or already own one — there are ways to mitigate its limitations and optimize performance.
Step-by-Step Guide to Calibrating a Curved Monitor
- Set Up Correctly: Position the monitor so the center is at eye level and directly in front of you. Maintain a viewing distance of 24–30 inches.
- Warm Up the Display: Let the monitor run for at least 30 minutes to stabilize color temperature and brightness.
- Use a High-Quality Calibrator: Devices like the X-Rite i1Display Pro or Datacolor SpyderX are designed to handle slight curvature better than budget tools.
- Perform Multi-Point Calibration: Take measurements not just in the center, but also at the top, bottom, left, and right edges to account for variance.
- Adjust Uniformity Settings: Some high-end monitors offer built-in uniformity compensation. Enable this feature post-calibration.
- Validate Results: Test with known color charts (e.g., IT8 targets) and compare soft-proofed images against physical prints.
When a Curved Monitor Might Be Worth It
Despite the challenges, curved monitors aren't inherently bad for photo editing. They can be valuable in specific contexts:
- Reviewing Work: Using a curved screen as a secondary display to preview final edits in a lifelike environment can enhance judgment of composition and contrast.
- Video Editors Who Also Photograph: Those working with timelines and multiple panels benefit from the extra horizontal space and reduced eye fatigue.
- Casual or Hybrid Creators: If you split time between gaming, streaming, and light photo touch-ups, a curved monitor offers versatility without sacrificing too much accuracy.
- Large Format Displays: On 34”+ ultrawides, curvature helps maintain edge-to-edge focus, making them more practical than flat versions of the same size.
The key is intentionality. A curved monitor should complement, not replace, a properly calibrated flat reference display in a professional workflow.
Checklist: Is a Curved Monitor Right for Your Photo Editing?
- ✅ I work primarily with large-format or panoramic images
- ✅ My desk allows for centered, ergonomic positioning
- ✅ I’m using a high-end IPS or OLED panel with good factory calibration
- ✅ I have access to a professional-grade color calibration tool
- ✅ I’m okay using a flat monitor as my primary editing screen
- ❌ I need pixel-perfect accuracy across the entire screen for print production
- ❌ I frequently collaborate with others who view my screen from different angles
Frequently Asked Questions
Can you calibrate a curved monitor accurately?
Yes, but it requires a high-quality calibration device and a multi-point measurement process. Even then, some minor variance at the edges may persist. Top-tier monitors with factory uniformity correction perform best.
Do professional photographers use curved monitors?
A minority do — typically those who prioritize workflow comfort over absolute precision or who use curved screens as secondary displays. Most high-end studios stick with flat, calibrated monitors for critical work.
Is a 1800R curve better than 1500R for photo editing?
Not necessarily. A 1500R has a tighter curve, which may increase edge distortion. For editing, a gentler 1800R or even 2300R (as seen in Samsung’s business-grade models) provides subtle curvature with fewer optical issues.
Final Verdict: Gaming Gimmick or Creative Tool?
Curved monitors are not just for gaming — they offer tangible ergonomic and immersive benefits, especially on larger screens. However, for professional photo editing where color fidelity, geometric accuracy, and consistency are paramount, flat monitors remain the gold standard.
That said, dismissing curved monitors entirely would be shortsighted. As manufacturing improves and calibration software adapts, we’re seeing better performance from curved panels than ever before. For hybrid users, reviewers, or those editing on ultrawide formats, a well-chosen curved display can enhance productivity and comfort without compromising too much on quality.
The decision ultimately hinges on your priorities. If you demand laboratory-level precision for print, stick with flat. If you value an engaging, comfortable workspace and are willing to manage calibration carefully, a curved monitor can be a worthwhile addition — just not as your sole editing surface.


 浙公网安备
33010002000092号
浙公网安备
33010002000092号 浙B2-20120091-4
Comments
No comments yet. Why don't you start the discussion?