
Modding Stardew Valley can transform your farming experience—adding new crops, quality-of-life improvements, multiplayer features, or even full-scale overhauls. But for newcomers, the process can feel overwhelming. One wrong move and your game might freeze, crash, or refuse to launch altogether. The good news: with the right approach, modding is safe, rewarding, and surprisingly straightforward. This guide walks you through everything you need to know as a beginner, focusing on stability, compatibility, and long-term enjoyment.
Understanding Modding: What It Is and Why It Works
At its core, modding involves modifying a game’s code or assets to change how it behaves or looks. Stardew Valley was designed with mod support in mind by developer Eric Barone (also known as ConcernedApe), who actively supports the modding community. However, the game doesn’t natively accept mods—you need a bridge between your modifications and the game itself.
This is where SMAPI (Stardew Mod API) comes in. SMAPI is not a mod itself but a tool that loads and manages mods safely. It runs alongside the game, intercepting code calls and applying changes only when appropriate. Crucially, SMAPI includes error handling, log reporting, and mod compatibility checks that help prevent crashes. Without SMAPI, most modern Stardew Valley mods simply won’t work—and attempting to install them manually could corrupt your save files.
“SMAPI was created to make modding accessible and stable. It handles loading order, updates, and errors so players don’t have to.” — Pathoschild, creator of SMAPI
Another key component is Content Patcher, a popular SMAPI mod that allows other mods to change game assets like sprites, dialogue, or maps without altering the original files. This means updates to Stardew Valley won’t break your mods unless something fundamental changes.
Step-by-Step: Setting Up Your Modded Game Safely
Follow this sequence carefully. Skipping steps or installing mods prematurely is the most common cause of crashes among beginners.
- Verify Your Game Version: Ensure you’re running the latest version of Stardew Valley via Steam or your purchase platform. Older versions may not support recent mods.
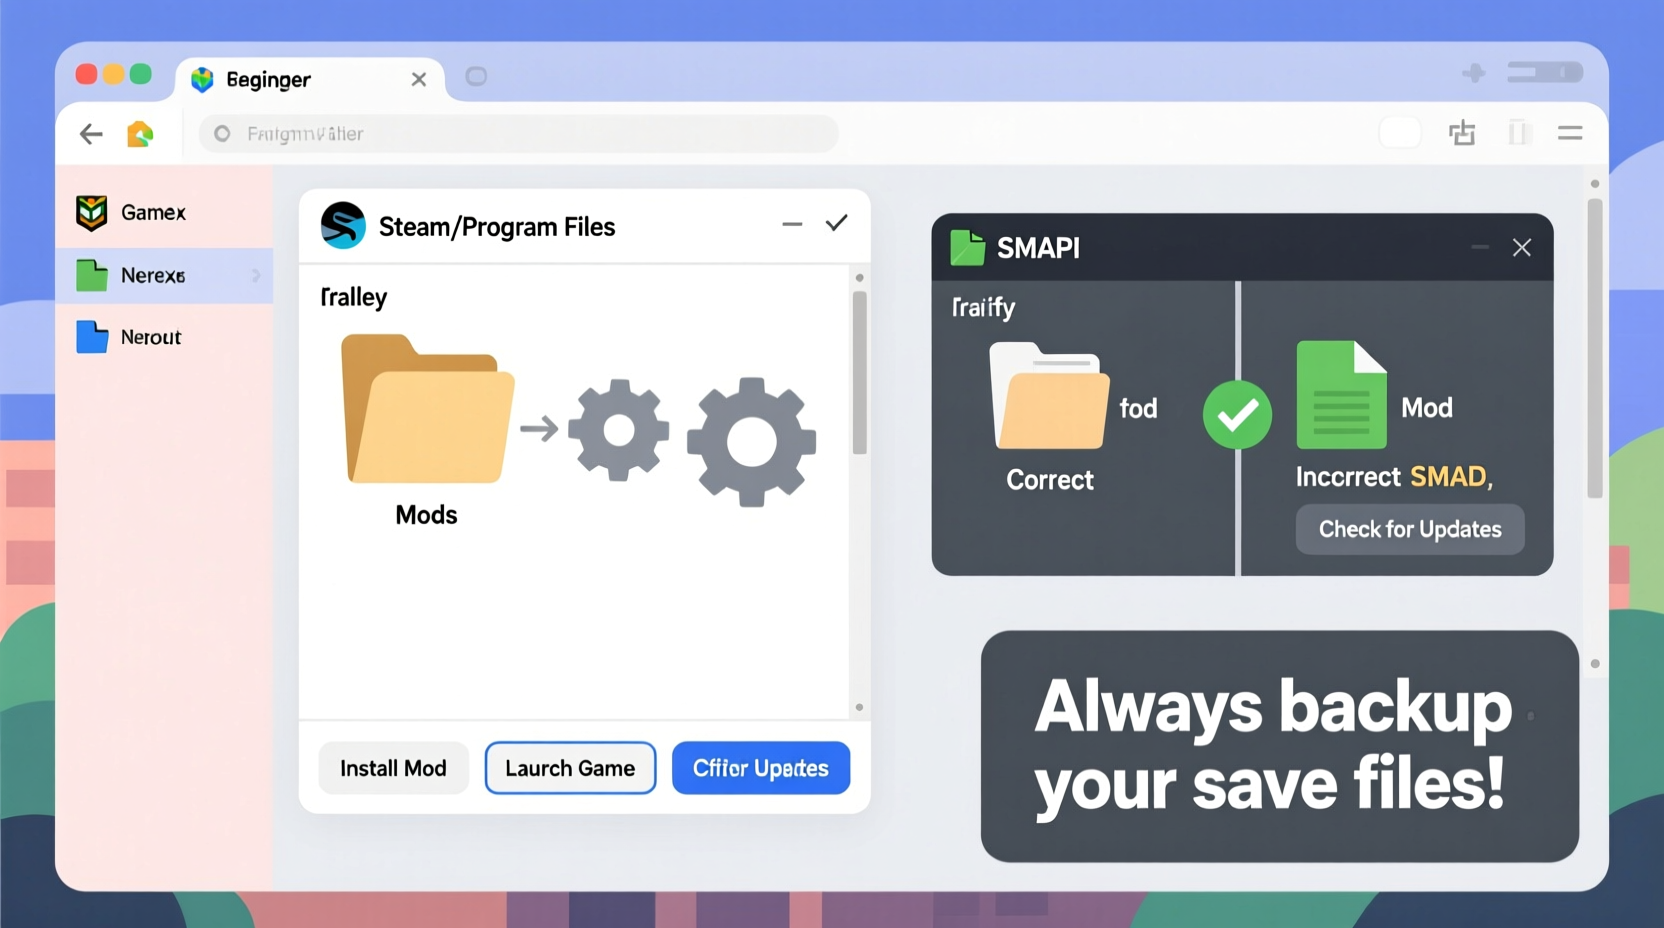
- Install SMAPI: Go to smapi.io, download the installer for PC, and run it. Select your Stardew Valley installation folder (usually under Steam\\steamapps\\common\\Stardew Valley).
- Launch SMAPI Once: After installation, open SMAPI from your desktop shortcut or game folder. Let it run the first-time setup, then close it. This creates necessary folders and logs.
- Download Content Patcher: Visit Nexus Mods or Chucklefish Forums and get Content Patcher. Place the .zip file into your
Modsfolder (created by SMAPI). - Test the Setup: Launch the game through SMAPI (not through Steam directly). If you see the SMAPI console window and the game starts normally, you're ready.
Choosing and Installing Mods Responsibly
With over 8,000 mods available, picking the right ones matters. Not all mods are well-coded or updated regularly. Poorly made mods are the leading cause of instability.
Stick to trusted sources: Nexus Mods, the official Chucklefish forums, and ModDrop. Avoid random GitHub links unless they’re referenced by reputable mod authors.
Before installing any mod, check these three things:
- Last Update Date: If a mod hasn’t been updated in over a year, it may not work with current SMAPI versions.
- Compatibility Notes: Some mods conflict with others (e.g., two mods trying to change the same NPC).
- User Ratings and Comments: Look for reports of crashes or bugs. A high download count with positive feedback is a strong indicator.
Essential Starter Mods for Stability and Functionality
Begin with lightweight, widely-used mods that enhance gameplay without complexity:
| Mod Name | Purpose | Why It's Safe |
|---|---|---|
| Content Patcher | Enables visual and narrative changes | Officially recommended; non-invasive |
| UI Info Suite | Displays crop growth, animal moods, etc. | Passive display only; no gameplay interference |
| Automate | Auto-transfer items between chests | Widely tested; minimal code impact |
| Seasonal Immersion | Changes environment visuals per season | Uses Content Patcher; asset-only changes |
| Planned Rain | Shows upcoming rain forecasts | Small footprint; enhances vanilla logic |
Install each mod by extracting the downloaded .zip file into its own folder inside the Mods directory. Do not extract contents into existing mod folders—this causes conflicts.
Common Pitfalls and How to Avoid Them
Even experienced players encounter issues. Here are frequent mistakes and their solutions:
Overloading the Mod List
New modders often install dozens of mods at once. This increases the chance of conflicts and memory overload. Start with 5–7 essential mods. Add more gradually, testing the game after each addition.
Ignoring Load Order
SMAPI usually handles load order automatically, but some mods must load before others. For example, a framework mod like Generic Mod Config Menu should be present if other mods use configuration menus. SMAPI will warn you in the console if a dependency is missing.
Using Outdated or Duplicate Mods
If you’ve tried modding before, delete the entire Mods folder before starting fresh. Leftover files from old versions can interfere with new installations. Also, never install multiple versions of the same mod—even if one is “HD” and another is “Lite.” Pick one.
Mod Conflicts You Can’t See
Some mods alter the same game elements. For instance, both \"Better Junimos\" and \"Advanced Seasons\" might modify spring crop behavior. When in doubt, consult mod descriptions for known incompatibilities. You can also use the Debug Mode in SMAPI (launch with F3 during gameplay) to identify which mod triggered an error.
Checklist: Your First-Time Mod Installation Workflow
Use this checklist every time you add new mods to ensure a smooth experience:
- ✅ Back up your save files (located in
C:\\Users\\[YourName]\\AppData\\Roaming\\StardewValley\\Saves) - ✅ Confirm SMAPI is installed and working
- ✅ Download mod as a .zip file (never .rar or .exe)
- ✅ Extract the zip into its own folder inside
Mods - ✅ Check that the folder contains a
manifest.jsonfile (required for SMAPI recognition) - ✅ Launch the game via SMAPI and watch the console for red error messages
- ✅ Play for several minutes to test stability
- ✅ If stable, proceed. If not, remove the last mod added and retry
Real Example: Sarah’s Smooth Modding Journey
Sarah, a casual player, wanted to add quality-of-life features without breaking her favorite save. She started by backing up her files and installing SMAPI. She then added just three mods: UI Info Suite, Automate, and Planned Rain. After launching successfully, she played for 30 minutes—checking crop status, letting chests auto-fill, and verifying rain predictions. Satisfied, she later added Seasonal Immersion and Generic Mod Config Menu. Over six months, she expanded her list to 12 mods—all added incrementally, with no crashes. Her key? Patience and adherence to process.
Contrast this with her friend Mark, who dropped 20 mods at once—including two conflicting weather systems. His game failed to launch. It took him hours to clean his mod folder and retrace his steps. Sarah’s method saved time and frustration.
Frequently Asked Questions
Can modding void my game warranty or get me banned?
No. Stardew Valley is single-player, and modding is fully supported by the developer. Even multiplayer via SMP (SMAPI Multiplayer) is allowed as long as all players use the same mods. There is no risk of being banned.
My game crashes after adding a mod. What do I do?
First, check the SMAPI console for error messages. They usually indicate which mod caused the issue. Disable that mod by renaming its folder (e.g., add \"_disabled\" to the name). If you can’t identify it, remove all mods, re-add them one by one, testing after each. Always keep backups.
Do I need to reinstall mods after a game update?
Usually not. SMAPI and most major mods are designed to handle minor game updates. However, major patches (like 1.6) may require mod updates. Watch mod pages for announcements. SMAPI will notify you at launch if a mod is incompatible.
Maintaining a Healthy Modded Environment
Just like maintaining a computer, a modded game needs occasional upkeep. Every few months, review your mod list. Remove ones you no longer use. Check for updates—SMAPI displays outdated mods at startup. Consider organizing your mods into categories (e.g., QoL, Visuals, Gameplay) by creating subfolders (though SMAPI reads all folders in Mods, so naming helps only for clarity).
Also, avoid using mods that promise \"unlimited money\" or \"god mode\" unless you’re playing a sandbox run. These often manipulate core game mechanics and are more prone to bugs. Stick to mods that enhance rather than override.
“The best mods feel like they were part of the original game.” — ConcernedApe, Stardew Valley developer
This philosophy guides the healthiest modding experiences. Choose mods that complement, not dominate, your gameplay.
Conclusion: Start Small, Build Smart
Modding Stardew Valley doesn’t have to be risky. With SMAPI as your foundation, careful selection of compatible mods, and a methodical installation process, you can enjoy a richer, more personalized farming life without fear of crashes. The key is patience: start small, test thoroughly, and grow your setup over time. Whether you want subtle enhancements or a complete overhaul, doing it right means your farm will thrive—for seasons to come.


 浙公网安备
33010002000092号
浙公网安备
33010002000092号 浙B2-20120091-4
Comments
No comments yet. Why don't you start the discussion?