
Vlogging has become one of the most accessible ways to share stories, build personal brands, and even launch full-time careers. For beginners, investing in high-quality gear doesn’t have to mean breaking the bank. The key is finding a balance between performance, usability, and price—especially when you’re just starting out. One of the most important decisions you’ll make is choosing a camera that captures crisp 4K footage without costing thousands. Fortunately, several compact, user-friendly options deliver excellent image quality, solid stabilization, and strong audio—all under $600.
This guide focuses on real-world usability, not just specs. We’ll explore which entry-level 4K cameras offer the best value, how they perform in common vlogging scenarios, and what features actually matter when you're filming yourself daily. Whether you're documenting travel, sharing lifestyle tips, or building a YouTube channel, the right tool can elevate your content from amateur to professional in seconds.
What Makes a Great Vlogging Camera?
Before diving into specific models, it’s essential to understand what separates a good vlogging camera from one that looks good on paper but fails in practice. While 4K resolution is a major selling point, it's only one piece of the puzzle. Real-world vlogging demands a combination of features tailored to solo creators who shoot frequently, often in unpredictable environments.
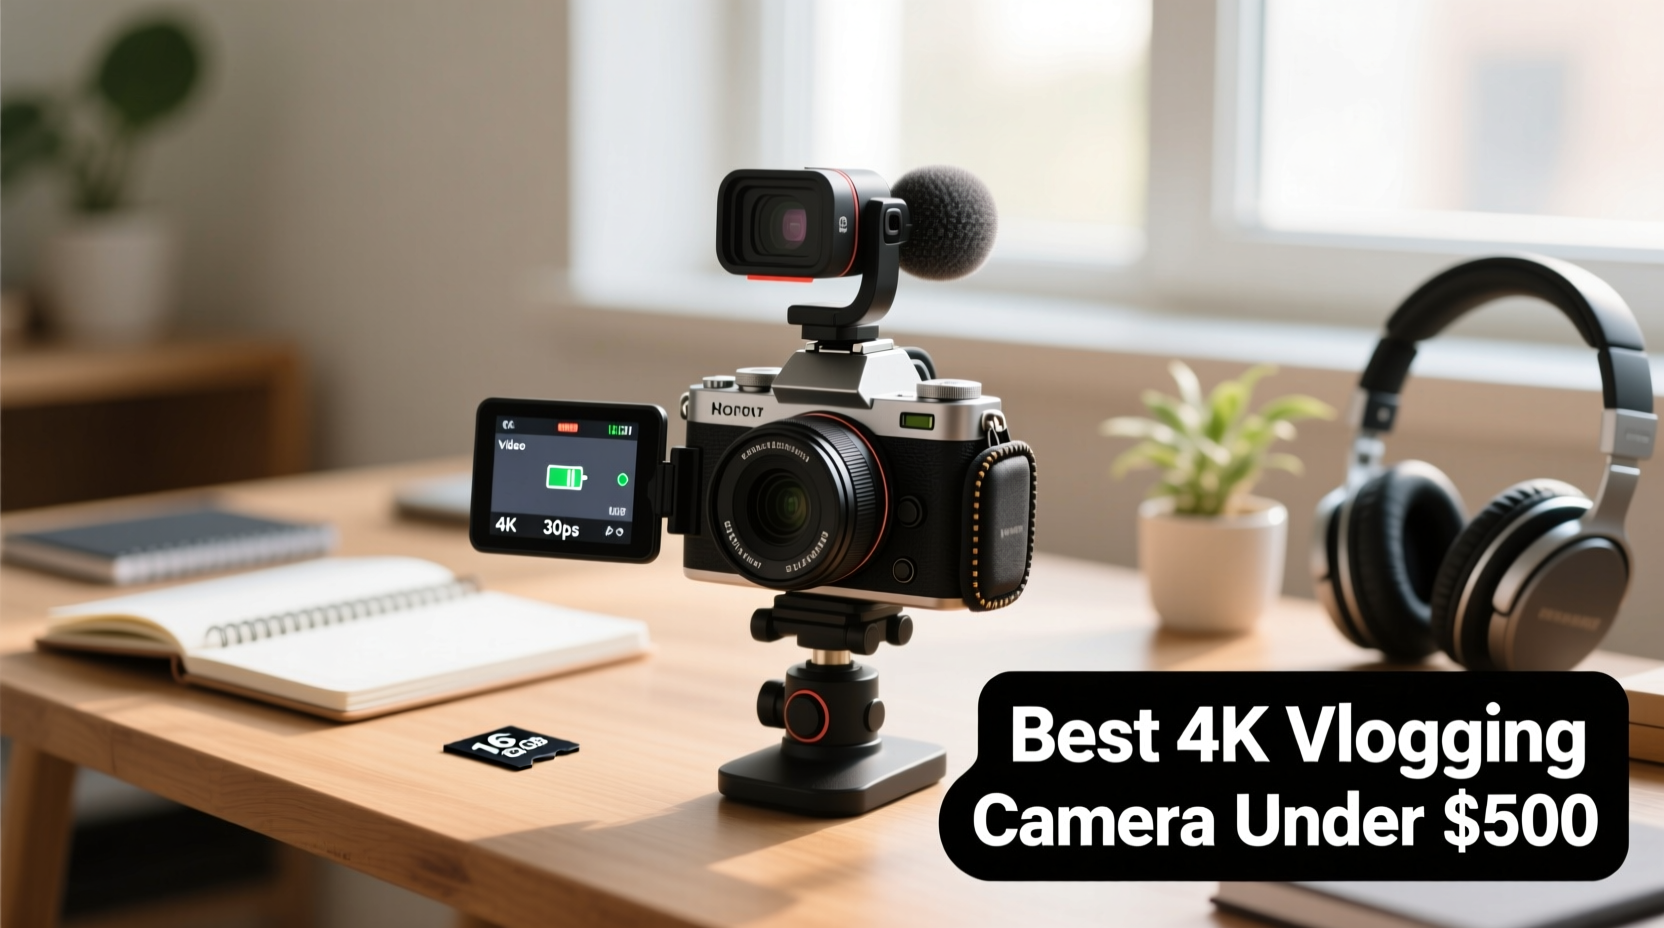
- Flip-out screen: Essential for framing yourself accurately during solo recordings.
- In-body or lens-based stabilization: Reduces shaky handheld footage, especially while walking or moving.
- Good autofocus: Reliable face and eye tracking ensures you stay sharp, even if you move around.
- External mic support: Built-in mics are often poor; the ability to add a better microphone improves audio dramatically.
- Compact size and lightweight design: You’ll carry this camera everywhere—comfort matters.
- Battery life: At least 60–90 minutes of continuous 4K recording is ideal.
- USB-C charging: Allows for convenient charging via power banks, crucial for on-the-go creators.
Top 5 Budget 4K Cameras for Beginner Vloggers
The following cameras were selected based on real-world performance, user feedback, and value for money. All shoot true 4K video (3840x2160), cost under $600, and are beginner-friendly in terms of handling and menu navigation.
| Camera | Price (Approx.) | 4K Quality | Stabilization | Flip Screen | Audio Input | Best For |
|---|---|---|---|---|---|---|
| Sony ZV-1 | $550 | Excellent (oversampled 4K) | Active SteadyShot | Yes (vari-angle) | 3.5mm mic jack | All-around starter vlogging |
| Panasonic Lumix G7 | $480 (used/refurbished) | Very Good (Micro Four Thirds sensor) | Moderate (lens-dependent) | Yes (articulating) | 3.5mm input | High customization & photo-video combo |
| Canon PowerShot G7 X Mark III | $750 new / $500 used | Good (cropped 4K) | Moderate digital IS | Yes (tilt-up 180°) | 3.5mm mic input | Vloggers who also stream |
| Fujifilm X-S10 | $850 body / $900 kit / ~$600 used | Excellent (APS-C sensor) | 5-axis IBIS | Yes (fully articulating) | 3.5mm jack | Image quality & low-light performance |
| DJI Pocket 3 | $520 | Outstanding (1-inch sensor, 4K/60fps) | Mechanical gimbal stabilization | Rotatable touchscreen | No 3.5mm jack (uses wireless or adapter) | Ultra-portable, run-and-gun vlogging |
While all five are capable, the **Sony ZV-1** stands out as the most balanced option for first-time buyers. It was designed specifically for vloggers, featuring product showcase autofocus, background defocus mode, and a directional three-capsule mic array that isolates voice effectively.
“Beginners don’t need every pro feature—they need reliability, simplicity, and consistent results. The ZV-1 delivers that without complexity.” — Jordan Lee, Digital Creator & Gear Reviewer
Real-World Example: How Sarah Upgraded Her Vlogs on a Budget
Sarah, a lifestyle vlogger from Austin, started her channel using only her smartphone. While convenient, her videos lacked consistency in exposure and audio quality. After researching affordable 4K options, she purchased a used Sony ZV-1 for $520 and paired it with a $40 Rode VideoMic Me-L.
Within two weeks, her average watch time increased by 34%. Viewers commented on the improved clarity and “professional feel” of her videos. The flip screen allowed her to frame herself perfectly, and the autofocus kept her in focus even when demonstrating recipes or moving around her kitchen. She now films nearly all her content with the ZV-1 and charges it via USB-C during breaks using a portable battery pack.
Her experience highlights a key truth: upgrading from a phone to a dedicated vlogging camera—even an entry-level one—can significantly boost perceived quality and audience engagement.
Essential Accessories That Maximize Value
A great camera is only part of the equation. To get the most from your investment, consider these budget-friendly accessories that enhance both video and audio quality.
- External Microphone: Even the best built-in mics struggle with ambient noise. A lavalier or shotgun mic like the Rode VideoMic Me-L ($59) or Deity V-Mic D3 ($80) makes a dramatic difference.
- Extra Battery: The Canon G7 X Mark III, for example, lasts only about 40 minutes in 4K. Carrying a spare doubles your shooting time.
- Small Tripod or Grip: The Manfrotto PIXI Mini or DJI OM 5 phone gimbal (used with a mount) helps stabilize shots when resting on surfaces or doing static scenes.
- Memory Card: Use a UHS-I or UHS-II SD card rated at least Class 10 or U3 for smooth 4K recording. SanDisk Extreme or Samsung EVO Plus are reliable choices.
- Neewer Clip-On LED Light: Priced under $30, this tiny light improves facial exposure in dim environments like cafes or indoors at night.
Step-by-Step Guide: Setting Up Your First Vlogging Kit
Follow this sequence to set up your camera and accessories for immediate success:
- Unbox and charge everything: Fully charge the camera, extra batteries, and any connected devices like mics or lights.
- Insert and format the SD card: Go into the camera menu and select “Format” to prepare the card.
- Attach the microphone: Plug in your external mic and test audio levels in the settings menu. Avoid clipping by keeping levels below -6dB.
- Adjust basic settings: Set video resolution to 4K at 30fps (or 24fps for cinematic look). Enable autofocus tracking and set metering to “center-weighted” or “face priority.”
- Test in natural light: Film a short clip outdoors or near a window. Check focus, exposure, and audio clarity.
- Review and adjust: Play back the footage. If the image is too dark, increase ISO (but keep under 3200 to avoid noise). If audio is faint, raise mic sensitivity or reposition the mic closer to your mouth.
- Plan your first upload: Edit your clip using free software like DaVinci Resolve or iMovie, then export in H.264 format for YouTube.
This process takes less than an hour and sets a strong foundation for consistent, high-quality output.
Common Mistakes to Avoid
- Overlooking audio quality: Viewers forgive slightly soft video but rarely tolerate poor sound.
- Using digital zoom: It degrades 4K resolution. Instead, physically move closer or use a prime lens.
- Ignoring lighting: Shooting with backlight (e.g., facing a window) causes silhouetting. Position light sources in front or to the side.
- Setting exposure manually without monitoring: Auto-exposure on modern cameras is highly reliable. Manual settings are useful but require constant adjustment.
- Not checking file sizes: 4K clips consume 1–2 GB per minute. Ensure you have enough storage and backup plans.
Frequently Asked Questions
Can I vlog effectively with a smartphone instead?
Yes, modern smartphones like the iPhone 14 or Google Pixel 7 shoot excellent 4K video and have great stabilization. However, they lack interchangeable lenses, manual controls, and often overheat during long recordings. A dedicated camera offers more creative control and durability over time.
Do I need to buy a new camera, or are used models safe?
Used or refurbished models from reputable sellers (e.g., B&H, Adorama, KEH) are often safe and can save 20–30%. Inspect shutter count (for mirrorless/DSLR), check for sensor dust, and verify warranty status when possible.
Is 4K really necessary for YouTube?
While 1080p is still widely viewed, 4K provides greater flexibility in editing (cropping, zooming) and future-proofs your content. Many viewers on large screens or high-end devices prefer 4K, and YouTube’s algorithm may favor higher-resolution uploads.
Final Checklist Before You Buy
- ✅ Does it shoot true 4K at 30fps or higher?
- Verify this in official specs, not marketing blurbs.
- ✅ Is the screen fully articulating or flip-up?
- You should be able to see yourself while recording.
- ✅ Does it have a mic input or support wireless mics?
- Essential for clean audio.
- ✅ Is it compact and lightweight?
- Aim for under 1.5 lbs (700g) including lens.
- ✅ Can it be charged via USB-C?
- Huge advantage for travel and extended shoots.
- ✅ Are spare batteries and accessories affordable?
- Check availability and pricing before committing.
Conclusion: Start Strong, Grow Confidently
Choosing the best camera for vlogging as a beginner doesn’t require the latest flagship model. What matters most is consistency, clarity, and the willingness to learn. Cameras like the Sony ZV-1, Panasonic G7, and DJI Pocket 3 prove that 4K quality and professional results are within reach—even on a tight budget.
Your first camera isn’t forever. It’s a tool to help you develop your voice, refine your style, and connect with an audience. With the right setup, you’ll spend less time fighting technical issues and more time creating content that resonates.


 浙公网安备
33010002000092号
浙公网安备
33010002000092号 浙B2-20120091-4
Comments
No comments yet. Why don't you start the discussion?