
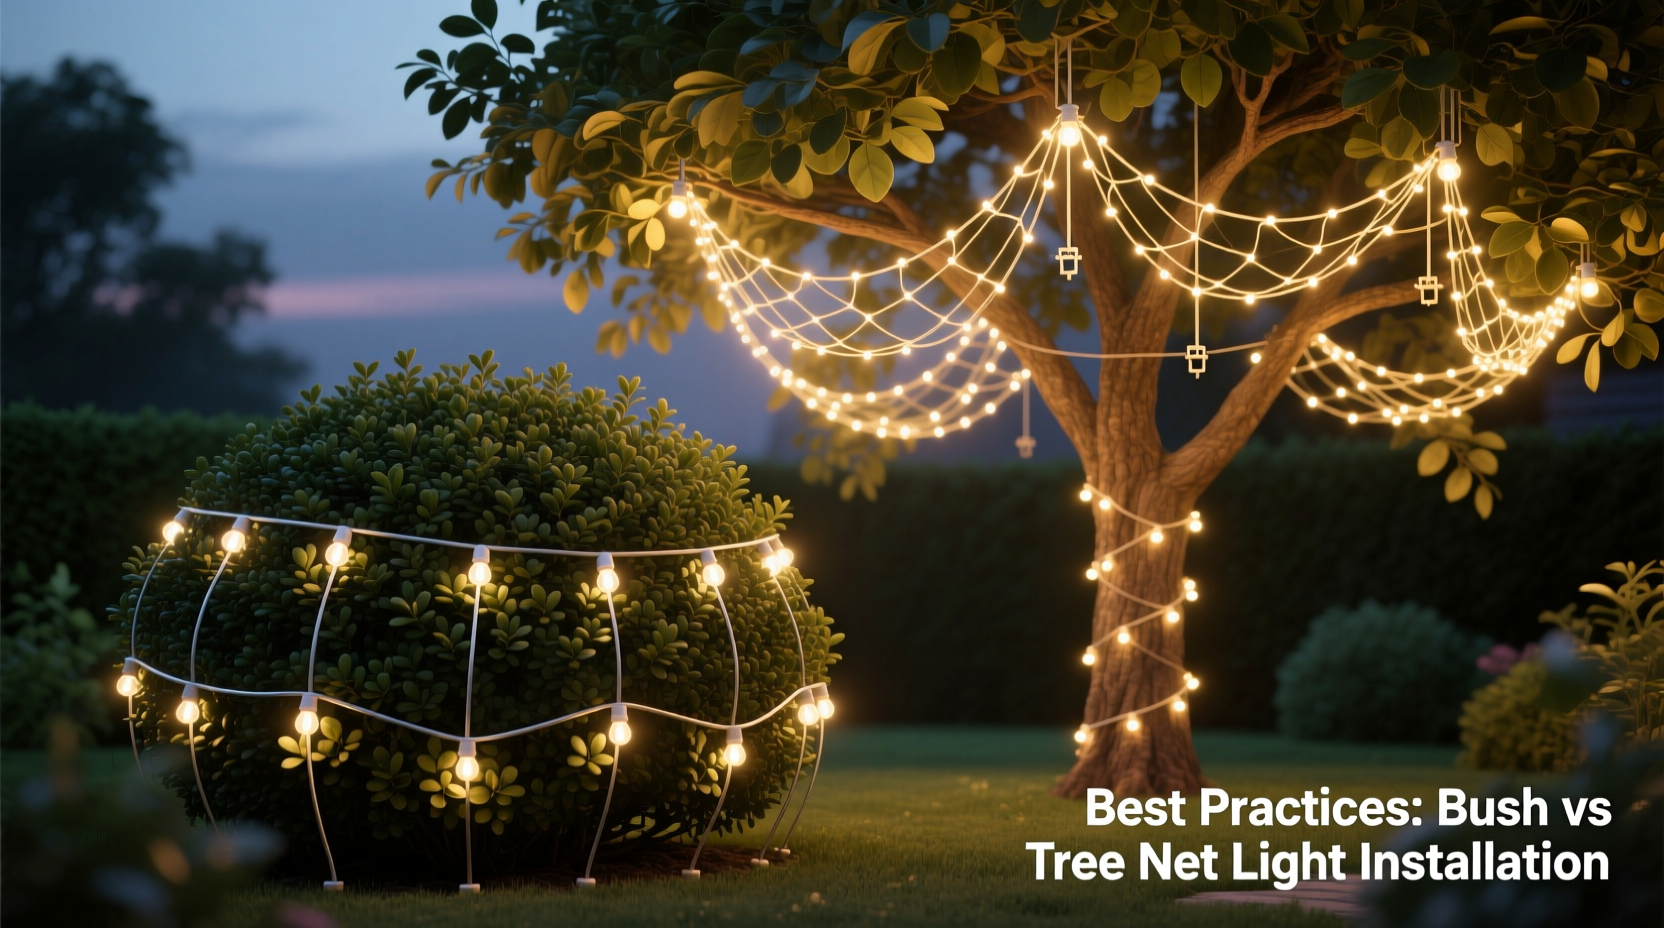
Stringing holiday or decorative lighting through outdoor greenery adds warmth and charm to any landscape. But achieving that lush, glowing effect—especially with net lights—requires more than just draping wires over branches. Whether you're working with a dense evergreen bush or a mature deciduous tree, the approach to installation makes all the difference in coverage, safety, and visual impact. Understanding how to adapt your technique based on plant structure ensures not only a stunning display but also protects both the plant and your investment in quality lighting.
Selecting the Right Net Lights for Your Plant Type
Net lights—also called curtain lights or mesh lights—are pre-strung grids of bulbs connected by horizontal and vertical wires. They’re designed for fast, uniform coverage and are ideal for shrubs, bushes, and trees with consistent foliage density. However, not all net lights are created equal, and choosing the right type depends on your target plant.
- Bushes: Opt for smaller net lights (e.g., 3' x 6') with tighter bulb spacing (3–4 inches apart). Their compact size conforms better to rounded, dense forms.
- Trees: Use larger panels (6' x 9' or custom sizes) or connect multiple nets seamlessly. Wider spacing (6 inches) may suffice for large-canopied trees where depth matters more than density.
LED net lights are strongly recommended: they run cooler, consume less energy, last longer, and are often UL-listed for outdoor use. Always check the IP (Ingress Protection) rating—IP44 or higher ensures resistance to moisture and dust.
Hanging Net Lights on Bushes: Techniques for Full Coverage
Bushes—particularly boxwoods, hollies, or arborvitaes—are typically dense, symmetrical, and low to the ground. This makes them excellent candidates for net lights, but proper technique prevents sagging, uneven brightness, or damage to delicate foliage.
- Measure the bush’s dimensions before purchasing net lights. Aim for a net that matches or slightly exceeds height and width to allow wrapping around the sides.
- Start from the back or side closest to the power source. Feed the plug down through inner branches to hide it and reduce tripping hazards.
- Drape the net vertically over the top of the bush, letting it cascade down the front like a curtain. Gently tuck the edges into the outer foliage using plastic-coated garden twist ties.
- Layer if needed. For very thick or wide bushes, use two overlapping nets to avoid dim spots in the center.
- Avoid pulling too tight. Let the net follow the natural contour. Over-tensioning can stress branches or stretch the wiring.
Because bushes have more uniform shapes, net lights tend to lay flatter and require fewer anchor points. The key is integration—your goal is for the light to appear as though it's glowing from within the plant, not sitting on top of it.
“With shrubs, the magic happens when the lights disappear into the foliage. If you see the wire grid, it’s either too loose or not layered deeply enough.” — Daniel Reyes, Landscape Lighting Designer
Hanging Net Lights on Trees: Adapting for Structure and Scale
Trees present a different challenge. Unlike bushes, trees have irregular branching patterns, varying canopy densities, and greater height. Net lights alone may not suffice for full coverage unless modified or supplemented.
For smaller ornamental trees (e.g., dogwoods, redbuds), a single large net panel can be draped over lower branches and secured at multiple points. For larger shade trees (maples, oaks), consider this hybrid strategy:
- Use net lights on the lower third of the canopy, where visibility is highest.
- Supplement upper sections with traditional string lights wrapped around major limbs.
- Anchor net corners to sturdy branches using soft nylon zip ties or cloth strips to avoid girdling.
Height access is critical. Use a stable ladder and work with a partner to unfurl and position the net safely. Never stand on railings or unstable platforms. If the tree exceeds 10 feet in display height, consider installing a temporary support frame (e.g., PVC poles) behind the trunk to hold the net away from the bark and create a “floating” glow effect.
Comparison: Bush vs Tree Installation Checklist
| Task | Bush Application | Tree Application |
|---|---|---|
| Light Size | Small to medium (3'x6') | Large or interconnected (6'x9'+) |
| Installation Height | Ground to 6 feet | Up to 15+ feet |
| Primary Method | Drape and tuck | Drape + anchor + supplement |
| Branch Attachment | Twist ties, light clipping | Nylon ties, hook-and-loop straps |
| Coverage Strategy | Full-face coverage | Lower canopy focus + depth layering |
| Power Access | Ground-level outlet, buried cord | Elevated junction box, weatherproof extension |
Step-by-Step Guide: Achieving Full Coverage Without Damage
Follow this universal process whether working with a bush or tree. Adjust tools and materials based on scale.
- Inspect the plant for weak, diseased, or broken branches. Trim only what’s necessary and avoid cutting during active growth seasons unless essential.
- Lay out the net lights on the ground near the plant to test length and plug direction. Confirm all bulbs function before installation.
- Route the power cord along a safe path from outlet to base. Use cord covers or stakes to secure it across walkways.
- Begin placement from the top or back, feeding the net forward. For bushes, start at the crown; for trees, begin at the lowest major limb.
- Secure every 12–18 inches using non-abrasive fasteners. Avoid metal wire or rubber bands, which can degrade or cut into bark over time.
- Adjust tension gently. The net should rest against the plant without compressing foliage. Recheck after 24 hours—settling may occur.
- Test the display at night. Walk around the plant to identify dark zones. Add supplemental string lights or reposition the net if needed.
- Label the system. Mark the circuit breaker or timer used for easy seasonal control.
Maintaining Safety and Plant Health
While net lights enhance aesthetics, improper installation can pose fire risks, trip hazards, or long-term harm to plants. Follow these guidelines to protect people, property, and greenery.
- Never staple or nail cords to trunks or branches. This damages vascular tissue and invites disease.
- Use only outdoor-rated extension cords with ground-fault circuit interrupter (GFCI) protection.
- Turn off lights during high winds or storms to prevent swaying-related wear.
- Remove lights after 90 days. Prolonged exposure increases abrasion risk and complicates spring pruning.
- Inspect annually for cracked insulation, loose sockets, or corroded connectors.
Evergreen bushes and trees are particularly vulnerable to heat buildup. Even LED lights generate minor warmth. Ensure airflow by avoiding complete encasement—leave gaps between layers to prevent moisture retention and fungal growth.
Real Example: Transforming a Front Yard Display
In Portland, Oregon, homeowner Maria Tran wanted to illuminate three boxwood hedges and a mature Japanese maple for the winter season. She initially tried using standard string lights but found the application time-consuming and coverage spotty.
After consulting a local nursery, she switched to LED net lights: 3' x 6' panels for the boxwoods and a custom 6' x 8' net for the maple. For the tree, she anchored the top corners to lateral branches using soft loop straps and draped the bottom over lower limbs. She supplemented the upper canopy with 20-foot string lights woven into key branches.
The result was a balanced, radiant display achieved in under two hours—half her previous setup time. Neighbors reported seeing fewer dark spots, and Maria noted no leaf drop or branch damage after removal in February.
Frequently Asked Questions
Can I leave net lights on bushes or trees year-round?
No. While some lights are rated for outdoor durability, prolonged exposure to UV rays, rain, and temperature swings degrades wiring and insulation. Additionally, constant contact can rub bark or restrict growth. Remove lights after seasonal use—typically within 60 to 90 days—to extend their lifespan and protect plants.
How do I prevent net lights from sliding off smooth branches?
Use adhesive-backed hook-and-loop tape (like Velcro strips) on sturdy limbs. Attach the loop portion to the branch (without girdling) and hook to the net’s wire. Alternatively, weave thin zip ties through the net and around branches, leaving a small gap for growth expansion.
Are battery-powered net lights suitable for trees or bushes?
Only for small, low-profile displays. Battery packs limit runtime (often 6–8 hours per set) and require frequent replacement or recharging. For permanent or nightly displays, plug-in models with grounded outlets are more reliable and cost-effective.
Pro Tips Summary: Quick Reference Checklist
- ✅ Measure plant dimensions before buying lights
- ✅ Use LED, outdoor-rated net lights (IP44+)
- ✅ Route power cord safely and conceal plug
- ✅ Start draping from the back or top
- ✅ Secure with non-damaging fasteners every 12–18\"
- ✅ Layer or supplement for thick or tall plants
- ✅ Test at night for even coverage
- ✅ Remove after 90 days; store properly
Conclusion: Illuminate with Intention
Whether adorning a compact boxwood or a stately oak, hanging net lights effectively requires matching technique to plant form. Bushes benefit from simple, snug draping, while trees often demand strategic anchoring and supplemental lighting. By selecting the right materials, prioritizing plant health, and following a structured approach, you can achieve full, luminous coverage that turns your landscape into a seasonal showpiece.
The most memorable displays aren’t the brightest—they’re the most thoughtfully executed. Take the time to plan, install safely, and maintain your setup with care. Your effort will shine through in every glowing branch.


 浙公网安备
33010002000092号
浙公网安备
33010002000092号 浙B2-20120091-4
Comments
No comments yet. Why don't you start the discussion?