
Streaming on a low-end PC doesn’t have to mean constant buffering, dropped frames, or choppy video. With the right configuration in OBS Studio, even systems with limited RAM, older CPUs, or integrated graphics can deliver stable, watchable streams. The key lies not in hardware upgrades—but in smart optimization. By adjusting encoding settings, managing scene complexity, and leveraging software efficiencies, you can dramatically reduce lag and deliver a smooth experience for both yourself and your viewers.
The challenge for most low-end users is balancing visual quality with system performance. High bitrates, complex scenes, and inefficient encoders quickly overwhelm limited processing power. But by understanding how OBS uses system resources—and where to make strategic compromises—you can achieve reliable 720p30 streaming without sacrificing professionalism.
Understand Your Hardware Limitations
Before tweaking any settings, it's essential to know what your system can realistically handle. Most low-end PCs share common traits: dual-core processors (or quad-core without hyperthreading), 4–8GB of RAM, and integrated graphics like Intel HD Graphics or older AMD APUs. These components struggle with real-time video encoding, especially when using software encoders like x264.
The primary bottleneck in streaming isn’t usually your internet—it’s your CPU. Encoding video consumes significant processing power, and if your CPU is maxed out, OBS will drop frames, causing lag and stuttering. To mitigate this, you must minimize background processes, prioritize encoding efficiency, and offload work whenever possible.
“Many beginners assume they need better hardware, but 80% of performance issues stem from misconfigured settings.” — Jason Reed, Streaming Infrastructure Engineer at StreamLabs
Begin by checking your Task Manager while running OBS. If your CPU usage consistently exceeds 80%, that’s your red flag. The goal is to keep encoding demands below that threshold while maintaining acceptable output quality.
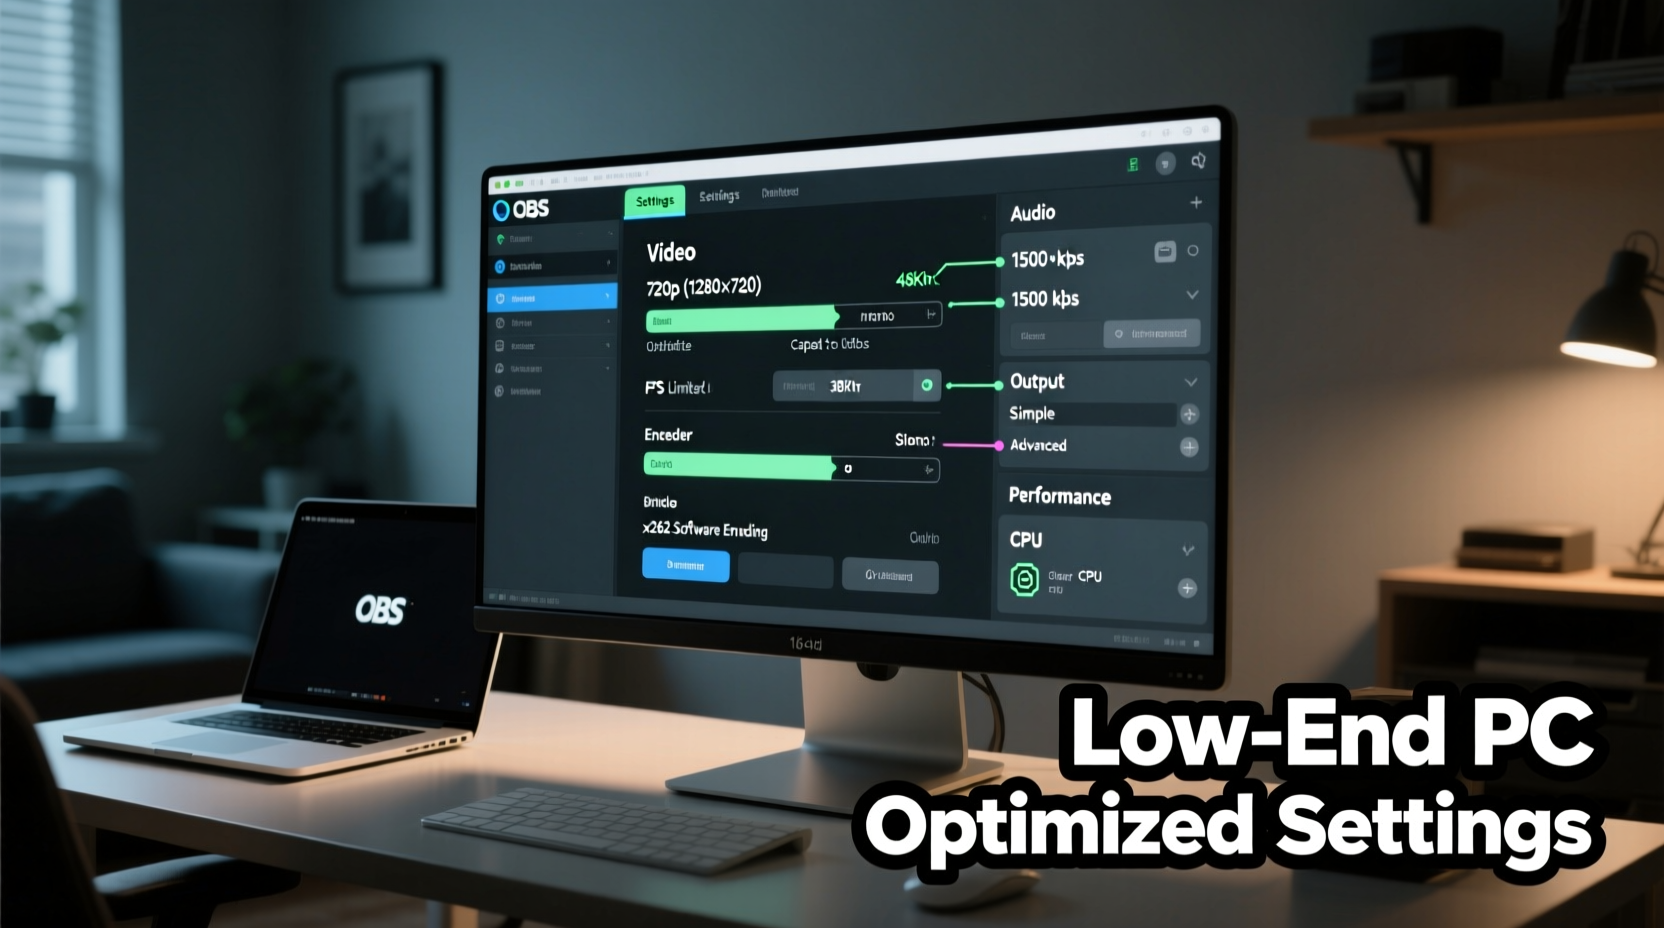
Optimize OBS Output Settings for Low-End Systems
Your output (encoding) settings determine how much data is processed and sent to your streaming platform. On low-end machines, choosing the correct encoder, bitrate, and resolution is critical.
Select the Right Encoder
OBS offers multiple encoder options, but for low-end PCs, your best choices are limited:
- x264 (Software): Reliable and widely supported, but CPU-intensive. Use only if no hardware encoder is available.
- Hardware (NVENC H.264): Offloads encoding to GPU. Available on NVIDIA GTX 600-series and newer. Highly recommended if accessible.
- Intel Quick Sync Video (QSV): Built into most Intel CPUs since 2nd generation. Efficient and low-CPU, ideal for integrated graphics users.
If you have an NVIDIA GPU—even an older one—enable NVENC. For Intel-only systems, use QSV. Both drastically reduce CPU load compared to x264.
Set Appropriate Bitrate and Resolution
Higher bitrates mean better quality but require more bandwidth and processing. On low-end systems, aggressive bitrates lead to frame drops. Here’s a balanced approach:
| Resolution | FPS | Bitrate (Kbps) | CPU Load Impact |
|---|---|---|---|
| 720p | 30 | 1500–2500 | Low to moderate |
| 720p | 60 | 3000–4000 | Moderate to high |
| 480p | 30 | 800–1200 | Very low |
| 1080p | 30 | 3000–4500 | High (not recommended) |
For most low-end setups, 720p at 30 FPS with a 2000 Kbps bitrate is the sweet spot. It looks clean on platforms like Twitch or YouTube, stays within typical upload caps, and minimizes strain on older CPUs.
Use CBR and Keyframe Interval
Set your rate control to CBR (Constant Bitrate) for stable streaming. Avoid VBR unless you have fluctuating scenes and sufficient headroom.
Keyframe interval should be set to 2 seconds (e.g., 60 for 30 FPS). This ensures compatibility with streaming services and helps prevent sync issues.
Streamlined Scene and Source Configuration
Even perfect output settings won’t help if your scenes are overloaded. Each source—browser windows, images, videos, capture cards—adds overhead. On low-end systems, simplicity is non-negotiable.
Minimize Sources and Layers
Avoid stacking multiple browser sources, animated alerts, or overlay-heavy designs. Every additional element forces OBS to composite more layers, increasing GPU and CPU usage.
- Limit browser sources to one or two (e.g., chat and alert box).
- Use static image overlays instead of animated GIFs or video loops.
- Disable transparency effects and shadows in sources.
Use Game Capture When Possible
Game Capture mode is more efficient than Display Capture because it hooks directly into DirectX/OpenGL processes, reducing rendering overhead. If your game supports it, always prefer Game Capture over full-screen duplication.
Lower Base and Canvas Resolution
In Settings > Video, set both Base (Canvas) Resolution and Output (Scaled) Resolution to 1280x720. Even if your monitor is 1080p, scaling down reduces compositing workload.
If performance is still shaky, try setting base resolution to 1280x720 and output to 854x480 (scaled). OBS will downscale everything, easing the GPU burden.
Step-by-Step Setup Guide for Lag-Free Streaming
Follow this sequence to configure OBS Studio for optimal performance on low-end hardware:
- Launch OBS and open Settings (File > Settings).
- Go to Video: Set Base and Output Resolution to 1280x720 at 30 FPS.
- Navigate to Output (Advanced Mode): Choose your preferred encoder:
- NVIDIA users: Select “NVIDIA NVENC H.264”
- Intel-only users: Select “Intel Quick Sync H.264”
- No compatible hardware? Use “x264” but limit other demands.
- Set Rate Control to CBR, Bitrate to 2000, and Keyframe Interval to 2s.
- Under Audio, disable unused tracks and set sample rate to 44.1kHz.
- Create a new scene and add only essential sources: game capture, microphone, and maybe a webcam.
- Right-click webcam source > Properties > set resolution to 480p or lower.
- Open Stats panel (View > Stats) and monitor during test stream: watch for dropped frames and encoder overload.
- Run a 10-minute test recording. Check for audio sync issues, stutters, or overheating.
- Adjust bitrate downward in 250 Kbps increments if instability persists.
This process prioritizes stability over perfection. A consistent 720p30 stream with clear audio is far better than a crashing 1080p attempt.
Performance Checklist: Pre-Stream Routine
Before going live, run through this checklist to ensure your system is ready:
- ✅ Close all non-essential apps (browsers, Spotify, Steam overlay)
- ✅ Disable Windows notifications and focus assist
- ✅ Plug in laptop (if applicable) to prevent power-saving throttling
- ✅ Set Windows Power Plan to “High Performance”
- ✅ Restart OBS and verify scene order
- ✅ Test mic and audio levels (keep game audio below 70%)
- ✅ Confirm upload speed meets 1.5x your stream bitrate (e.g., 3 Mbps for 2000 Kbps stream)
- ✅ Enable “Auto-configure” in OBS if unsure (Tools > Auto-Configuration Wizard)
This routine eliminates common causes of lag unrelated to OBS settings—like background updates or power throttling.
Real Example: Streaming on an Intel Core i3-6100 System
Consider Mark, a college student streaming from a desktop with an Intel Core i3-6100, 8GB RAM, and Intel HD 530 graphics. Initially, he tried 1080p60 streaming using x264, resulting in 40–60% dropped frames and frequent crashes.
After switching to Intel Quick Sync, lowering resolution to 720p30, and capping bitrate at 2000 Kbps, his dropped frames fell to under 2%. He removed animated overlays, used a single browser source for chat, and disabled his webcam during intense games. The result? A stable, professional-looking stream that grew his audience by 70% in two months—all without spending a dollar on upgrades.
His success wasn’t due to better gear, but smarter settings tailored to his hardware’s strengths.
Frequently Asked Questions
Can I stream 1080p on a low-end PC?
Technically yes, but not reliably. 1080p requires higher bitrates and more processing power. On low-end systems, it often leads to dropped frames and audio desync. 720p is strongly recommended for consistent performance.
Why does my stream lag even with good internet?
Lag during streaming is often caused by CPU overload, not internet speed. Check your OBS stats: if “Dropped Frames” or “Encoder Overload” is high, your computer can’t keep up with encoding, regardless of upload bandwidth.
Should I use Replays or Recordings on the same PC?
Not advised on low-end systems. Recording adds another encoding pass, doubling CPU load. If you must record, use separate hardware or accept reduced stream quality.
Final Recommendations for Long-Term Stability
Sustainable streaming on low-end hardware comes down to discipline and optimization. Resist the urge to add flashy overlays or multi-source scenes until your system proves capable. Focus on delivering a stable signal first—engagement follows reliability.
Regularly update OBS Studio and your graphics drivers. Newer versions include performance improvements and bug fixes that benefit older hardware. Also, consider lightweight alternatives to resource-heavy tools—like using a standalone chat bot instead of a browser docked in OBS.
Finally, remember that millions of successful streamers started exactly where you are: with modest equipment and big ambitions. Technical limitations don’t define your potential—they refine your creativity.
“Your stream’s value isn’t measured in resolution or bitrate. It’s measured in connection.” — Lila Tran, Community Growth Strategist
Take Action Today
You don’t need a high-end rig to start streaming. You need the right settings, a clear plan, and the willingness to optimize. Apply these configurations today, run a test stream, and observe the difference. Share your results, tweak as needed, and build a presence that grows with your skills—not just your hardware.


 浙公网安备
33010002000092号
浙公网安备
33010002000092号 浙B2-20120091-4
Comments
No comments yet. Why don't you start the discussion?