
Brake calipers are critical components of your vehicle’s braking system, responsible for squeezing the brake pads against the rotors to slow or stop your car. Over time, they accumulate brake dust, road grime, grease, and rust—especially if you drive in wet or salty conditions. Left uncleaned, this buildup can lead to reduced braking efficiency, uneven pad wear, and even corrosion that compromises long-term performance. Regular cleaning not only improves function but also makes future inspections easier and extends the life of your brake components.
Cleaning brake calipers properly requires more than a quick spray. Done incorrectly, it can damage seals, contaminate brake pads, or introduce moisture into sensitive areas. This guide provides a comprehensive, step-by-step approach to safely and effectively clean brake calipers for optimal performance and longevity.
Why Clean Brake Calipers Regularly?
Most drivers overlook caliper maintenance until problems arise. However, routine cleaning offers several key benefits:
- Improved braking response: Removing debris allows calipers to move freely and apply even pressure.
- Extended component life: Preventing rust and corrosion on pistons and slides reduces the risk of seizing.
- Easier diagnostics: Clean calipers make it simpler to spot leaks, worn seals, or uneven pad wear.
- Better aesthetics: Especially for vehicles with open-spoke wheels, clean calipers enhance curb appeal.
- Safety: Ensures consistent brake performance in all driving conditions.
“Many brake failures begin with neglected maintenance. A simple cleaning every 6–12 months can prevent costly repairs down the line.” — Mark Reynolds, ASE-Certified Master Technician
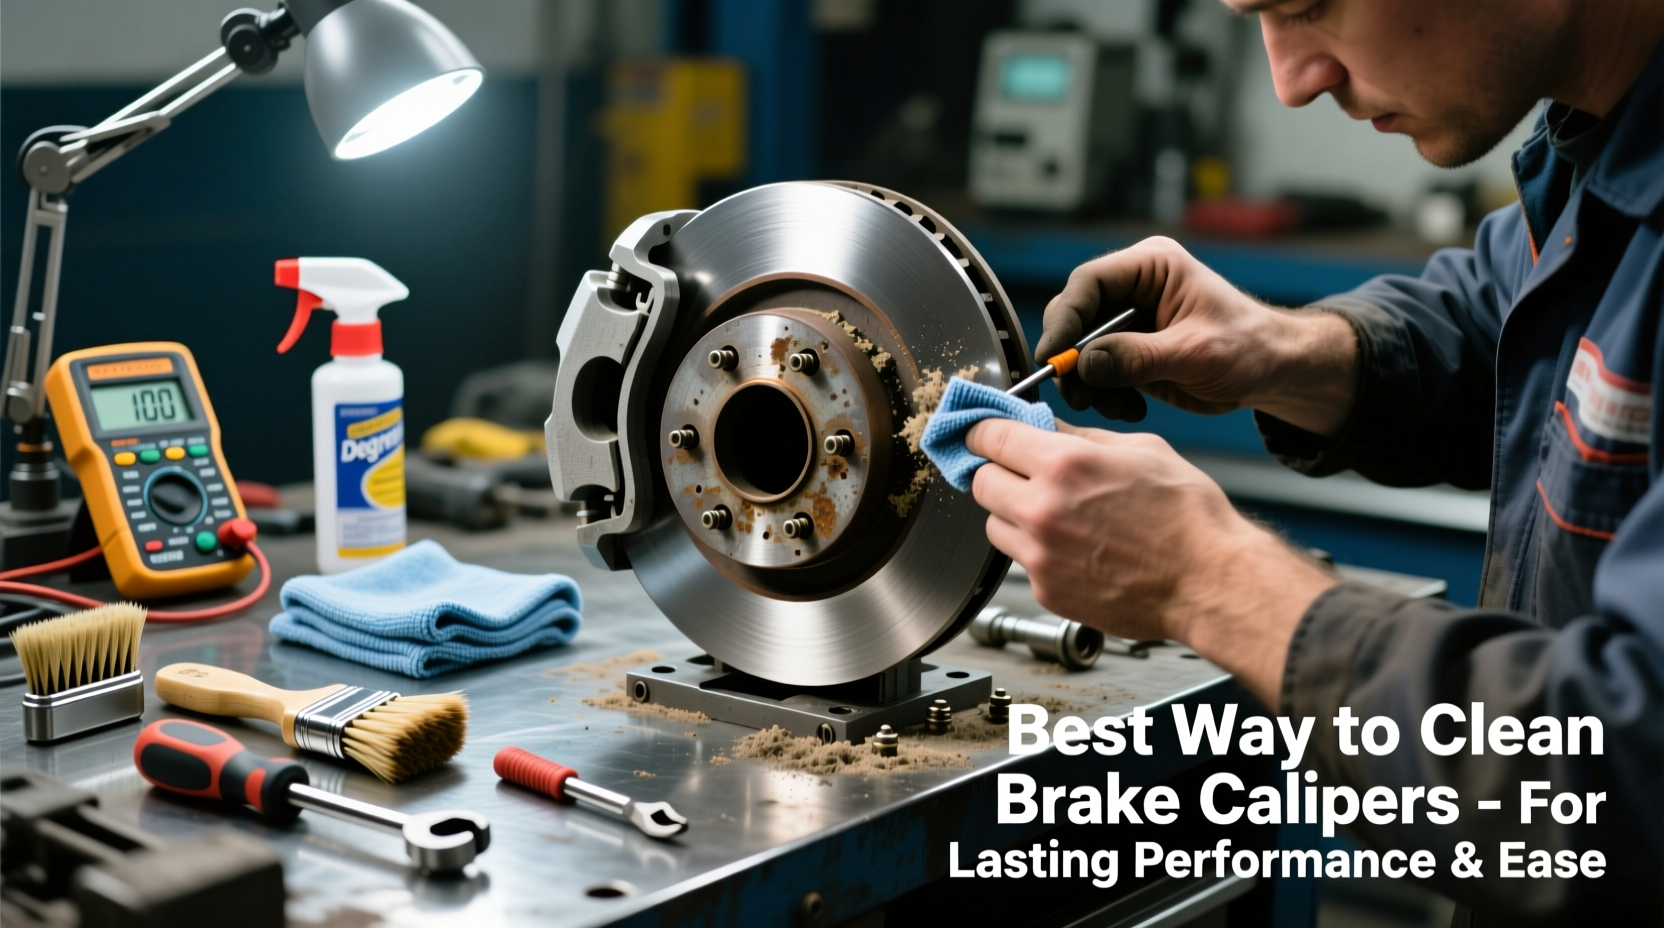
Step-by-Step Guide: How to Clean Brake Calipers Safely
Cleaning brake calipers is a manageable DIY task with the right tools and precautions. Follow this detailed process to ensure thorough yet safe results.
- Lift and secure the vehicle. Use jack stands on level ground after lifting the car with a floor jack. Never work under a vehicle supported only by a jack.
- Remove the wheels. This gives full access to the calipers, rotors, and pads. Keep bolts organized to avoid mix-ups during reassembly.
- Inspect before cleaning. Check for fluid leaks, cracked hoses, damaged boot seals on sliding pins, and excessive rust. Address any major issues before proceeding.
- Protect brake pads and rotors. Cover them with masking tape or plastic to prevent chemical contact. Brake cleaner can reduce pad friction if residue remains.
- Apply brake parts cleaner liberally. Use a high-quality aerosol brake cleaner designed for metal components. Spray directly onto the caliper body, piston area (if visible), and mounting brackets.
- Scrub gently with a nylon brush. Focus on crevices, bolt heads, and surfaces where grime accumulates. Avoid wire brushes—they can scratch metal and promote rust.
- Clean sliding pins and bushings. Remove the pins, wipe off old grease, inspect for pitting, and lubricate with silicone-based caliper grease before reinstalling.
- Rinse with compressed air (optional). Blow out loosened debris and moisture from grooves and recesses. Do not use water.
- Dry thoroughly. Allow components to air-dry completely before reassembling. Residual moisture can cause premature rust.
- Reinstall wheels and lower the vehicle. Torque lug nuts to manufacturer specifications once the car is back on the ground.
Do’s and Don’ts When Cleaning Brake Calipers
| Do’s | Don’ts |
|---|---|
| Use dedicated brake parts cleaner | Use WD-40 or household degreasers |
| Wear gloves and eye protection | Touch cleaned surfaces with bare hands |
| Lubricate sliding pins with high-temp grease | Over-grease or use petroleum-based lubes |
| Clean one wheel at a time | Leave calipers exposed overnight |
| Inspect seals and boots for damage | Use metal scrapers or aggressive abrasives |
Real-World Example: Preventing Costly Repairs Through Prevention
Consider the case of Sarah, a commuter in upstate New York. After two harsh winters, she began noticing a slight pull when braking and a faint grinding noise. A mechanic found that her rear caliper had seized due to corrosion buildup around the sliding pin—a direct result of salt-laden roads and lack of maintenance. The repair required replacing both the caliper and pads, costing over $350.
When asked if she’d ever cleaned her brakes, Sarah admitted she didn’t know it was necessary. After learning proper care techniques, she now cleans her calipers each spring and applies protective lubrication. Two years later, her brakes remain responsive, and she’s avoided further issues. This common scenario illustrates how minor preventive effort can prevent major mechanical failure.
Recommended Tools and Products
Using the correct supplies ensures effective cleaning without damaging components. Here’s what professionals recommend:
- Brake Parts Cleaner: CRC Brakleen or Permatex Brake & Parts Cleaner (non-chlorinated)
- Nylon Brush Set: Soft-bristled for precision cleaning without scratching
- Caliper Grease: High-temperature, silicone-based formula like ATE Slide Lubricant
- Compressed Air: For drying hard-to-reach areas (optional but helpful)
- Protective Gear: Nitrile gloves and safety goggles
- Shop Towels: Lint-free cloths for wiping down surfaces
FAQ: Common Questions About Cleaning Brake Calipers
How often should I clean my brake calipers?
For most drivers, cleaning every 6 to 12 months is sufficient. Vehicles driven in coastal areas, snowy regions with road salt, or off-road environments may benefit from cleaning every 3–4 months.
Can I clean brake calipers without removing the wheels?
While surface spraying is possible, it’s ineffective. Proper cleaning requires wheel removal to access all areas of the caliper, including slide pins and backing plates.
Is it safe to use brake cleaner on painted calipers?
Yes, most modern brake cleaners are safe on factory-painted calipers. However, repeated exposure may dull the finish over time. For show vehicles or custom paint, consider using a milder citrus-based degreaser and rinse quickly with minimal dwell time.
Conclusion: Make Caliper Care Part of Your Routine
Cleaning brake calipers isn’t just about appearance—it’s a vital part of maintaining reliable, efficient braking performance. With minimal time and the right approach, you can prevent corrosion, extend component life, and catch potential problems early. Whether you're a weekend DIYer or a meticulous car owner, integrating caliper cleaning into your regular maintenance schedule pays dividends in safety and savings.


 浙公网安备
33010002000092号
浙公网安备
33010002000092号 浙B2-20120091-4
Comments
No comments yet. Why don't you start the discussion?