
Maintaining a clean CamelBak bladder isn’t just about taste—it’s essential for health, performance, and longevity. Over time, moisture, sugars from sports drinks, and ambient bacteria can lead to mold, mildew, and unpleasant odors. Many users neglect proper cleaning, assuming a quick rinse is enough. But without thorough care, even high-quality hydration systems degrade quickly. The good news? Cleaning your CamelBak bladder doesn’t need to be complicated. With the right routine, tools, and timing, you can keep your bladder fresh, safe, and functional for years.
Why Regular Cleaning Matters
The interior of a hydration bladder is a dark, moist environment—ideal conditions for microbial growth. Even if you only drink water, residual moisture encourages biofilm formation. When you add electrolyte mixes or flavored beverages, sugars cling to the inner walls, accelerating bacterial colonization. Left unchecked, this leads to slimy textures, foul smells, and potential gastrointestinal discomfort.
Cleaning isn’t just hygiene; it preserves material integrity. Most CamelBak bladders are made from food-grade polyethylene or thermoplastic polyurethane (TPU), which resist degradation under normal use—but repeated exposure to contaminants and improper drying weakens seams and valves over time.
“Hydration systems require maintenance similar to water bottles, but their enclosed design demands more intentional cleaning.” — Dr. Laura Simmons, Microbiologist & Outdoor Gear Consultant
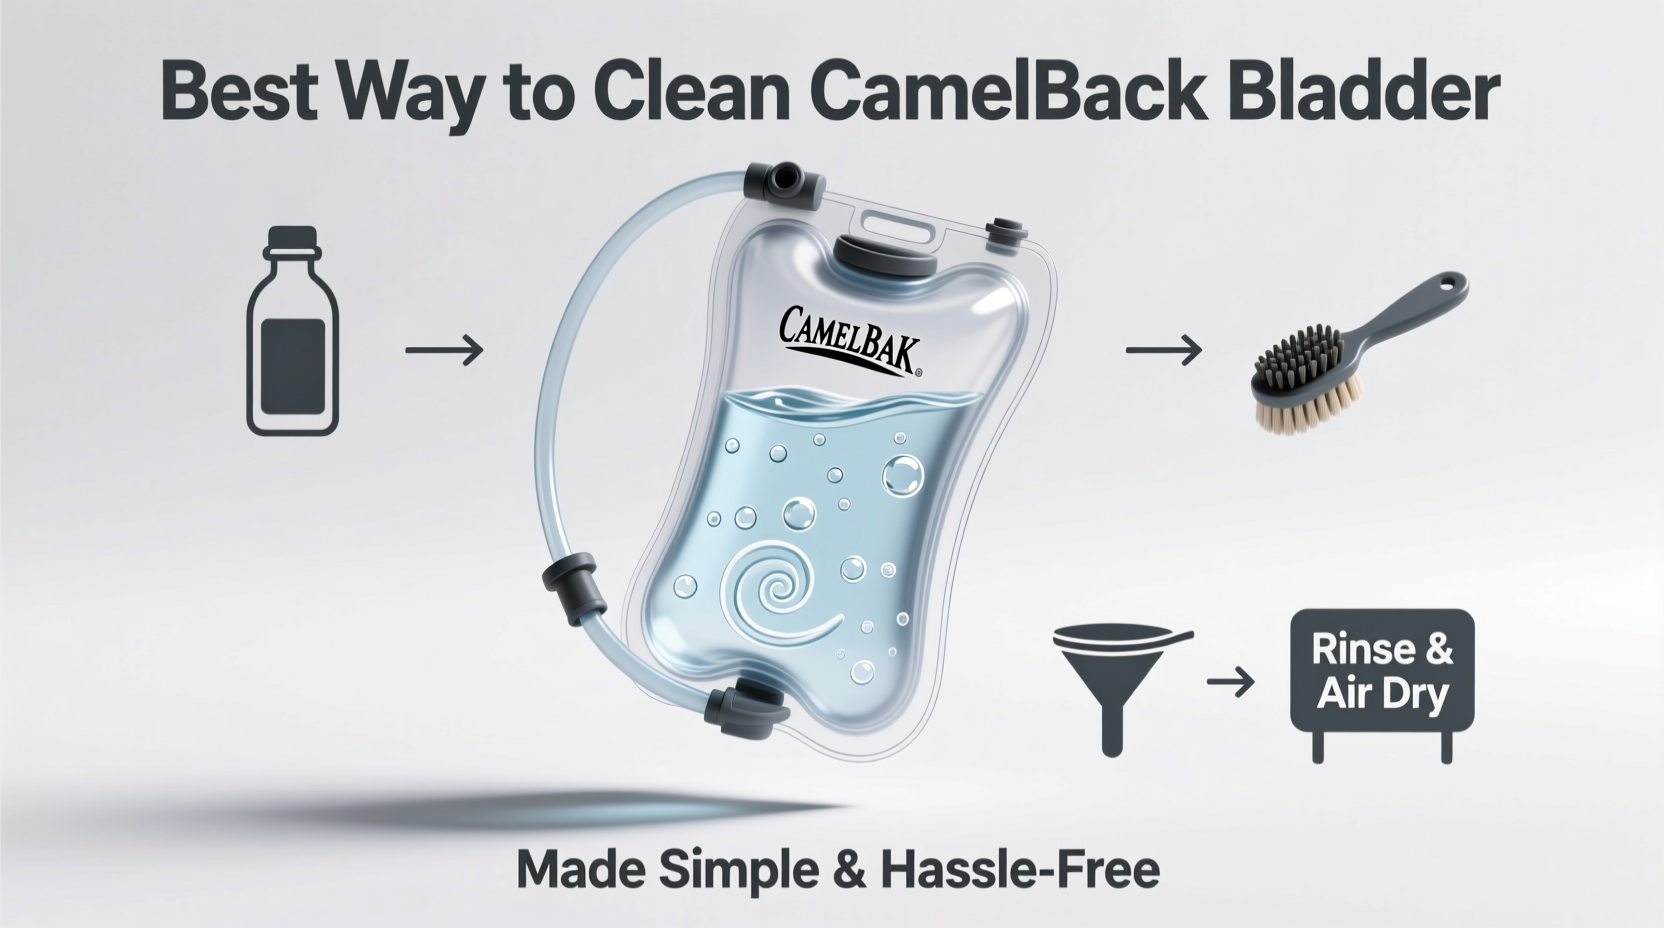
Step-by-Step Guide: How to Clean Your CamelBak Bladder Properly
Follow this detailed process every 1–2 weeks with regular use, or immediately after using sugary or protein-based drinks.
- Empty and Disassemble: Drain all remaining liquid. Remove the hose, bite valve, and cap. Lay out all components on a clean surface.
- Rinse Immediately: Rinse the bladder interior with lukewarm water as soon as possible after use. This prevents residue buildup.
- Prepare Cleaning Solution: Use one of the following:
- CamelBak Cleaning Tablets (one per liter)
- Two tablespoons of baking soda dissolved in warm water
- One tablespoon of unscented household bleach per liter of water (for deep disinfection, max once per month)
- Fill and Soak: Fill the bladder halfway with your chosen solution. Seal it and shake gently. Submerge the hose and bite valve in a separate container of the same solution.
- Let It Sit: Allow the bladder to soak for 5–30 minutes depending on the solution:
- Baking soda: 30 minutes
- Cleaning tablets: follow package instructions (usually 5–10 minutes)
- Bleach solution: 5 minutes maximum
- Agitate and Flush: Shake the bladder vigorously, then squeeze the tube to push solution through the hose and out the bite valve. Repeat until water runs clear.
- Rinse Thoroughly: Empty the solution and rinse the bladder multiple times with clean water. Do the same for all parts. Any leftover cleaner can affect taste or irritate your throat.
- Air Dry Completely: Open the bladder wide and hang it upside down using a drying rack or coat hanger. Ensure both the inside and outside dry fully before reassembling. Never store it damp.
Do’s and Don’ts: Hydration Bladder Care Table
| Do’s | Don’ts |
|---|---|
| Use mild, non-abrasive cleaners like baking soda or dedicated hydration tablets | Use dish soap unless specifically labeled safe for hydration systems (many leave residue) |
| Dry the bladder completely after each wash, inside and out | Store the bladder sealed or folded while still damp |
| Replace the bite valve every 6–12 months with regular use | Put the bladder in the dishwasher or microwave (unless explicitly labeled dishwasher-safe) |
| Flush the system after every use, even with plain water | Use hot water above 140°F (60°C)—it can warp plastic and degrade seals |
| Inspect for cloudiness, slime, or cracks monthly | Freeze the bladder frequently—ice expansion stresses welds and may cause leaks |
Real Example: A Hiker’s Wake-Up Call
Mark, an avid trail runner in Colorado, began experiencing recurring stomach issues during long hikes. He assumed it was trail food or dehydration. After months of discomfort, he noticed a faint sour smell when drinking from his CamelBak. Upon inspection, he found a thin, translucent film coating the inside of the bladder—biofilm from inconsistent cleaning. He followed a bleach soak protocol, replaced the bite valve, and committed to weekly baking soda washes. Within weeks, both the odor and digestive problems disappeared. His takeaway? “I treated my bladder like a water bottle. Now I treat it like medical equipment—because it is.”
Best Cleaning Solutions Compared
Not all cleaners work the same. Here’s how common options stack up:
- CamelBak Cleaning Tablets: Specifically formulated for hydration systems. Dissolve easily, tackle odor and microbes, and leave no residue. Ideal for frequent use.
- Baking Soda: Natural, inexpensive, and effective for light cleaning. Best for weekly maintenance but less potent against established mold.
- Vinegar (White): Mild antimicrobial properties. Can help with mineral deposits but may leave a lingering scent if not rinsed well.
- Diluted Bleach (5% solution): Powerful disinfectant for monthly deep cleans. Use sparingly and always rinse thoroughly. Not recommended for daily use.
- Dish Soap: Generally discouraged. Most contain foaming agents and fragrances that trap in tubing and alter taste.
Frequently Asked Questions
How often should I clean my CamelBak bladder?
After every use, give it a quick rinse. Perform a full cleaning with a recommended solution every 1–2 weeks with regular use. If you’ve used energy drinks or haven’t cleaned it in over two weeks, do a deep clean immediately.
Can I put my CamelBak bladder in the dishwasher?
Only if the product label explicitly states it's dishwasher-safe. Most older models are not. Even for compatible bladders, place it on the top rack only, away from heating elements, and never run a heated dry cycle.
What should I do if I see black specks inside the bladder?
Black specks are likely mold colonies. Discard the bladder if they persist after a bleach soak. Mold embedded in crevices cannot be fully removed and poses health risks. Prevention through drying and regular cleaning is key.
Checklist: Monthly CamelBak Maintenance Routine
- ☐ Rinse bladder after each use
- ☐ Deep clean with baking soda or cleaning tablet (weekly)
- ☐ Inspect bite valve for cracks or stickiness
- ☐ Check hose for cloudiness or residue
- ☐ Perform bleach disinfection (once per month)
- ☐ Air-dry completely before storage
- ☐ Store bladder open and in a cool, dark place
“The biggest mistake people make is letting the bladder dry closed. That traps moisture and creates a petri dish effect.” — Jake Rivera, Outdoor Equipment Technician at REI Co-op
Final Tips for Hassle-Free Maintenance
Simplicity is sustainability. To make cleaning effortless:
- Keep a small kit in your gear bag: cleaning tablets, a soft brush, and a drying hanger.
- Set a calendar reminder for monthly deep cleans.
- Always remove the cap and lay the bladder flat open when not in use.
- Consider buying a second bladder for rotation—clean one while using the other.
Conclusion
Cleaning your CamelBak bladder doesn’t have to be a chore. With a consistent, science-backed approach, you can maintain a hygienic, great-tasting hydration system with minimal effort. The steps are straightforward: rinse promptly, clean regularly, dry thoroughly, and inspect often. By treating your bladder as a critical piece of outdoor gear—not just a container—you extend its life, protect your health, and enjoy every sip with confidence.


 浙公网安备
33010002000092号
浙公网安备
33010002000092号 浙B2-20120091-4
Comments
No comments yet. Why don't you start the discussion?