
Every modern home has them: a tangle of cords snaking behind desks, under entertainment centers, and along baseboards. Chargers, power strips, HDMI cables, USB cords—without proper management, they create visual clutter, pose tripping hazards, and make troubleshooting frustrating. The good news? Organizing cables doesn’t require expensive tools or technical expertise. With practical strategies and everyday household items, you can transform cable chaos into a clean, functional setup. This guide delivers proven methods that actually work, based on real-world use, expert insight, and tested simplicity.
Why Cable Clutter Matters More Than You Think
It’s easy to dismiss tangled wires as a minor annoyance. But disorganized cables impact more than just aesthetics. They reduce airflow around electronics, increasing the risk of overheating. They make it harder to identify which cord belongs to which device—especially during power surges or tech upgrades. In homes with children or pets, loose cords present safety risks. A study by the U.S. Consumer Product Safety Commission estimates that over 4,000 people are treated in emergency rooms annually due to tripping over cords or electrical accidents related to improper cable management.
Moreover, cluttered wiring slows down productivity. Imagine needing to unplug your laptop charger but having to untangle three other cords first. Multiply that by dozens of daily interactions, and the time lost adds up. A well-organized system saves time, reduces stress, and extends the life of your devices by preventing accidental yanks and wear.
Simple, No-Cost Hacks Using Household Items
You don’t need to buy a $30 cable organizer kit to get started. Many effective solutions already exist in your kitchen drawer or junk closet.
- Binder Clips: Clip them to the edge of your desk and thread cords through the metal loops. This keeps charging cables off the floor and within reach.
- Bread Twist Ties: Reuse those small wire ties from bread bags to bundle similar cords together. Perfect for grouping USB cables or headphone wires.
- Toilet Paper Rolls: Stand them upright in a drawer to store coiled cords. Each roll holds one type of cable, preventing knots and making identification easy.
- PVC Pipe Insulation: Cut a length of foam pipe insulation in half lengthwise, place multiple cords inside, and snap it shut. Great for hiding thick bundles behind your TV.
- Clothespins: Attach them to the back of a shelf or desk using small nails or adhesive hooks. Clip cords onto them to prevent dangling.
These low-cost solutions prove that organization isn’t about spending money—it’s about changing habits and rethinking what’s already available.
Step-by-Step Guide to Decluttering Your Cables
Follow this seven-step process to systematically eliminate cable chaos throughout your home.
- Unplug Everything: Start by powering down and disconnecting all devices in the area (e.g., entertainment center, home office). Lay everything out where you can see it.
- Sort by Function: Group cables into categories: power, audio/video, data (Ethernet/USB), and charging.
- Test and Discard: Plug each cable into its device to verify it works. If it doesn’t, discard it. Recycle old electronics cords responsibly at designated drop-off points.
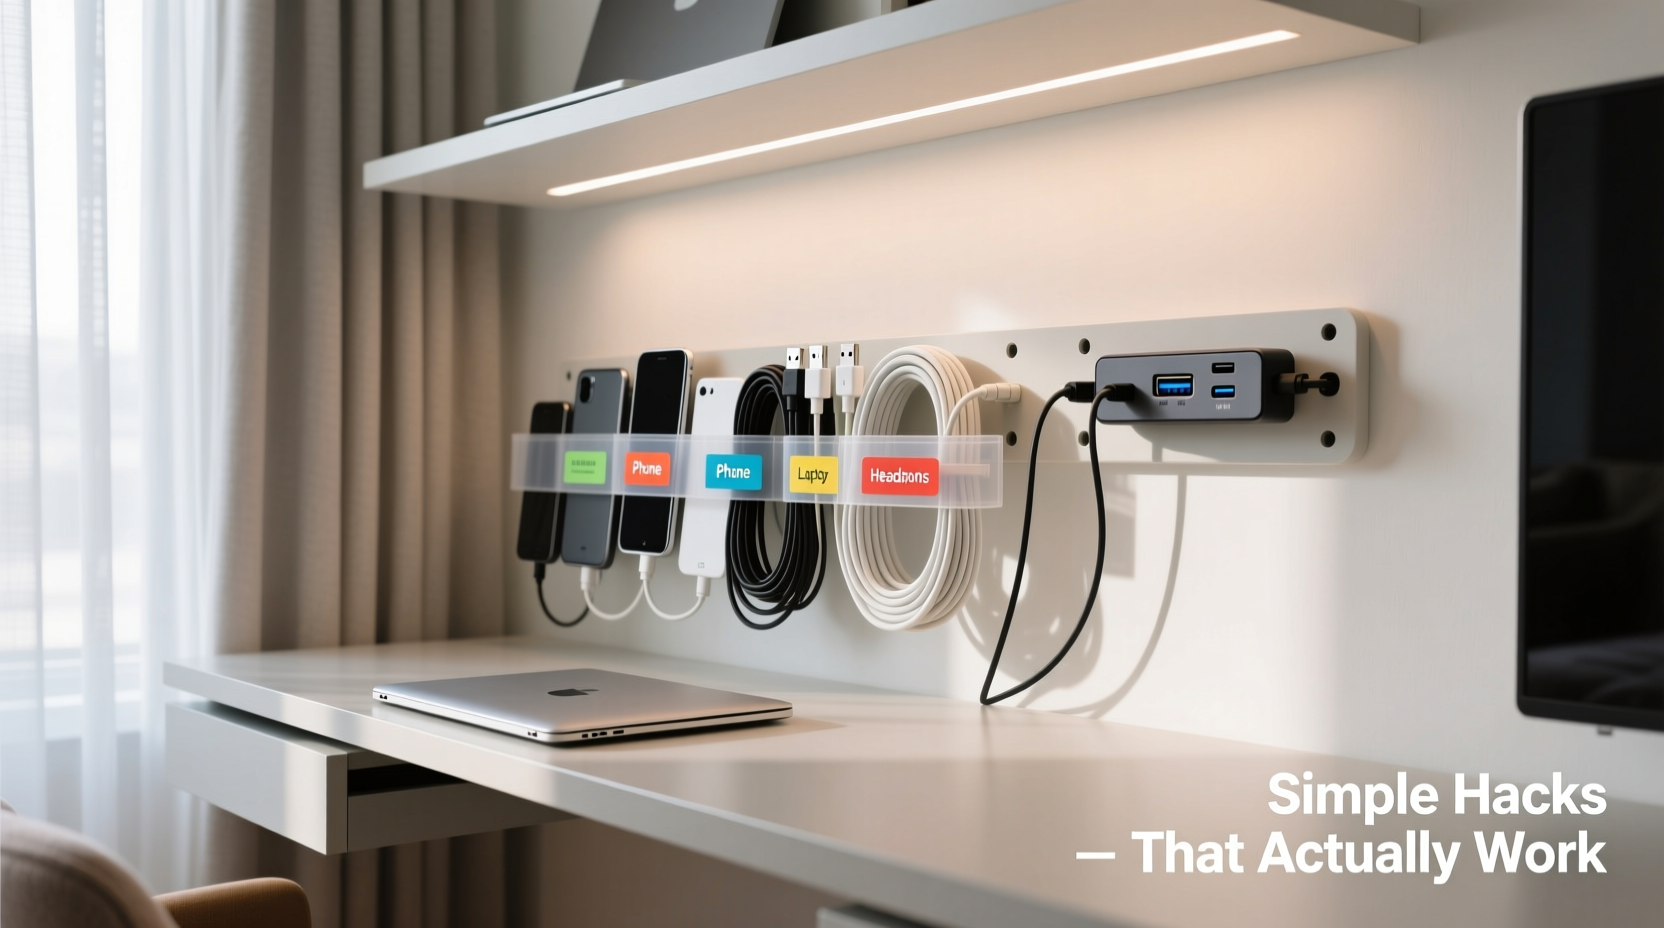
- Label Both Ends: Use colored tape, stickers, or a label maker. Write clear identifiers like “Printer USB,” “Laptop Charger,” or “Living Room HDMI.”
- Measure and Trim (if possible): For custom setups, consider shortening excessively long cords using plug adapters or extension reels only when necessary.
- Bundle and Route: Use velcro straps (not zip ties—they’re permanent) to group like cables. Plan a path from source to device, avoiding high-traffic areas.
- Secure and Hide: Use adhesive clips, raceways, or furniture grommets to keep cords flush against walls or tucked underneath desks.
This methodical approach ensures nothing gets overlooked and creates a sustainable system moving forward.
Do’s and Don’ts of Cable Management
| Do’s | Don’ts |
|---|---|
| Use Velcro straps instead of zip ties for easy adjustments | Never wrap cords tightly around devices or sharp edges |
| Leave slack near connection points to avoid strain | Avoid daisy-chaining multiple power strips |
| Route high-frequency cables (like HDMI) away from power lines to reduce interference | Don’t hide damaged or frayed wires—replace them immediately |
| Invest in a surge protector with built-in cable management | Don’t overload outlets beyond their rated capacity |
| Keep cords elevated off damp floors, especially in basements | Never staple or nail cables to walls—they can damage internal wiring |
Real-Life Example: Transforming a Home Office Setup
Consider Sarah, a freelance graphic designer working from her apartment. Her desk was surrounded by six different cords: laptop charger, monitor, external hard drive, phone charger, Wi-Fi router, and lamp. All were loosely draped over the edge, creating a constant tripping hazard and frequent disconnections when she moved her chair.
She followed the step-by-step guide above. First, she unplugged everything and tested each cable. She discovered two old chargers no longer worked and discarded them. She labeled the rest using color-coded masking tape. Then, she used binder clips to secure power and data cables along the side of her desk. A PVC foam tube housed the thicker bundles running to the wall outlet. Finally, she mounted an adhesive cable raceway behind her desk to conceal remaining cords.
The result? A cleaner workspace, fewer distractions, and no more accidental unplugs. Most importantly, she regained 15 minutes per day previously spent untangling cords or rebooting disconnected devices.
“Cable management is not about perfection—it’s about reducing friction in your environment. Every second saved from not untangling a charger adds up over time.” — James Lin, Electrical Systems Consultant
Essential Tools That Make a Difference
While household hacks are valuable, certain affordable tools significantly improve long-term results.
- Velcro Cable Ties: Reusable, adjustable, and gentle on insulation. Buy in bulk for under $10.
- Cable Sleeves: Braided nylon sleeves expand to fit multiple cords, turning a messy bundle into a sleek, single line.
- Adhesive Cord Clips: Small plastic anchors that stick to surfaces and hold individual cords in place.
- Under-Desk Cable Tray: Mounts beneath your desk to contain all power strips and hub devices out of sight.
- Modular Power Strip: Features built-in USB ports, surge protection, and slots for routing cables neatly.
For larger installations—like home theaters—a cable raceway is worth the investment. These flat, paintable channels mount directly to walls and allow you to run multiple cords from floor to ceiling without visible clutter.
Checklist: Maintain a Tangle-Free System
Use this checklist monthly to ensure your cable organization stays effective:
- ✅ Inspect cords for fraying, kinks, or exposed wires
- ✅ Verify all labels are still legible
- ✅ Untangle and re-bundle any compressed or twisted groups
- ✅ Dust around cable junctions and power strips
- ✅ Unplug and reset surge protectors to prevent overload
- ✅ Add new labels for recently acquired devices
- ✅ Confirm airflow around bundled cords isn’t blocked
Frequently Asked Questions
How do I organize cables without drilling holes?
Use adhesive-backed solutions like cord clips, raceways, and under-desk trays. These stick securely to wood, drywall, or laminate without damaging surfaces. Removable mounting tapes from brands like 3M offer strong hold and clean removal.
Can I paint a cable raceway to match my wall?
Yes. Most plastic raceways accept latex paint. Clean the surface with rubbing alcohol first, apply primer, then paint. This makes the raceway nearly invisible while maintaining full functionality.
What’s the safest way to extend a cable?
Use a high-quality extension cord rated for the device’s wattage, or better yet, relocate the power source. Avoid chaining multiple extensions, as this increases fire risk. For data cables like Ethernet, use active extenders or switches rather than passive couplers.
Conclusion: Take Control of Your Cable Chaos Today
Organizing cables isn’t a one-time chore—it’s an ongoing habit that pays dividends in safety, efficiency, and peace of mind. The best systems are simple, adaptable, and built with materials you already own. Whether you're managing a child’s tablet station or a multi-device home office, the principles remain the same: label clearly, route logically, and maintain regularly.
You don’t need fancy gear or hours of free time. Start small—pick one area this weekend. Clear the mess behind your nightstand or tidy up the cords under your TV. Apply even one of these hacks, and you’ll feel the difference immediately. A calmer space, easier access, and less frustration every time you charge your phone or switch inputs.


 浙公网安备
33010002000092号
浙公网安备
33010002000092号 浙B2-20120091-4
Comments
No comments yet. Why don't you start the discussion?