
Every home has at least one drawer that’s become a tangled graveyard of cords, chargers, adapters, and forgotten cables. You know the one: open it and a nest of USB cables, power bricks, and headphone wires spills out like a tech horror movie. The good news? You don’t need a $50 organizing kit or fancy drawer inserts to fix it. With smart habits and everyday household items, you can transform that chaos into a clean, functional system—today.
Organizing cords isn’t just about aesthetics. Tangled cables degrade faster, waste time when you’re in a rush, and increase the risk of tripping or damaging devices. A well-organized drawer improves efficiency, protects your gear, and reduces daily frustration. Best of all, you can do it using items already in your home—rubber bands, toilet paper rolls, old mugs, or even binder clips. This guide walks through practical, proven strategies to tame the cord chaos—no special tools required.
Why Cord Chaos Happens (And How to Break the Cycle)
The average person owns more than 10 electronic devices, each with its own charging cable or adapter. Without a clear storage system, these items naturally accumulate in drawers, especially near beds or desks. Over time, loose cords tangle, labels wear off, and duplicates pile up. The result is not just clutter—it’s inefficiency.
Common causes of cord clutter include:
- Lack of routine: Throwing cords back in after use without winding or sorting.
- No labeling: Inability to distinguish between similar-looking cables.
- Duplicates: Multiple chargers for the same device, often from replacements or gifts.
- Poor drawer layout: No dividers or structure, leading to constant mixing.
The key to lasting organization is simplicity. If your system requires multiple steps or special products, you’re less likely to maintain it. That’s why the most effective methods rely on intuitive, reusable materials and consistent habits.
Step-by-Step Guide to a Tangle-Free Drawer
Follow this six-step process to create a streamlined cord drawer using only household items and minimal effort.
- Empty and assess. Remove everything from the drawer. Lay items on a table and sort them into categories: phone chargers, tablet cables, headphones, power strips, etc.
- Declutter ruthlessly. Discard frayed, broken, or obsolete cables (like old flip-phone chargers). Keep only what you use regularly or have a clear backup need for.
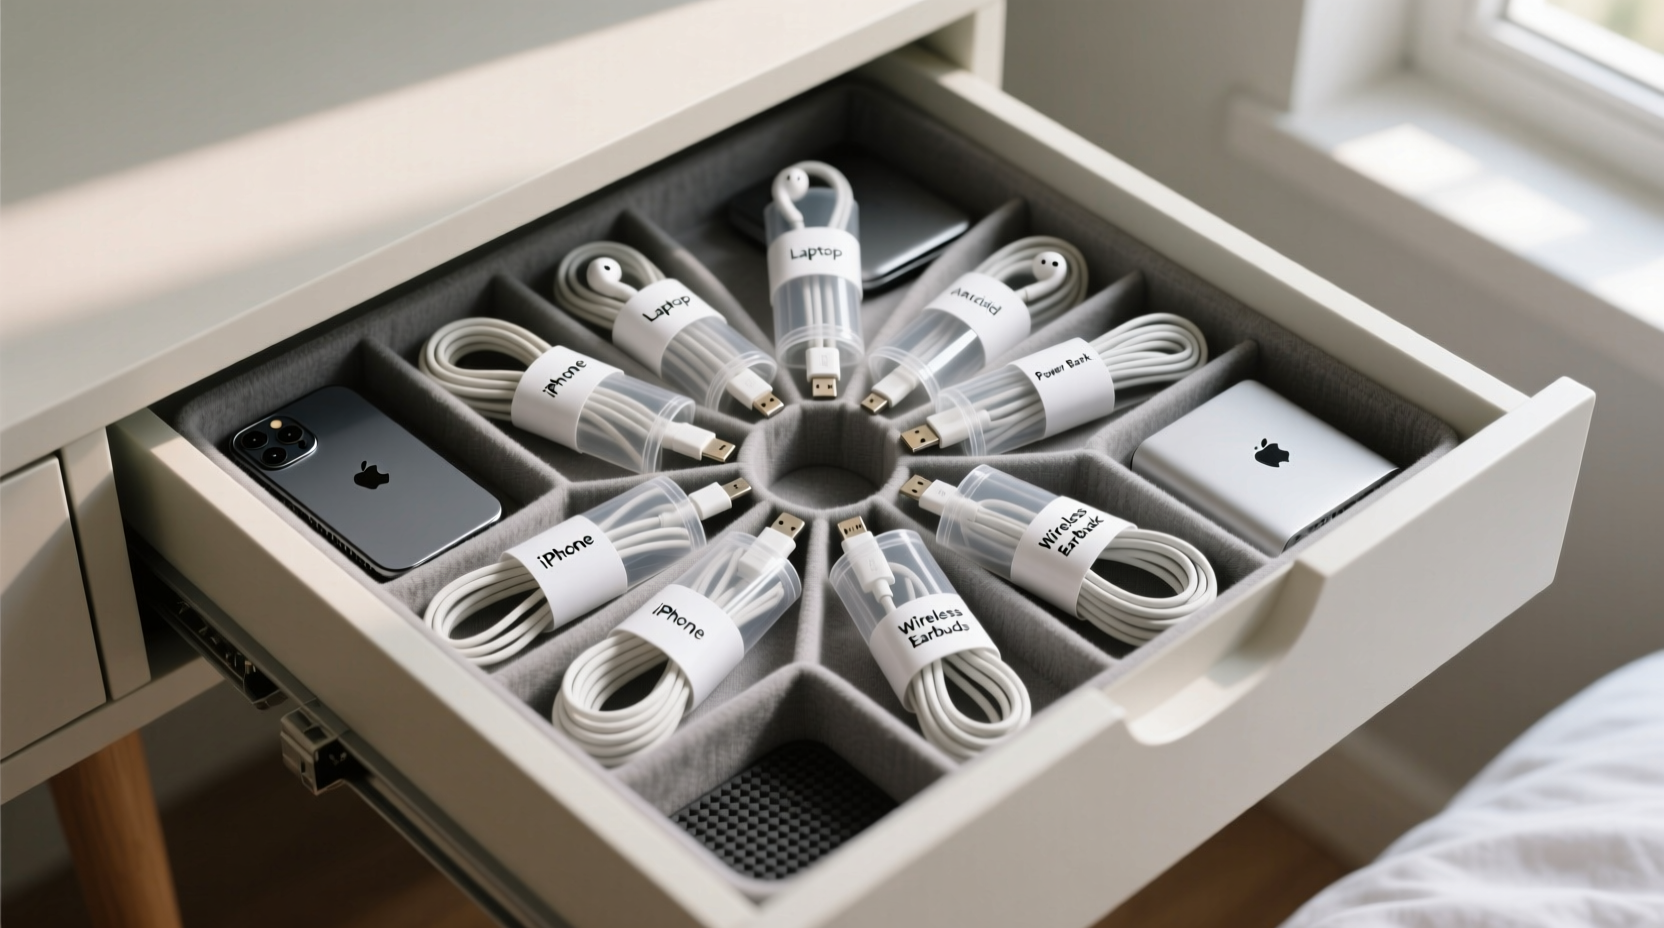
- Label each cable. Use masking tape and a pen to label each cord with its purpose—e.g., “iPhone,” “Headphones,” “Kindle.” Stick the label near the plug end so it’s visible when stored.
- Wind cables properly. Use the over-under method: loop the cord by alternating directions with each wrap. This prevents kinks and makes unwinding smooth.
- Create zones with repurposed containers. Use small boxes, mugs, or cardboard tubes to group similar items. A coffee mug can hold all USB-A to C cables; a tissue box sleeve can stand up power bricks.
- Arrange by frequency of use. Place daily-use items (phone charger, earbuds) at the front. Store backups or seasonal items (laptop charger, holiday lights) toward the back.
This method takes under 30 minutes and leverages items you already own. No shopping, no expense, no complicated assembly.
Creative Household Items That Work as Organizers
You don’t need plastic bins or branded cable wraps. Everyday objects can serve as excellent organizers when repurposed creatively.
| Household Item | How to Use It | Best For |
|---|---|---|
| Toilet paper rolls | Stand upright in a drawer; wrap a single cable around the inside. | Shorter cables like earbuds or charging cords |
| Old mugs or jars | Place vertically to hold coiled cables or power adapters. | Bulkier items like wall chargers or HDMI cables |
| Binder clips | Clip to the edge of the drawer; thread cable through the metal loops to secure. | Keeping frequently used cords accessible |
| Rubber bands or hair ties | Wrap around coiled cables to keep them tight. | Quick bundling; avoid if they degrade over time |
| Cardboard boxes (tea, cereal) | Cut to size and use as dividers within the drawer. | Creating custom compartments |
These solutions are sustainable, cost-free, and surprisingly durable. A study by the Home Organization Institute found that users who repurposed household items were 40% more likely to maintain their systems long-term compared to those relying on purchased kits.
“Simplicity is the foundation of lasting organization. The fewer barriers to upkeep, the more likely people are to stick with it.” — Dana Peters, Residential Efficiency Consultant
Real Example: Transforming a Nightstand Drawer
Sarah, a freelance designer in Portland, had a nightstand drawer that took her three tries every morning to find her phone charger. She described it as “a black hole for cables.” After reading about DIY organization, she spent 25 minutes clearing it out.
She started by removing four dead cables and two duplicate chargers. She labeled her remaining cords with colored tape—green for phone, blue for tablet, red for headphones. Then, she placed an old coffee mug in the corner to hold all wall plugs, stood up two toilet paper rolls to store coiled USB cables, and used a small cardboard box (from tea bags) to separate audio gear.
Two months later, Sarah reports she finds what she needs in seconds. “I don’t even think about it now,” she says. “It’s just where it should be.”
Her solution cost nothing, took one afternoon, and solved a years-long annoyance. More importantly, it stuck because it was easy to maintain.
Do’s and Don’ts of Cord Storage
Avoid common pitfalls that lead to re-cluttering. Follow this simple checklist to ensure your system lasts.
| Do’s | Don’ts |
|---|---|
| Use the over-under method to coil cables | Tie cables tightly with string or thin wire |
| Label cords clearly with removable tape | Store cables while still warm from use |
| Group by device type or room usage | Leave loose ends dangling into other sections |
| Review contents every 3 months | Keep outdated connectors (e.g., 30-pin iPhone) |
| Use vertical space with stackable items | Overpack the drawer, making access difficult |
FAQ: Common Questions About Cord Organization
Can I use masking tape for labeling? Won’t it leave residue?
Yes, masking tape works well for short- to medium-term labeling. To avoid residue, remove and replace the tape every 6–12 months. For longer durability, use painter’s tape, which is designed to peel cleanly.
What’s the best way to store thick cords like laptop chargers?
Thick cords should be loosely coiled in large loops—never bent sharply. Use a sturdy container like a ceramic mug or small basket to prevent flattening. Avoid folding them in half, as this damages internal wiring over time.
How often should I clean and reassess my cord drawer?
Every three months is ideal. Unplug and wipe down any dusty adapters, check for wear on cables, and remove anything you haven’t used in the past 90 days. This keeps the system lean and functional.
Checklist: Maintain a Clutter-Free Cord Drawer
Use this checklist monthly to keep your system working smoothly:
- ✅ Wind all cables before returning them
- ✅ Verify labels are still legible
- ✅ Discard any damaged or redundant cords
- ✅ Wipe down power adapters with a dry cloth
- ✅ Realign containers if they’ve shifted
- ✅ Test at least one rarely used cable to confirm it still works
This quick maintenance routine takes less than five minutes and prevents gradual reversion to chaos.
Final Thoughts: Organization Should Work for You, Not Against You
The best organizational systems aren’t the most elaborate—they’re the ones you actually use. When you eliminate the need for special products, complicated steps, or perfect conditions, you create space for consistency. Organizing cords without kits proves that simplicity wins.
Start small. Pick one drawer. Spend 20 minutes. Use what you have. Label, coil, contain, repeat. The goal isn’t perfection—it’s progress. Every time you reach in and find the right cable on the first try, you’ve succeeded.


 浙公网安备
33010002000092号
浙公网安备
33010002000092号 浙B2-20120091-4
Comments
No comments yet. Why don't you start the discussion?