
For gamers, a cluttered drawer filled with tangled cords, mismatched controllers, and forgotten adapters isn’t just frustrating—it’s inefficient. Over time, disorganization leads to damaged cables, lost accessories, and wasted minutes searching before every gaming session. The solution lies not in buying more storage boxes, but in designing a smart, sustainable system tailored to your setup. A well-organized drawer transforms chaos into convenience, preserving your gear while making it instantly accessible. Whether you own a single console or a multi-platform collection, applying strategic organization principles can dramatically improve both functionality and longevity.
Why Drawer Organization Matters for Gaming Gear
Gaming peripherals are high-use electronics that endure constant plugging, unplugging, coiling, and storage stress. Cables kinked at sharp angles degrade faster. Controllers left loose in drawers suffer from button wear, joystick drift, and battery corrosion. Poor airflow due to overcrowding traps moisture, accelerating internal damage. Beyond hardware concerns, disorganization disrupts workflow. Imagine preparing for an online tournament only to realize your preferred controller’s charging cable is buried under three others—time lost is enjoyment lost.
A dedicated, logically arranged drawer minimizes physical strain on components and maximizes usability. It creates a central hub where everything has a place, reducing mental fatigue and setup time. Moreover, organized storage reflects care and intentionality, extending the functional life of expensive equipment. As gaming setups grow more complex—with multiple consoles, headsets, capture cards, and switchable controllers—the need for systematic drawer management becomes non-negotiable.
Step-by-Step: Building Your Optimized Drawer Layout
Creating order begins with assessment and ends with consistency. Follow this six-phase process to design a drawer system that works long-term.
- Empty and Audit: Remove all contents from the drawer. Lay out every item: controllers, USB cables, HDMI cords, power bricks, dongles, headset chargers, and any miscellaneous adapters. Group them by function and frequency of use.
- Clean and Measure: Wipe down the interior of the drawer. Use a tape measure to record exact dimensions (length, width, depth). This ensures any dividers or trays fit precisely without shifting during use.
- Declutter Ruthlessly: Discard frayed cables, broken connectors, or obsolete accessories (e.g., old sync cables for discontinued consoles). If an item hasn’t been used in six months and serves no backup purpose, recycle it responsibly.
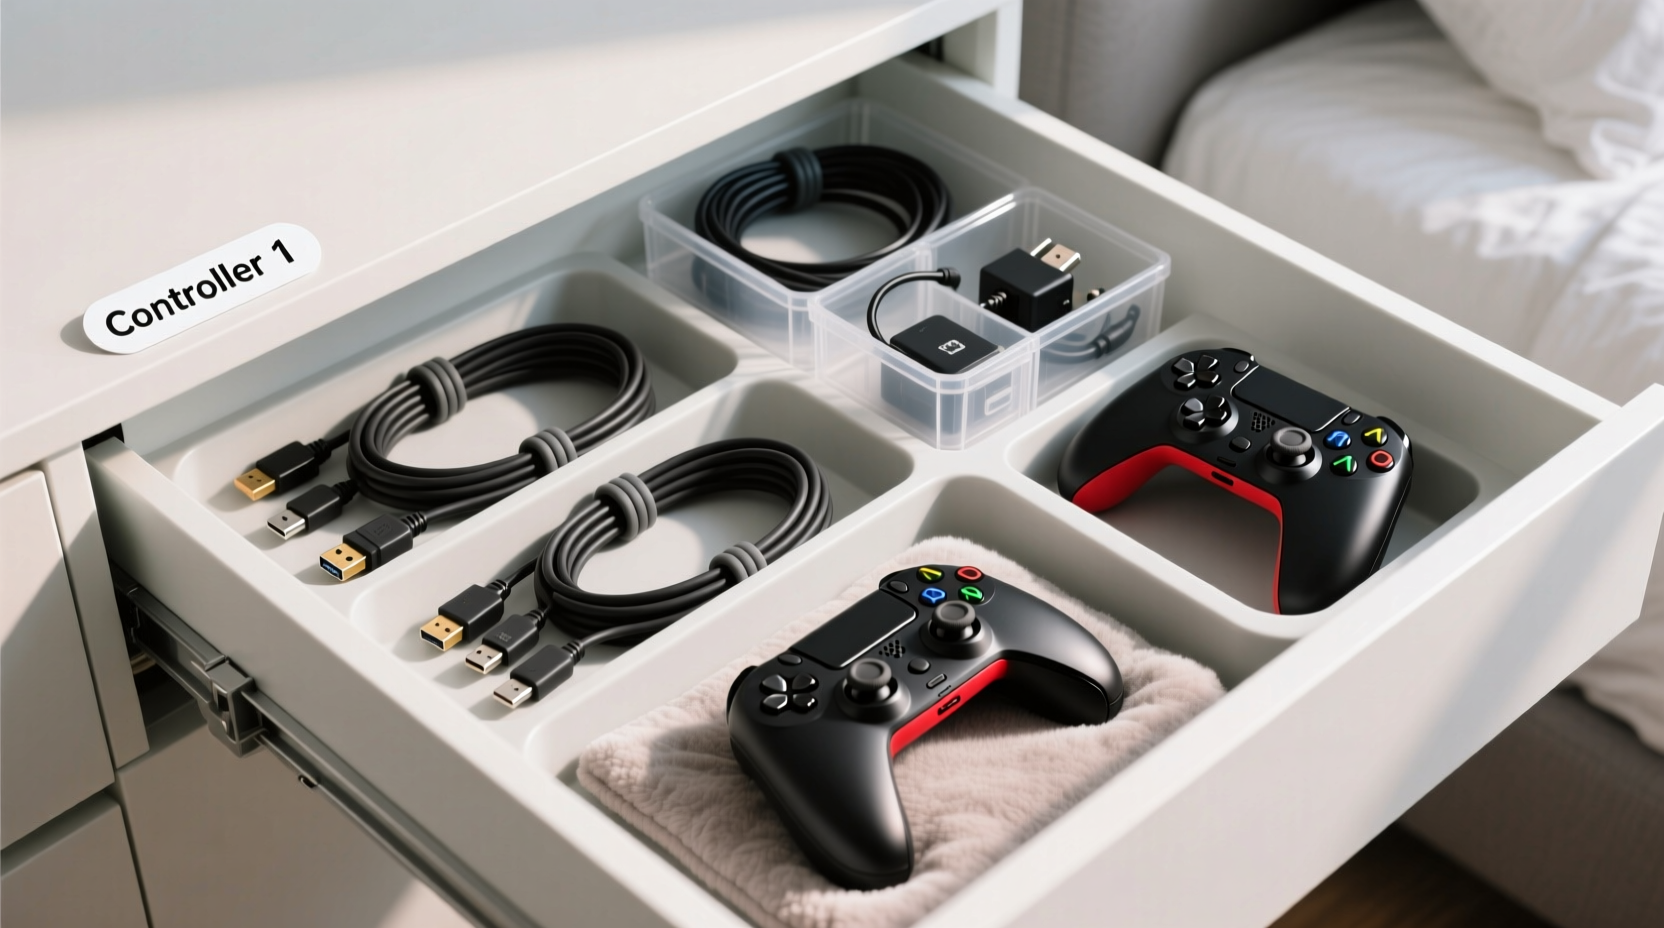
- Design Zones: Divide the drawer into functional zones: one for controllers, another for primary cables, a third for small accessories like dongles or batteries. Assign each zone a consistent location based on how often you access it.
- Select Organizers: Choose modular solutions such as adjustable acrylic dividers, felt-lined trays, or stackable bins. Avoid rigid foam inserts unless they perfectly match your current inventory—flexibility matters as gear evolves.
- Label and Maintain: Label sections clearly using removable tags or discreet stickers. Reassess the layout every three months to adapt to new purchases or usage patterns.
Choosing the Right Storage Tools
Not all organizers are created equal. The ideal tools protect delicate electronics while enabling rapid retrieval. Below is a comparison of common options and their suitability for gaming gear.
| Tool | Best For | Limitations |
|---|---|---|
| Adjustable Acrylic Dividers | Controllers, thick cables, stacking adapters | Can shift if drawer is jostled; higher cost |
| Felt-Lined Trays | Protecting glossy finishes, preventing scratches | Limited height; not suitable for bulky items |
| Velcro Cable Ties | Securing cable lengths, color-coding by device | Can fray over time; less reusable than alternatives |
| Modular Grid Bins | Small parts like USB-C adapters, lens caps, earbuds | May require cutting to size; plastic variants scratch easily |
| Drawer Liners (Non-Slip) | Preventing tray movement, dampening vibration | Needs replacement if adhesive wears out |
Prioritize materials that resist static buildup and provide cushioning. Silicone, microfiber-lined plastic, and EVA foam are excellent choices. Avoid magnetic closures near wireless controllers—they may interfere with internal sensors or charging circuits.
Real Example: From Chaos to Control in One Weekend
Mark, a PC and PlayStation enthusiast from Austin, had accumulated seven controllers and over a dozen cables across two consoles and a Steam Deck. His entertainment center drawer was a tangle of wires, with controllers stacked haphazardly on top. After replacing two damaged USB-C cables in one month, he decided to reorganize.
He began by measuring his 18” x 10” drawer and purchasing an adjustable acrylic divider set. He grouped items: Zone A for daily-use controllers (DualSense and Xbox Wireless), Zone B for specialty gear (racing wheel adapter, arcade stick), Zone C for cables labeled by length and port type. He used Velcro ties to bundle each cable neatly and clipped them vertically using mini binder clips mounted along the front edge. Small accessories went into a grid bin labeled “Adapters.”
The result? Setup time dropped from five minutes to under 30 seconds. Within two months, he noticed less wear on cable joints and easier identification of compatible cords. Most importantly, he stopped losing dongles—a frequent issue before.
“Organization isn’t about perfection. It’s about reducing friction between you and your hobby.” — Lena Torres, Professional Home Systems Organizer
Pro Tips for Long-Term Maintenance
Sustaining order requires habits, not just hardware. Integrate these practices into your routine to keep the system effective.
- Coil cables using the over-under method: Alternate loops to prevent twisting and internal wire strain. Never wrap tightly around your hand.
- Assign color-coded identifiers: Use colored heat-shrink tubing or nail polish dots on similar-looking cables to distinguish HDMI versions or charging speeds.
- Store controllers battery-side up: If removing batteries, position them so contacts face upward to reduce dust accumulation.
- Rotate frequently used items: Swap positions monthly to ensure even wear on padding or casing when stacked.
- Keep a spare cable visible: Designate one charging cable as the “quick grab” option, stored outside the drawer if possible (e.g., plugged into a nearby outlet).
Essential Checklist: Organize Your Gaming Drawer in One Session
Use this actionable checklist to complete your drawer overhaul efficiently.
- Remove all contents and wipe down the drawer interior.
- Sort items into categories: controllers, charging cables, video/audio cables, adapters, batteries.
- Discard damaged or redundant gear.
- Measure drawer dimensions accurately.
- Select and install organizers (dividers, trays, bins).
- Group like items and assign permanent zones.
- Label sections clearly (e.g., “PS5 Charging,” “Switch HDMI”).
- Secure cables with Velcro ties or clips using the over-under coil.
- Add non-slip liner to prevent shifting.
- Test accessibility: Can you retrieve each item without disturbing others?
Frequently Asked Questions
How do I prevent my cables from tangling overnight?
The key is secure bundling. Use twist ties, Velcro straps, or reusable silicone bands to maintain consistent coils. Store cables vertically using clips or spools rather than tossing them loosely. The over-under coiling technique also preserves flexibility and reduces memory kinks.
Should I leave controllers plugged in inside the drawer?
No. Leaving controllers perpetually connected to power sources inside enclosed spaces increases heat retention and risks overcharging. Instead, charge them externally and return them to the drawer once powered. If storing long-term, maintain a 40–60% battery level to prolong cell health.
Can I use the same drawer for games and accessories?
It’s possible, but not recommended. Game discs, cartridges, and cases require flat, horizontal space, while accessories benefit from vertical separation and cushioning. Combining both often leads to overcrowding. If space is limited, use a dual-layer system: trays above for controllers, slide-out shelf below for media.
Final Thoughts: Elevate Your Gaming Experience Through Order
Organizing your game cables and controllers in a drawer isn’t a one-time chore—it’s an investment in better play. Every second saved searching for a working cable is a second gained for immersion, competition, or relaxation. More than convenience, proper storage protects your investment, prevents avoidable replacements, and fosters a sense of control over your environment. The best systems evolve with your needs, balancing structure with adaptability.


 浙公网安备
33010002000092号
浙公网安备
33010002000092号 浙B2-20120091-4
Comments
No comments yet. Why don't you start the discussion?