
Every holiday season, millions of households pull out boxes of stored Christmas lights—only to discover that some strings no longer work. Frustration sets in when half the strands flicker or remain dark after hours of untangling. The good news: a few minutes of careful testing before hanging can save time, reduce electrical risks, and ensure your display shines brightly from day one.
Testing old Christmas lights isn’t just about checking if they turn on. It involves inspecting for damaged wires, identifying faulty bulbs, verifying plug integrity, and understanding how different types of lights behave under load. With the right approach, you can extend the life of your lights, prevent circuit overloads, and avoid fire hazards caused by frayed insulation or loose connections.
Why Testing Old Lights Matters
Christmas lights are often stored tightly wound around cardboard or stuffed into bins, exposed to temperature swings, rodents, and moisture. Over time, this leads to cracked sockets, broken filaments, corroded contacts, and worn insulation. According to the National Fire Protection Association (NFPA), decorative lighting accounts for an estimated 7% of home holiday fires each year—many due to equipment failure that could have been caught early.
Proper testing helps identify problems while you’re still on the ground, not on a ladder. It also allows you to group working strings together, reducing the need for multiple extension cords and minimizing strain on outlets. Most importantly, it gives peace of mind knowing your display is both beautiful and safe.
“Pre-season inspection of holiday lights is as essential as checking smoke detectors. A five-minute test can prevent a December disaster.” — Greg Thompson, Electrical Safety Inspector, NFPA
Step-by-Step Guide: How to Test Old Christmas Lights Safely
Follow this detailed process to evaluate every strand efficiently and safely. This method works for both incandescent and LED mini-lights, C7/C9 bulbs, and net lights.
- Unpack Carefully
Remove lights from storage gently. Avoid pulling or yanking tangled sections, which can worsen wire damage. Lay each strand flat on a clean surface like a table, garage floor, or driveway. - Inspect Visually
Look along the entire length of the wire for:- Frayed, cracked, or chewed insulation
- Discolored or melted sockets
- Bent or missing bulb bases
- Corrosion on metal contacts inside sockets
- Damaged or bent plug prongs
- Check the Fuse (for Incandescents)
Many older light strings have small fuses located in the plug housing. Use a flashlight to peer inside the fuse compartment. Look for blackened glass or a broken filament inside the fuse. Carry spare fuses rated for your lights (usually 3–5 amps) to replace blown ones immediately. - Plug Into a Known-Good Outlet
Use an outlet that’s working properly—preferably one protected by a GFCI (Ground Fault Circuit Interrupter). Plug in the light strand directly; do not daisy-chain yet. Let it run for at least 5–10 minutes to catch intermittent failures caused by heat buildup. - Test Under Load Conditions
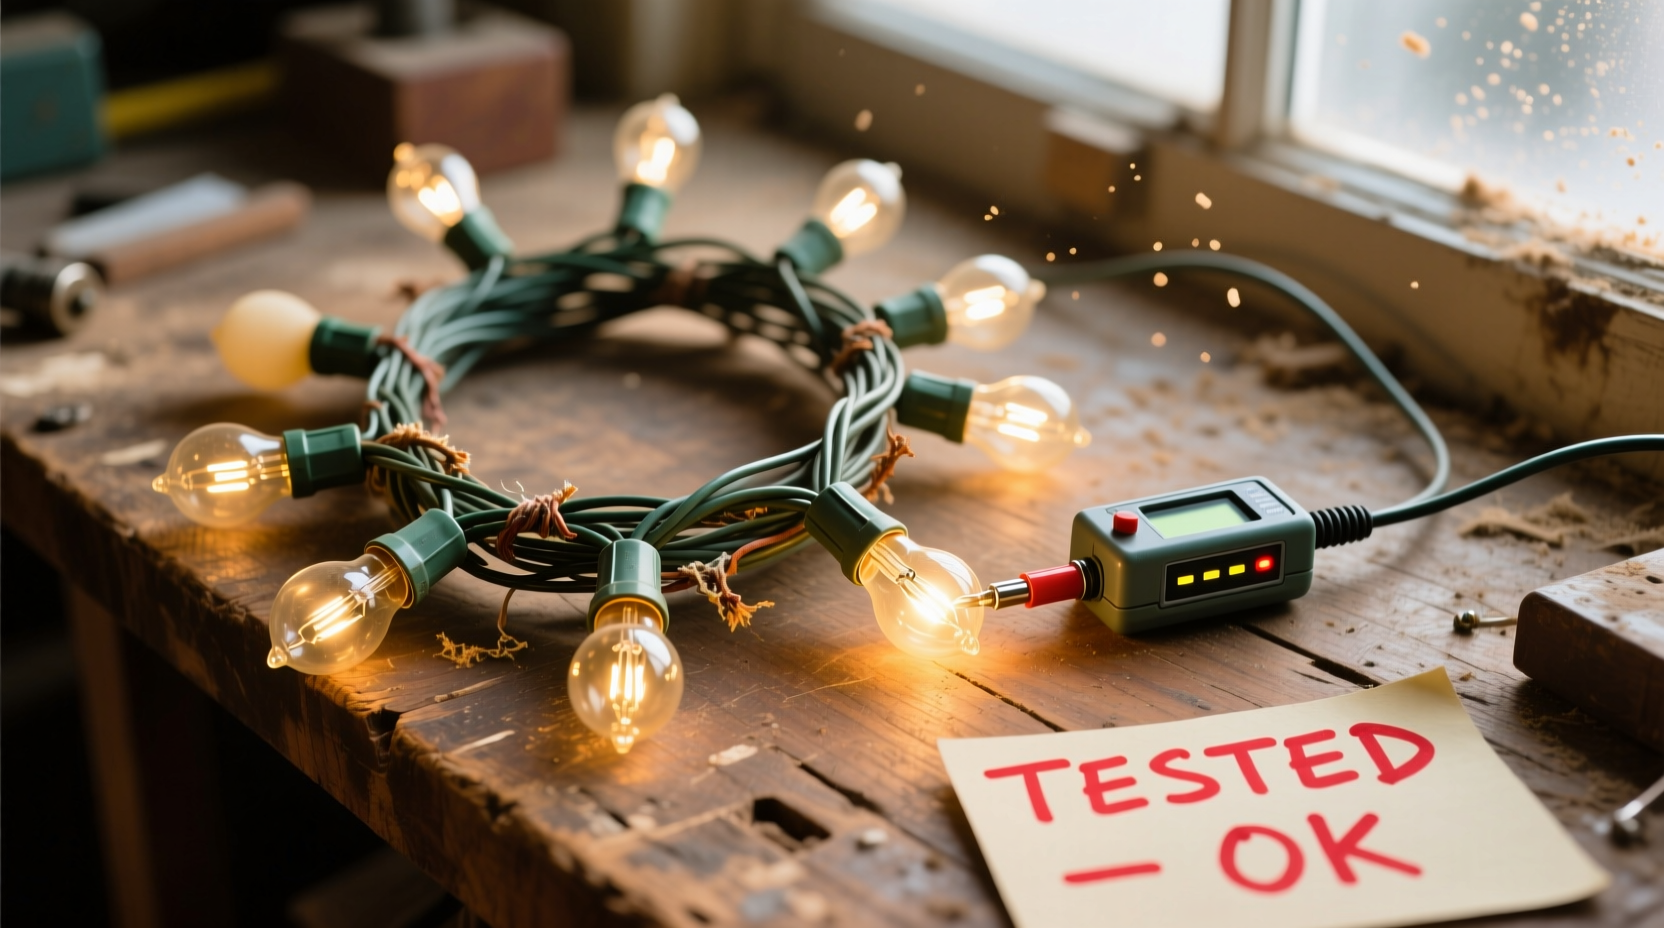
If the strand lights up partially, check whether it uses shunt-wired technology (common in newer incandescents). In such designs, one dead bulb won’t kill the whole string. Walk along the strand and feel for warm spots—these may indicate high-resistance connections or failing bulbs drawing excess current. - Use a Light Tester Tool (Optional but Helpful)
Dedicated light testers like the “LightKeeper Pro” can send pulses through the circuit to clear minor socket interruptions or reset shunts. These tools are especially useful for stubborn strands that flicker or go dark after warming up. - Label Results Immediately
Once tested, tag each strand with masking tape indicating:- Working / Needs Repair / Retire
- Number of bulbs
- Color and type (e.g., \"Warm White LED,\" \"Multicolor C9\")
Do’s and Don’ts When Testing Holiday Lights
| Do | Don’t |
|---|---|
| Test indoors or in a dry area to avoid moisture exposure | Test outdoors during rain or snow |
| Wear gloves when handling older strands with sharp wire edges | Touch exposed wires with bare hands |
| Replace only manufacturer-recommended bulbs or fuses | Use higher-wattage bulbs than specified |
| Limit daisy-chaining to three strands max (check packaging) | Chain more than five strings together without checking amperage limits |
| Store tested lights on cardboard reels or spools | Tie knots or wrap tightly around sharp objects |
Troubleshooting Common Light Problems
Even after testing, some issues persist. Here’s how to diagnose and resolve them:
- Half the Strand Is Out: Likely a bad bulb, loose connection, or failed shunt. Remove bulbs one at a time starting near the dark section and inspect contacts. Reinsert firmly or replace.
- Flickering Lights: Often caused by a poor connection at the plug or within a socket. Wiggle the plug while powered (carefully!) to see if flickering correlates. Replace the string if movement causes instability.
- One Bulb Burns Brighter: Indicates a bypassed shunt or incorrect bulb voltage. Replace all bulbs in the affected segment with matching specs.
- Smell of Burning Plastic: Turn off immediately. This signals overheating due to overloaded circuits, shorted wires, or degraded insulation.
- LEDs Dim Over Time: Normal for older LEDs, but sudden dimming may mean driver failure or incompatible controllers. Check for built-in rectifiers if using timers or remotes.
Real Example: The Neighborhood Display That Almost Didn’t Happen
Mark Rivera in Cincinnati spent weeks preparing his family’s annual Christmas light show—over 20,000 bulbs across rooflines, trees, and lawn displays. Last November, he began testing his oldest C9 strands, some dating back 15 years. One string sparked briefly upon plugging in. He unplugged it instantly and found rodent-chewed insulation near the base.
Instead of risking a fire, Mark cut out the damaged section and used waterproof wire nuts to splice in a new lead. He then tested each remaining strand individually before grouping them into labeled zones. By catching two additional faulty plugs and replacing outdated fuses, he avoided tripping breakers once the full display went live.
The result? A flawless, energy-efficient show that ran smoothly for 42 nights—with zero electrical issues. His neighbors now ask him to help test their lights too.
Checklist: Pre-Hanging Light Inspection Routine
Before stringing anything up, complete this checklist for every light strand:
- ✅ Unpacked without force or cutting
- ✅ Visually inspected for wire damage, corrosion, or melting
- ✅ Plug checked for cracks or bent prongs
- ✅ Fuse verified (if applicable) and replaced if blown
- ✅ Successfully powered for 10+ minutes without flickering
- ✅ All bulbs present and seated securely
- ✅ Labeled clearly based on performance and type
- ✅ Stored temporarily in a clean, dry place until installation
FAQ: Frequently Asked Questions About Testing Old Christmas Lights
Can I test Christmas lights without plugging them in?
No practical method exists to fully test functionality without power. However, visual inspection and continuity checks with a multimeter can identify open circuits or shorts. But actual performance—including brightness, flicker, and heat generation—requires being plugged in under normal conditions.
How many light strings can I safely connect together?
Most manufacturers recommend no more than three incandescent strings daisy-chained. For LEDs, it varies—some allow up to 40 or more, depending on wattage. Always check the label on the plug for “maximum connected sets.” Exceeding this risks overheating, blown fuses, or tripped breakers.
My lights worked last year but not now—what changed?
Several factors could be responsible: a blown fuse, oxidation in sockets from humidity, physical damage during storage, or a single defective bulb breaking the circuit. Temperature extremes in attics or garages can degrade plastic components over time. Even LED drivers can fail after prolonged disuse.
Smart Storage Tips to Make Next Year Easier
Once you’ve tested and used your lights, how you store them determines how well they’ll perform next season. Follow these practices to minimize future troubleshooting:
- Use Reels or Spools: Wrap lights around sturdy cardboard, PVC pipe, or commercial light reels. This prevents tangles and reduces stress on wires.
- Avoid Paper Towel Rolls: While popular, thin cardboard rolls can collapse and create kinks. Opt for rigid containers instead.
- Seal Against Pests: Store in sealed plastic bins with tight lids to deter mice and insects that chew insulation.
- Keep Dry and Cool: Avoid damp basements or hot attics. Ideal storage is between 40°F and 70°F with low humidity.
- Include Spare Parts: Tuck extra fuses, replacement bulbs, and zip ties into each bin for quick fixes later.
Conclusion: Shine Brighter with Smarter Testing
Testing old Christmas lights isn’t glamorous, but it’s one of the most impactful things you can do to protect your home and maximize holiday joy. A systematic approach saves hours of frustration, reduces safety risks, and ensures your decorations look their best from the first night of the season.
By investing a little time upfront—inspecting, testing, labeling, and storing properly—you build a reliable inventory that lasts for years. Whether you’re illuminating a small porch or orchestrating a block-wide spectacle, smart preparation turns chaos into cheer.


 浙公网安备
33010002000092号
浙公网安备
33010002000092号 浙B2-20120091-4
Comments
No comments yet. Why don't you start the discussion?