
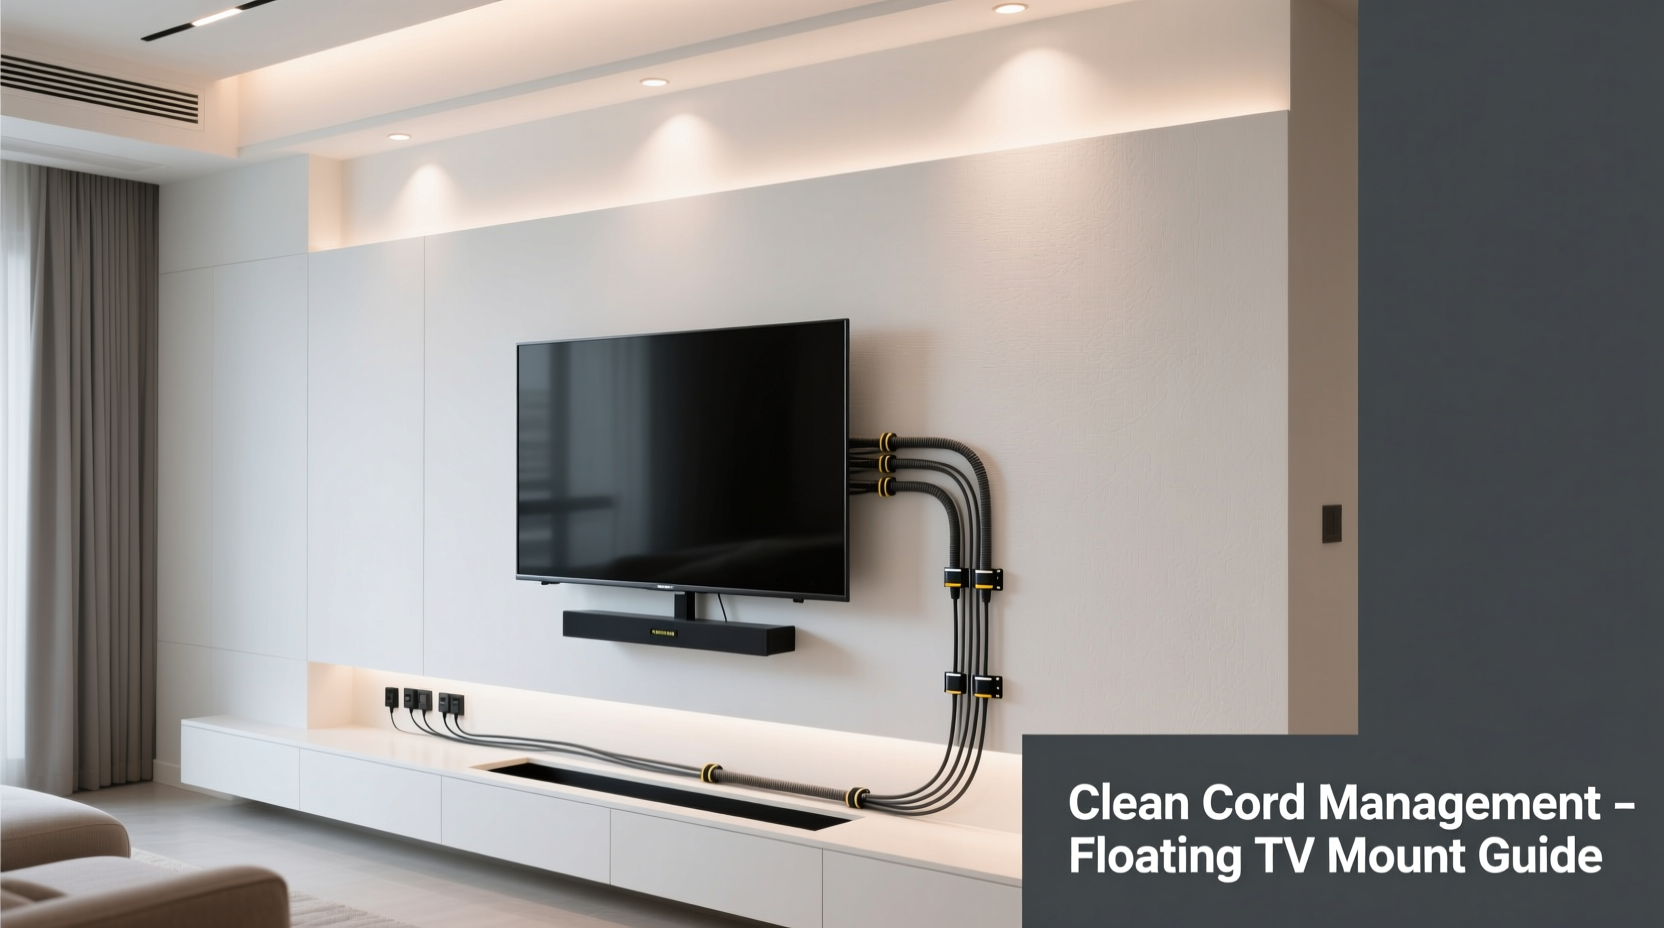
A floating TV mount offers a sleek, modern look that elevates any living room or bedroom. But no matter how perfectly you position your screen, exposed cords can instantly ruin the minimalist appeal. Tangled power cables, HDMI lines, and audio connectors not only look messy but also pose tripping hazards and dust traps. The solution? Strategic cord concealment that balances aesthetics with practicality.
Hiding cords effectively isn’t just about tucking them behind furniture—it requires planning, the right tools, and attention to detail. Whether you're mounting a 55-inch OLED in your living room or a compact display above a fireplace, a clean cable setup enhances both safety and visual harmony. This guide walks through proven methods to conceal cords neatly, from simple DIY tricks to professional-grade solutions.
Plan Your Cable Route Before Mounting
The foundation of a clean cord setup starts before the TV even touches the wall. Mapping out your cable path during installation prevents last-minute fixes and ensures everything runs smoothly. Begin by identifying where your power outlet, media devices (like soundbars or streaming boxes), and internet connection are located.
Ask yourself: Can the power cord reach the nearest outlet without stretching? Will HDMI cables need to travel down to an entertainment center below? Is there access behind the wall for in-wall routing? Answering these questions early helps you choose the right hiding method.
Also consider future upgrades. If you plan to add a soundbar or gaming console later, leave some slack in your cables or pre-install conduit for easy additions. Planning now saves time and drywall repair later.
In-Wall Cord Concealment: The Cleanest Option
For the most seamless look, running cords inside the wall is unmatched. This method completely hides all wiring, leaving only the TV visible—ideal for modern, clutter-free interiors. However, it requires careful execution to meet electrical codes and avoid damaging existing infrastructure.
To install in-wall cabling safely:
- Locate studs and check for existing wires or plumbing using a stud finder with AC detection.
- Drill access holes near the outlet and behind the TV location.
- Use fish tape or a flexible rod to pull low-voltage cables (HDMI, optical audio) through the cavity.
- Install a recessed in-wall power outlet kit so the TV plugs into a socket hidden behind it.
- Seal openings with fire-rated caulk to maintain fire safety standards.
“Proper in-wall installation isn't just cosmetic—it's a long-term investment in home organization and safety.” — Marcus Tran, Residential AV Installer with 12 years of experience
Note: Electrical codes vary by region. In many areas, standard power cables cannot be run inside walls unless enclosed in approved conduit or replaced with in-wall rated power kits. Always use UL-listed components designed for in-wall use.
Pros and Cons of In-Wall Routing
| Aspect | Advantages | Disadvantages |
|---|---|---|
| Appearance | Fully concealed, ultra-clean finish | Requires precise cutting and patching |
| Safety | Reduces tripping and pet chewing risks | Mistakes can damage wiring or violate code |
| Cost | One-time investment with lasting results | Higher upfront cost for kits and tools |
| Maintenance | Minimal ongoing effort | Accessing cables later may require drywall work |
Surface-Mounted Raceways: A Non-Destructive Alternative
If you rent, can’t drill into walls, or want a reversible solution, plastic or metal raceways offer an excellent compromise. These flat, rectangular channels adhere to the wall surface and house multiple cords in a discreet way.
Raceways come in various lengths and finishes—including white, beige, and paintable options—so they blend with your décor. Some models feature snap-on lids for easy access when adding or replacing cables.
Installation steps:
- Clean the wall thoroughly to ensure strong adhesion.
- Measure and cut the raceway to fit from the TV base to the nearest outlet or media shelf.
- Secure it with double-sided tape or screws (if allowed).
- Thread all necessary cables through the channel before closing the lid.
Raceways work especially well when cords must travel vertically down from the TV to a floor-level outlet or cabinet. For horizontal runs, route along baseboards or crown molding lines to follow natural design contours.
Cord Covers and Adhesive Clips: Simple & Budget-Friendly
For minimal setups with just one or two cords, adhesive clips and cord covers provide quick fixes. Self-adhesive silicone or plastic clips stick directly to the wall and hold cords in place, preventing sagging and tangling.
Available in neutral colors, these clips allow you to bundle power and signal cables together and run them straight down to their destination. Choose models with rubber-lined interiors to prevent abrasion over time.
Cord covers, often called “cord concealer strips,” are longer, continuous channels that combine mounting and protection. They typically include:
- Integrated adhesive backing
- Split design for easy cable insertion
- Paint-matching surfaces
These are ideal for short drops behind the TV stand or along a narrow section of wall. Unlike full raceways, they’re less obtrusive and easier to customize mid-run.
Real Example: Sarah’s Living Room Makeover
Sarah rented a downtown apartment and wanted a cinematic feel without permanent changes. She mounted her 65-inch TV above the fireplace, but cords dangled awkwardly down the brick wall. Using white plastic raceways painted to match the surrounding trim, she routed the power and HDMI cables diagonally to a side outlet. She secured the boxy receiver underneath the TV stand using Velcro straps. The result? A gallery-like presentation that impressed guests—and passed her landlord’s inspection.
Smart Power and Signal Management
Beyond physical concealment, managing what cables you actually need plays a big role in minimizing clutter. Modern technology allows for smarter setups that reduce the number of cords required.
Consider these strategies:
- Wireless HDMI: Transmit video signals from a Blu-ray player or game console without a physical cable. Latency has improved significantly, making this viable for most uses.
- Power over Ethernet (PoE): If your TV supports it (rare but emerging), a single Ethernet cable can deliver both data and power.
- All-in-one hubs: Use a powered HDMI switch or AV receiver that consolidates multiple inputs into one cable run back to the TV.
- Bluetooth audio: Eliminate optical or RCA audio cables by pairing your soundbar or headphones wirelessly.
Additionally, use slim, flat HDMI cables instead of bulky round ones—they’re easier to conceal and bend tightly around corners.
Step-by-Step Guide to a Clean Cord Setup
Follow this sequence to achieve a professional-quality result:
- Assess your setup: List all devices and their cable types (power, HDMI, optical, Ethernet).
- Choose your method: Decide between in-wall, raceway, or clip-based concealment based on your space and skill level.
- Turn off power: Unplug everything before handling electrical connections.
- Mount the TV: Secure the bracket and attach the TV, leaving slack in all cables.
- Route cables: Feed them through chosen channels or clips, avoiding sharp bends.
- Secure connections: Plug in devices and test all functions (video, audio, remote control).
- Finalize concealment: Close raceway lids, paint if needed, and tidy excess length behind the TV.
This process takes 1–2 hours for most users and pays dividends in daily enjoyment.
Common Mistakes to Avoid
- Ignoring cable length: Too-short cords create tension; too-long ones bunch up behind the TV.
- Over-tightening zip ties: Can damage insulation. Use hook-and-loop straps instead.
- Blocking ventilation: Don’t wrap cords tightly around the TV’s back—heat buildup reduces lifespan.
- Running power and signal cables together: Parallel runs can cause interference. Cross them at 90-degree angles if needed.
Checklist: Achieve a Flawless Cord-Free Look
Before declaring your project complete, verify the following:
- ✅ All cables are securely fastened and won’t sag over time
- ✅ Power outlets are accessible without removing the TV
- ✅ No cords are pinched between the wall and TV mount
- ✅ Devices are properly ventilated and not overheating
- ✅ Labels are applied for easy identification
- ✅ Wall surfaces are undamaged or repaired after installation
- ✅ Remote controls function without obstruction (especially IR sensors)
FAQ
Can I hide cords without drilling holes?
Yes. Adhesive raceways, cord covers, and surface-mounted clips allow full concealment without drilling. These are ideal for renters or historic homes where modifications aren’t permitted.
Is it safe to run HDMI cables inside walls?
Yes, as long as you use CL2 or CL3-rated in-wall HDMI cables. These are fire-resistant and legally compliant for residential installations. Never run standard HDMI cables inside walls—they lack proper insulation.
How do I hide cords when the outlet is far from the TV?
If the outlet is distant, extend the run using a decorative raceway along baseboards or under carpet edges. Alternatively, install a new outlet closer to the TV (requires electrician involvement). Battery-powered LED strip lights or wireless power mats are experimental alternatives but not yet reliable for TVs.
Conclusion
A floating TV should inspire awe, not distraction. By thoughtfully concealing cords, you preserve the elegance of your setup while improving safety and usability. Whether you opt for invisible in-wall routing or a simple adhesive solution, the key is intentionality—planning ahead, choosing quality materials, and executing with care.
The best installations go unnoticed. When guests admire your TV but don’t see how it’s powered, you’ve succeeded. Take the time to implement one of these methods. Your living space will feel more refined, organized, and truly modern.


 浙公网安备
33010002000092号
浙公网安备
33010002000092号 浙B2-20120091-4
Comments
No comments yet. Why don't you start the discussion?