
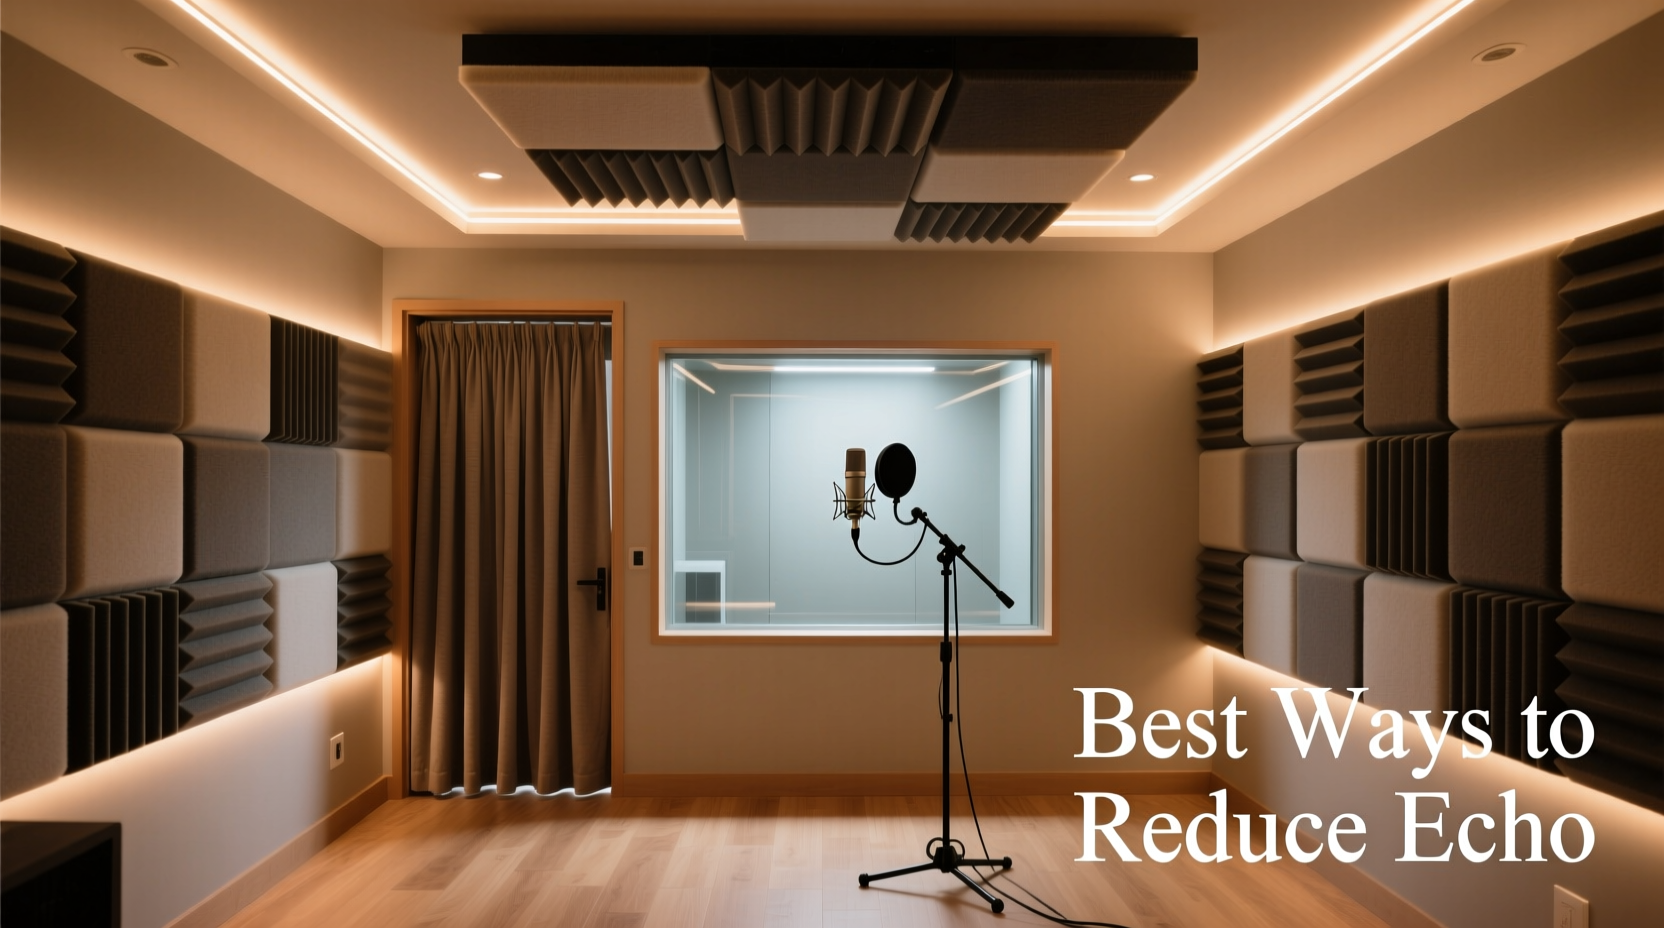
Recording at home offers flexibility and convenience, but one of the most common challenges is managing unwanted echo and reverberation. Echo occurs when sound waves reflect off hard surfaces like walls, ceilings, and floors, creating a delayed repetition that muddies your audio. Whether you're podcasting, voice-over work, music production, or streaming, controlling echo is essential for clean, professional-sounding recordings. The good news: you don’t need a full acoustic treatment overhaul to make a difference. With practical strategies and affordable materials, you can significantly improve your room’s acoustics.
Understanding Echo vs. Reverb
Before addressing solutions, it's important to distinguish between echo and reverb. While often used interchangeably, they are not the same. Echo refers to distinct, audible repetitions of a sound—like shouting in a canyon and hearing your voice bounce back. In contrast, reverb (reverberation) is a continuous wash of reflections that blend together, creating a sense of space. In small rooms, true echo is rare; what most people experience is excessive early reflection and flutter echo, which degrade clarity and intelligibility.
Hard, parallel surfaces such as drywall, glass, and hardwood floors are primary culprits. Sound bounces rapidly between them, especially in untreated rectangular rooms. To reduce echo, the goal is not to eliminate all reflections—some natural ambience enhances warmth—but to control and diffuse them effectively.
Key Principles of Acoustic Treatment
Effective echo reduction relies on three core principles: absorption, diffusion, and blocking. Each plays a role in shaping how sound behaves in your space.
- Absorption: Soft materials like foam, fabric, and insulation convert sound energy into heat, reducing reflections.
- Diffusion: Irregular surfaces scatter sound waves, preventing focused reflections while maintaining a lively acoustic environment.
- Blocking: Mass and density (such as heavy curtains or furniture) prevent sound from traveling and reflecting.
For most home studios, absorption is the most accessible and impactful starting point. Strategic placement of absorptive materials at reflection points can dramatically tighten up your sound.
Step-by-Step Guide to Reducing Echo
Follow this logical sequence to progressively minimize echo in your recording space, whether you're using a spare bedroom, closet, or dedicated studio.
- Assess Your Room: Clap your hands sharply and listen. A sharp slap suggests flutter echo; a lingering ring indicates excessive reverb. Note where reflections seem strongest.
- Clear Clutter Strategically: Remove unnecessary reflective objects (mirrors, bare shelves), but keep soft furnishings like bookshelves, which help diffuse sound.
- Add Absorption at Key Points: Install acoustic panels or DIY equivalents at first reflection points. These are typically located midway between your sound source and the nearest walls.
- Treat the Ceiling and Floor: Overhead reflections are often overlooked. Hang a cloud panel above your desk or use a thick rug with padding underneath.
- Seal Gaps and Add Mass: Close doors, cover windows with heavy drapes, and place furniture like bookshelves or couches along bare walls to break up sound paths.
- Test and Adjust: Record a sample voice memo or clap test after each change. Listen critically to hear improvements.
DIY Absorption Panels: A Budget-Friendly Option
You don’t need to buy commercial panels. Simple DIY options work surprisingly well. Cut rigid fiberglass or mineral wool into 2’x4’ panels, wrap them in breathable fabric (like cotton duck cloth), and mount them on walls using picture hangers. Even thick moving blankets hung over chairs can serve as temporary fixes during recording.
“Treating just two wall reflection points can reduce perceived reverb time by up to 40% in a typical bedroom studio.” — Daniel Lee, Acoustic Consultant at StudioDesign Pro
Common Materials Compared: What Works Best?
Not all materials are equally effective at absorbing mid and high frequencies—the ranges most responsible for echo. This table compares common household and specialized materials based on affordability, ease of use, and acoustic performance.
| Material | Noise Reduction Coefficient (NRC) | Pros | Cons |
|---|---|---|---|
| Acoustic Foam Panels | 0.7–0.95 | Lightweight, easy to install, designed for studios | Poor low-frequency absorption, can look unprofessional |
| Mineral Wool (e.g., Rockwool) | 0.9–1.1 | Excellent absorption across frequencies, fire-resistant | Irritating to handle, needs fabric wrapping |
| Fiberglass (Owens Corning 703) | 0.95–1.05 | Industry standard, highly effective | Requires careful handling and covering |
| Heavy Moving Blankets | 0.4–0.6 | Inexpensive, portable, widely available | Bulkier, less precise, moderate effectiveness |
| Thick Carpet + Padding | 0.3–0.5 | Helps with floor reflections, adds comfort | Limited wall/ceiling use, traps dust |
| Curtains (Velvet/Drapery) | 0.3–0.5 | Decorative, blocks light, easy to hang | Thin versions offer minimal absorption |
The Noise Reduction Coefficient (NRC) measures a material’s ability to absorb sound on a scale from 0 (perfect reflection) to 1.0 (perfect absorption). Higher NRC values mean better echo control. For serious results, prioritize materials with an NRC above 0.7.
Real-World Example: Turning a Spare Bedroom into a Vocal Booth
Sarah, a freelance voice actor in Austin, struggled with hollow, echoey recordings in her second bedroom setup. Her room had hardwood floors, large windows, and bare drywall—a perfect storm for reflections. She started by placing a thick rug under her desk and hanging two layers of blackout curtains over the window. Then, she built two DIY panels using Rockwool and mounted them on the side walls at ear level. Finally, she added a padded headboard behind her chair to dampen rear-wall reflections.
After these changes, her re-recording rate dropped from 40% to under 10%. Clients began commenting on the improved clarity. Total cost: under $150. Sarah didn’t transform the room completely—she made smart, targeted improvements that addressed the worst offenders.
Advanced Techniques for Serious Improvement
Once basic absorption is in place, consider these upgrades for even cleaner sound.
Bass Traps for Low-End Control
While echo is mostly a mid-to-high frequency issue, low-frequency buildup (boomy bass) can exacerbate the perception of muddiness. Bass traps placed in room corners absorb energy that accumulates in those areas. They’re especially useful in small rooms where bass waves don’t have space to dissipate naturally.
Diffusers for Natural Ambience
If your room starts sounding too “dead” after heavy absorption, diffusers can reintroduce a sense of space without causing echo. Unlike absorbers, diffusers scatter sound rather than soak it up. Quadratic Residue Diffusers (QRD) are popular in professional studios. For home use, bookshelves filled with books of varying depths can act as natural diffusers.
Isolation and Sealing
Echo isn't just internal—it can also come from outside noise bleeding in or your voice escaping and reflecting back. Seal door gaps with weatherstripping, close HVAC vents during recording, and consider a vocal shield if you can’t treat the entire room. These portable barriers wrap around microphones and block nearby reflections.
Checklist: How to Reduce Echo in 7 Practical Steps
Use this checklist to systematically improve your recording environment:
- ✅ Perform a clap test to identify echo hotspots
- ✅ Place rugs or carpets on hard floors
- ✅ Hang heavy curtains over windows and bare walls
- ✅ Install acoustic panels at first reflection points (side walls and ceiling)
- ✅ Add a bass trap in at least one corner, preferably two
- ✅ Use furniture like bookshelves or sofas to break up flat surfaces
- ✅ Test recordings before and after each change to measure improvement
Frequently Asked Questions
Can I reduce echo without spending money?
Yes. Rearranging existing soft furnishings—like placing a couch against a bare wall, laying down a rug, or hanging quilts or blankets—can make a noticeable difference. Even stacking books or storing clothes in open closets near reflective surfaces helps absorb sound.
Do egg cartons really work for soundproofing?
No. Despite popular myth, egg cartons do not reduce echo effectively. Their texture is too shallow to absorb meaningful sound energy, and they may even increase scattering in undesirable ways. Stick to dense, porous materials like foam, fiberglass, or mineral wool for real results.
How much of my room should be treated?
Aim to cover 15–30% of wall and ceiling surfaces with absorption, focusing on critical zones. Over-treating can make a room sound unnaturally dead. Balance is key: you want clarity without losing all sense of space.
Final Thoughts: Start Small, Think Smart
Reducing echo in a home recording space doesn’t require a six-figure studio build. It requires understanding how sound behaves and applying simple, science-backed solutions where they matter most. Begin with low-cost adjustments—rugs, curtains, furniture—and gradually invest in proper acoustic treatment as needed. Every step you take brings your audio quality closer to professional standards.
Great sound starts with a great environment. You don’t need perfection—just progress. By identifying reflection points, choosing the right materials, and making thoughtful changes, you’ll create a space where your voice or instrument can shine without interference.


 浙公网安备
33010002000092号
浙公网安备
33010002000092号 浙B2-20120091-4
Comments
No comments yet. Why don't you start the discussion?