
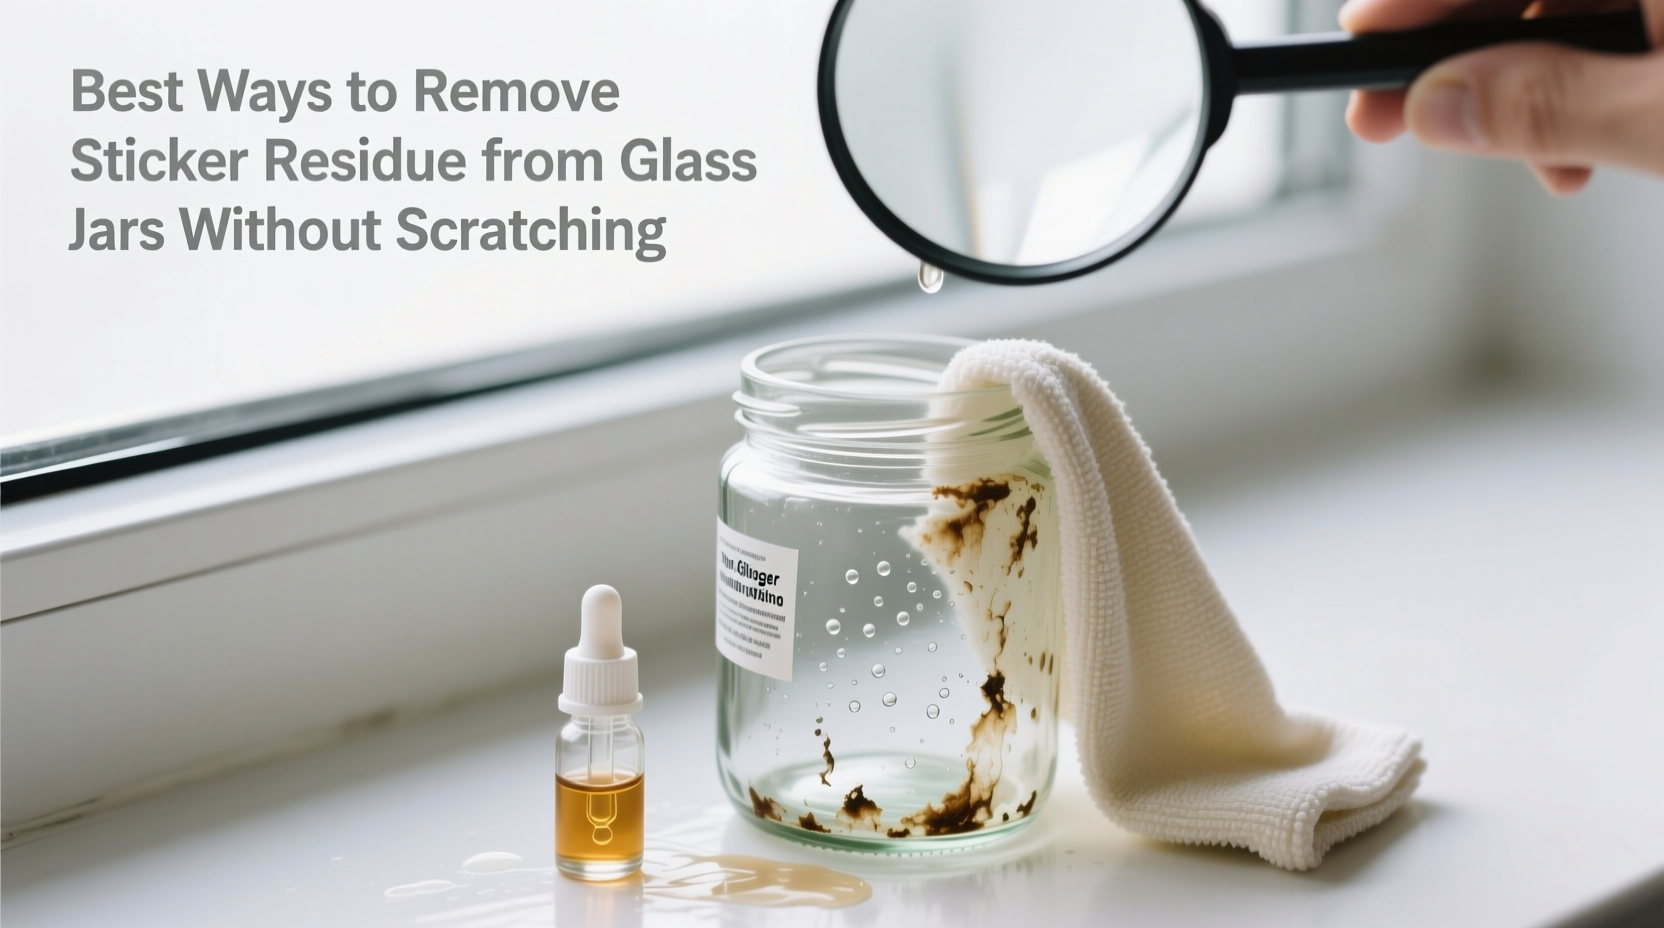
Repurposing glass jars is a sustainable habit embraced by home cooks, crafters, and eco-conscious consumers. Whether you're saving pasta sauce containers for homemade spice blends or transforming pickle jars into stylish storage, one challenge remains: stubborn sticker residue. Removing adhesive left behind by labels can be frustrating, especially when conventional scraping leads to scratches that dull the jar’s surface. Fortunately, several safe, non-abrasive methods effectively dissolve glue without damaging glass. This guide explores proven techniques, backed by chemistry and real-world use, to restore your jars to pristine condition.
Why Sticker Residue Is Hard to Remove
Most commercial stickers use pressure-sensitive adhesives designed to bond strongly under normal conditions. These glues are typically made from acrylics or rubber-based polymers, which resist water and degrade slowly over time. When exposed to moisture during dishwashing or prolonged storage, the paper label may disintegrate, but the adhesive layer often remains firmly attached to the glass. Traditional removal tools like razors or steel wool might work, but they risk micro-scratches that compromise clarity and make future cleaning harder.
Glass, while durable, has a Mohs hardness of about 5.5, meaning it can be scratched by materials like steel (hardness ~6.5) or sand particles. Even fine abrasives in some cleaning pads contain silica that can leave swirl marks. The goal, therefore, is not just removal—but preservation of the glass surface.
Safe & Effective Methods to Dissolve Adhesive
The key to removing sticker residue lies in breaking down the molecular structure of the adhesive. Solvents, heat, and oils can weaken the bond between glue and glass. Below are five reliable, scratch-free approaches using common household ingredients.
1. Warm Soapy Water Soak (Best for Light Residue)
This gentle method works well for jars with minimal adhesive left after washing. Fill the sink or container with hot water mixed with dish soap. Submerge the jar completely and let it soak for 30 minutes to an hour. The combination of heat and surfactants helps loosen the glue’s grip.
After soaking, use a soft sponge or non-scratch scrubber (like a green Scotch-Brite pad labeled “non-abrasive”) to wipe away softened residue. For lingering spots, repeat the soak or move to a stronger method.
2. Oil-Based Treatment (Olive, Coconut, or Baby Oil)
Oils penetrate adhesive layers and break down hydrophobic bonds. Apply a few drops of olive oil, coconut oil, or baby oil directly onto the sticky area. Let it sit for 10–15 minutes to allow absorption. Then, gently rub with a microfiber cloth or soft sponge. Wipe clean with warm, soapy water afterward to remove oily film.
This method is ideal for delicate jars or those with decorative etching where scratching is a major concern.
3. Rubbing Alcohol (Isopropyl Alcohol)
Rubbing alcohol (70% or higher) is a powerful solvent that evaporates quickly and leaves no residue. Dampen a cotton ball or soft cloth with alcohol and press it onto the sticky spot for a minute. Gently rub in circular motions. Most adhesives will dissolve within minutes.
Test on a small area first if the jar has printed designs or paint, as alcohol can sometimes lift pigments.
4. Vinegar and Baking Soda Paste
A natural alternative combines white vinegar and baking soda into a mildly abrasive yet non-scratching paste. Mix two parts vinegar with one part baking soda to form a thick slurry. Apply it to the residue and let it sit for 10–15 minutes. Use a soft sponge to gently scrub the area. Rinse thoroughly.
The acetic acid in vinegar weakens the adhesive, while baking soda provides slight mechanical action without scratching glass.
5. Commercial Adhesive Removers (Use with Caution)
Products like Goo Gone, 3M Adhesive Remover, or WD-40 are formulated to dissolve tough adhesives. Spray or apply a small amount to the residue and wait 3–5 minutes. Wipe with a soft cloth. Follow up with dish soap and water to remove chemical traces.
Note: Some removers contain petroleum distillates that may leave a haze or require extra rinsing. Always ventilate the area and wear gloves.
“Adhesives respond best to solvents that match their chemical nature. Oily residues yield to oils; synthetic polymers often dissolve in alcohol.” — Dr. Lena Torres, Materials Chemist at Green Surface Labs
Step-by-Step Guide: How to Remove Sticker Residue Safely
Follow this logical sequence to maximize effectiveness while protecting your jars:
- Peel off loose label pieces – Start by removing any paper or plastic backing still clinging to the jar.
- Wash with warm soapy water – Eliminate surface dirt and test how much residue remains.
- Choose your solvent – Based on residue strength and available supplies, select one of the methods above.
- Apply and wait – Allow the solution time to penetrate the adhesive (5–15 minutes).
- Wipe gently – Use a microfiber cloth, soft sponge, or non-scratch pad. Avoid circular rubbing if the jar has existing fine scratches.
- Rinse and inspect – Wash off all residue and check for clarity. Repeat if needed.
- Dry and store – Air-dry upside down on a clean towel to prevent water spots.
Do’s and Don’ts of Residue Removal
| Do’s | Don’ts |
|---|---|
| Use soft cloths or non-abrasive sponges | Use steel wool or metal scrapers |
| Test solvents on a small hidden area first | Apply strong chemicals without ventilation |
| Let solutions dwell before wiping | Rush the process and scrub aggressively |
| Rinse thoroughly after using oils or solvents | Leave residue removers on glass long-term |
| Soak stubborn jars overnight in warm water | Stack jars with wet residue inside |
Real-World Example: A Home Preserver’s Success Story
Sarah M., a homesteader from Vermont, collects mason jars for seasonal canning. She used to discard store-bought sauce jars due to persistent glue rings near the base. After trying nail polish remover (which clouded the glass), she switched to a simple olive oil method. “I coat the sticky band with coconut oil, wrap it in plastic wrap to prevent drying, and leave it overnight,” she explains. “The next morning, it wipes off with a dishcloth. My jars look brand new, and I’ve saved hundreds over the years.”
She now teaches workshops on sustainable kitchen practices and emphasizes that patience beats force every time.
Checklist: Your Scratch-Free Residue Removal Routine
- ☐ Remove as much label as possible by hand
- ☐ Wash jar in warm, soapy water
- ☐ Assess remaining residue (light, moderate, heavy)
- ☐ Select appropriate method (oil, alcohol, vinegar, etc.)
- ☐ Apply solution and allow dwell time
- ☐ Wipe gently with soft material
- ☐ Rinse thoroughly and dry completely
- ☐ Inspect for clarity and repeat if necessary
Frequently Asked Questions
Can I use a hairdryer to soften sticker residue?
Yes. Applying heat from a hairdryer for 30–60 seconds can soften many adhesives, making them easier to wipe away with a cloth. Keep the dryer moving to avoid thermal shock, and never hold it too close. Once softened, immediately wipe with a microfiber cloth—do not scrape.
Will vinegar damage glass jars?
No. White vinegar is acidic but not strong enough to etch or damage borosilicate or soda-lime glass used in food containers. It’s safe for repeated use and acts as a natural disinfectant. However, prolonged exposure (weeks) to undiluted vinegar may affect metal lids or rubber seals—remove these before treatment.
What’s the fastest way to remove glue from multiple jars?
For batch processing, fill a large tub with hot water and 1 cup of dish soap. Add ½ cup of white vinegar or ¼ cup of rubbing alcohol. Soak jars for 20–30 minutes, then wipe each with a soft sponge. This scalable method saves time and reduces manual effort per jar.
Expert Tips for Long-Term Jar Maintenance
Prevention is often easier than removal. Consider these habits to minimize future residue issues:
- Remove labels immediately – Before storing empty jars, take off labels while the glue is still fresh and hasn’t oxidized.
- Soak right after use – Rinse jars and soak in warm water before residue dries completely.
- Label differently – Use removable chalkboard stickers or masking tape for homemade contents instead of permanent adhesives.
- Store dry and upright – Moisture encourages mold growth under labels, making removal messier later.
“The longer adhesive sits, the more it cross-links and hardens. Early intervention is the best defense against tough residue.” — Mark Ellison, Sustainable Kitchen Consultant
Conclusion: Preserve Glass, Save Resources
Removing sticker residue from glass jars doesn’t require harsh tools or toxic chemicals. With the right approach—using heat, solvents, or oils—you can achieve spotless results without compromising the integrity of the glass. Each unscratched jar saved extends its usable life, reducing waste and supporting a circular kitchen economy. Whether you’re prepping for canning season, organizing pantry staples, or crafting DIY gifts, maintaining clear, smooth glass enhances both function and aesthetics.


 浙公网安备
33010002000092号
浙公网安备
33010002000092号 浙B2-20120091-4
Comments
No comments yet. Why don't you start the discussion?