
Growing mushrooms at home has moved from niche hobby to mainstream practice. With rising interest in food sovereignty, sustainability, and gourmet ingredients, more people are turning to indoor cultivation as a way to produce fresh, organic mushrooms year-round. The short answer is yes—mushrooms can be grown safely at home, whether through beginner-friendly kits or more advanced DIY setups. However, success depends on understanding the biology of fungi, maintaining hygiene, and controlling environmental conditions. When done correctly, home mushroom growing is not only safe but also deeply rewarding.
Why Grow Mushrooms at Home?
Mushrooms like oyster, shiitake, and lion’s mane offer rich flavor, nutritional benefits, and immune-supporting compounds. Unlike plants, they don’t require sunlight; instead, they thrive on decomposing organic matter such as straw, sawdust, or coffee grounds. This makes them ideal for urban dwellers with limited space. Growing your own ensures freshness, avoids pesticide exposure, and reduces packaging waste. Moreover, harvesting just hours before cooking maximizes taste and nutrient retention.
Commercially available mushroom kits have simplified the process significantly. These pre-inoculated blocks eliminate the need for sterile lab work, making cultivation accessible even to those with no prior experience. For the more adventurous, DIY methods allow full control over substrate, strain selection, and yield optimization—but come with a steeper learning curve.
Understanding Mushroom Biology: The Basics
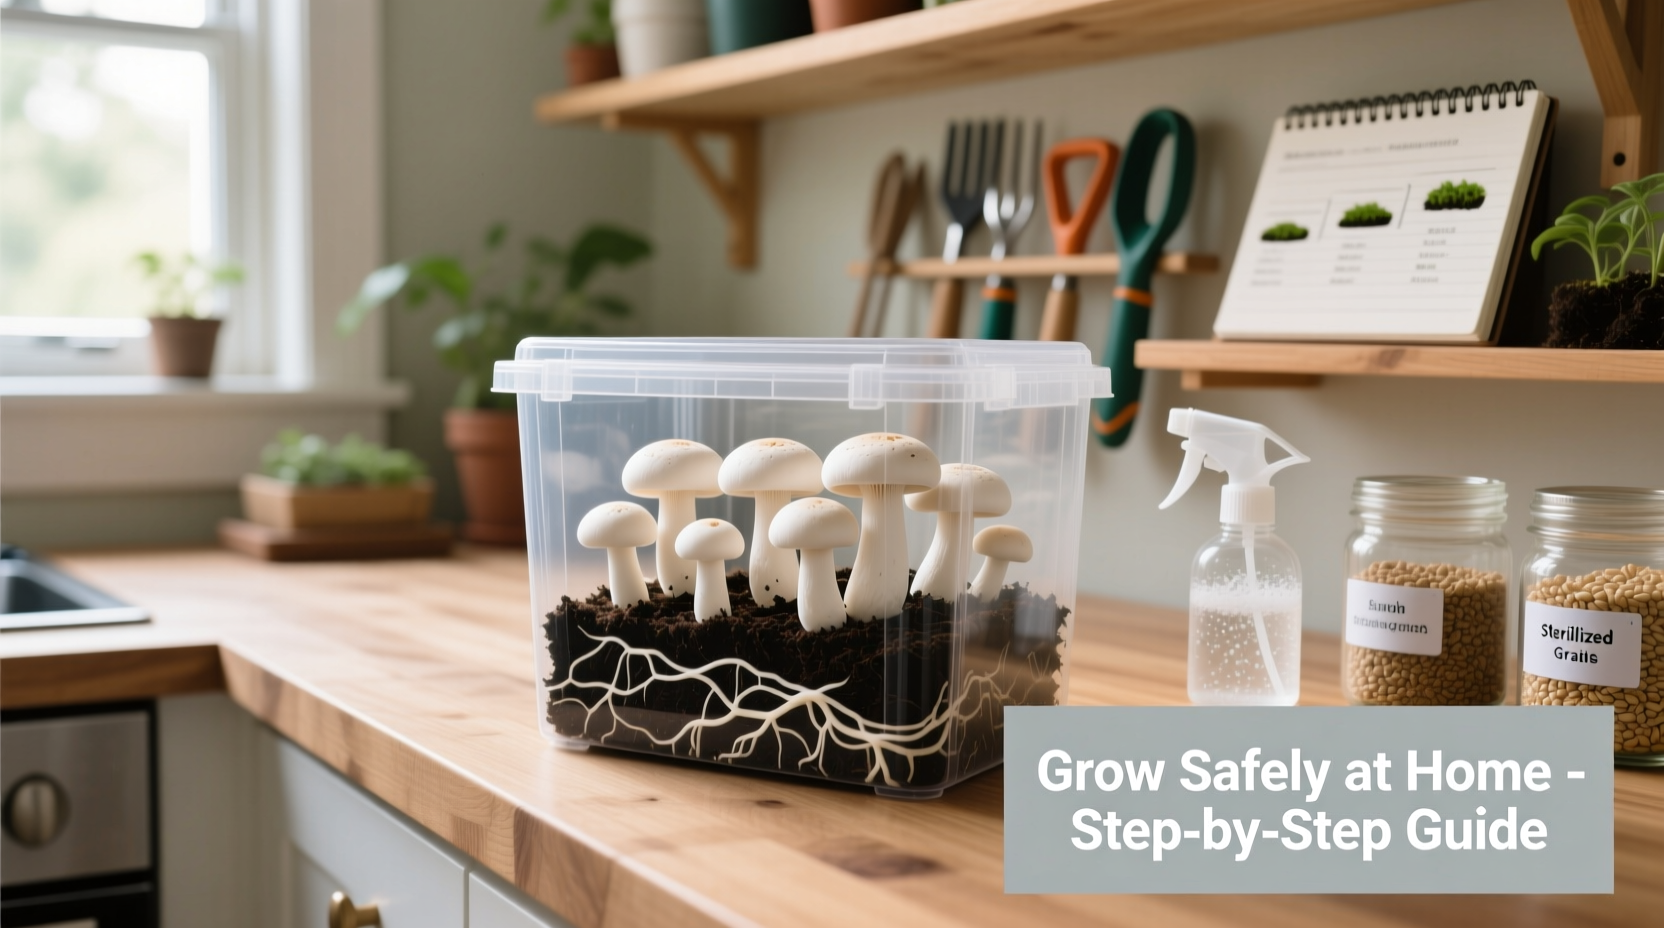
Mushrooms are the fruiting bodies of a larger fungal network called mycelium—the vegetative part that colonizes organic material. Mycelium grows underground or within its food source, absorbing nutrients and eventually forming mushrooms when triggered by environmental cues like humidity, light, and airflow.
The life cycle includes three key phases:
- Inoculation: Spores or live culture are introduced into a sterilized substrate.
- Colonization: Mycelium spreads through the substrate in a dark, warm environment (typically 70–75°F).
- Fruiting: Once fully colonized, the block is exposed to fresh air, indirect light, and higher humidity to initiate pinning (the formation of tiny mushroom buds).
Contamination is the primary risk in home cultivation. Competing molds like Trichoderma (green mold) or bacteria can overrun a culture if sanitation fails. This is why sterile technique—even in a home kitchen—is critical. Using pressure-cooked substrates, working near a flame (to create an updraft), and minimizing airborne particles greatly improve success rates.
“Mushroom cultivation rewards patience and precision. A clean workspace is just as important as temperature control.” — Dr. Paul Stamets, Mycologist and Author of *Growing Gourmet and Medicinal Mushrooms*
Using Mushroom Growing Kits: Safety and Simplicity
Mushroom growing kits are ideal for beginners. They typically consist of a fully colonized substrate block sealed in a plastic bag with a small opening or filter patch. All you need to do is cut open the bag, mist regularly, and wait for pins to form.
Most kits use species like Pleurotus ostreatus (oyster mushroom), which are fast-growing, resilient, and forgiving of minor environmental fluctuations. Reputable suppliers use laboratory-grade inoculation and pasteurized substrates, reducing contamination risks.
Kits are generally safe because:
- The substrate is already colonized, minimizing exposure to contaminants.
- They require no handling of spores or agar cultures.
- Instructions are clear and time-bound, reducing user error.
Still, safety isn't guaranteed. Poor storage (e.g., leaving a kit in direct sunlight or a damp basement) can lead to mold growth. Over-misting causes waterlogging, inviting bacterial rot. And while rare, inhaling large amounts of airborne spores during harvest may trigger respiratory irritation in sensitive individuals—especially with prolific fruiters like oysters.
DIY Mushroom Cultivation: Control, Cost, and Challenge
For those seeking greater autonomy, DIY mushroom growing offers full control—from choosing exotic strains to recycling waste materials like used coffee grounds or cardboard. While more complex, it's highly scalable and cost-effective in the long run.
A basic DIY setup involves:
- Selecting a mushroom species suited to your climate and resources.
- Preparing and sterilizing a substrate (e.g., pasteurizing straw for oysters).
- Inoculating with grain spawn or liquid culture.
- Incubating in a clean, warm space until colonization completes.
- Inducing fruiting with proper humidity and airflow.
Common substrates include:
| Substrate | Suitable For | Preparation Method |
|---|---|---|
| Straw | Oyster, Wine Cap | Hot water pasteurization (160–180°F for 1–2 hours) |
| Sawdust + Bran | Shiitake, Lion’s Mane | Pressure cooking (15 psi for 90 minutes) |
| Coffee Grounds | Oyster | Used immediately after brewing; mix with dry material |
| Hardwood Logs | Shiitake, Reishi | Drill holes, insert plug spawn, incubate outdoors |
DIY methods carry higher risk due to increased handling. Contamination often occurs during inoculation if tools aren’t sterilized or if the environment is dusty. However, many cultivators treat early contamination as a learning opportunity rather than a failure. Green mold, for instance, can sometimes be excised if caught early.
To improve safety and success:
- Use isopropyl alcohol (70%) to clean jars, lids, and tools.
- Work near a Bunsen burner or alcohol lamp to create a sterile airflow.
- Use HEPA-filtered air or still air boxes for delicate transfers.
- Label all jars with dates and strain names to track progress.
Step-by-Step Guide to Safe Home Mushroom Growing (DIY Version)
This timeline outlines a standard oyster mushroom cultivation using straw:
- Day 1 – Prepare Substrate: Soak chopped straw in hot water (160–180°F) for 90 minutes. Drain and cool to room temperature.
- Day 2 – Inoculate: Mix cooled straw with oyster mushroom grain spawn (10–15% by weight) in a clean bin or bag. Seal loosely to allow gas exchange.
- Days 3–14 – Incubation: Store in a dark, warm area (70–75°F). Check daily for signs of mycelial growth (white threads spreading through substrate). Avoid disturbing.
- Day 15 – Initiate Fruiting: Open the bag or transfer to a fruiting chamber. Increase misting (2–3 times daily) and provide indirect light (12 hours/day).
- Days 16–20 – Pin Formation: Tiny mushroom buds should appear. Maintain high humidity (85–95%) and gentle airflow.
- Days 21–25 – Harvest: Cut mushrooms at the base when caps are slightly curled downward. One flush typically yields 0.5–1 lb per 5 lbs of dry substrate.
- Optional – Second Flush: Soak the block in cold water for 12 hours, then return to fruiting conditions. Repeat misting cycle.
Real Example: Urban Apartment Success Story
Jamal, a software developer in Chicago, started growing blue oyster mushrooms in his spare bedroom using a DIY kit he assembled from online tutorials. He repurposed a disused closet, lined it with reflective film, and installed a small humidifier with a timer. Using pasteurized straw and grain spawn ordered from a reputable supplier, he achieved full colonization in 10 days. Within three weeks, he harvested his first flush—over 1.2 pounds of mushrooms.
His biggest challenge was inconsistent humidity during winter months. After adding a hygrometer and switching to a passive humidity tray (a shallow pan of water with perlite), fruiting improved dramatically. Now, he rotates three blocks every six weeks, providing a steady supply for meals and sharing extras with neighbors. “It’s like having a living pantry,” he says. “And there’s something deeply calming about watching life emerge from what looks like mulch.”
Safety Considerations and Best Practices
While home mushroom growing is generally safe, certain precautions must be observed:
- Never consume wild mushrooms without expert identification. This rule applies even if you’re cultivating at home—accidental mislabeling or cross-contamination could introduce toxic species.
- Wear a mask when harvesting prolific fruiters. Oyster mushrooms release billions of spores at maturity. Prolonged inhalation may cause allergic reactions or \"mushroom worker’s lung\" in sensitive individuals.
- Dispose of contaminated cultures promptly. Seal moldy blocks in a plastic bag and discard in outdoor trash to prevent spore spread.
- Keep pets away from fruiting areas. While most cultivated mushrooms aren’t toxic to animals, ingestion can cause gastrointestinal upset.
Additionally, avoid using household bleach near active cultures. Chlorine vapors can inhibit mycelial growth. Instead, use hydrogen peroxide or vinegar-based cleaners for surface disinfection.
Checklist: Safe Home Mushroom Growing Essentials
- Choose a beginner-friendly species (e.g., oyster, lion’s mane)
- Start with a commercial kit or high-quality grain spawn
- Sanitize all tools and workspaces before handling substrates
- Use a spray bottle with filtered or boiled water for misting
- Monitor humidity (85–95%) and temperature (65–75°F during fruiting)
- Provide indirect light (12 hours/day) and gentle airflow
- Harvest before full cap expansion to reduce spore release
- Store harvested mushrooms in paper bags in the fridge (up to 7 days)
Frequently Asked Questions
Can I grow mushrooms in my kitchen?
Yes, kitchens are suitable as long as you maintain cleanliness and control humidity. Avoid placing setups near stoves or sinks where temperature and moisture fluctuate. A corner shelf with a humidity tent works well.
Are home-grown mushrooms safe to eat raw?
Some mushrooms, like oysters, can be eaten raw in small quantities, but cooking is recommended. It breaks down chitin (a tough cell wall component), improves digestibility, and enhances flavor. Never eat any mushroom raw if you're unsure of its identity or purity.
What should I do if I see mold?
White, fuzzy growth that spreads evenly is likely mycelium. Green, black, or pink patches indicate contamination. Small spots can sometimes be removed with a sterilized knife, but widespread mold means the batch should be discarded to protect other cultures.
Conclusion: Start Small, Grow Confidently
Whether you choose a ready-to-fruit kit or dive into DIY cultivation, growing mushrooms at home is a safe, sustainable, and enriching practice when approached with care. Modern techniques have demystified what was once considered a specialist pursuit. You don’t need a lab—just attention to detail, consistency, and respect for the organism you're nurturing.
Begin with a reliable oyster mushroom kit to build confidence. Learn the rhythms of colonization and fruiting. Then, consider experimenting with logs, coffee grounds, or exotic varieties. Each harvest connects you more deeply to the hidden world of fungi—one of nature’s most efficient recyclers and nourishing gifts.


 浙公网安备
33010002000092号
浙公网安备
33010002000092号 浙B2-20120091-4
Comments
No comments yet. Why don't you start the discussion?