
Stickers are no longer just for kids' lunchboxes or school projects. From branding small businesses to personalizing gifts and organizing homes, custom stickers have become a versatile tool. The good news? You don’t need industrial equipment to make them. Many people wonder whether a standard home or office printer can handle sticker paper effectively. The short answer is yes—most regular inkjet or laser printers can print on sticker paper. But success depends on more than just saying \"yes.\" Choosing the right materials, adjusting printer settings, and understanding potential risks are crucial to avoid smudges, jams, or wasted supplies.
While the process seems straightforward, many first-time users encounter frustrating issues that could have been avoided with proper preparation. This guide walks through everything you need to know about using a regular printer for sticker paper, including best practices, technical considerations, and real-world lessons from DIY creators.
Understanding Sticker Paper and Printer Compatibility
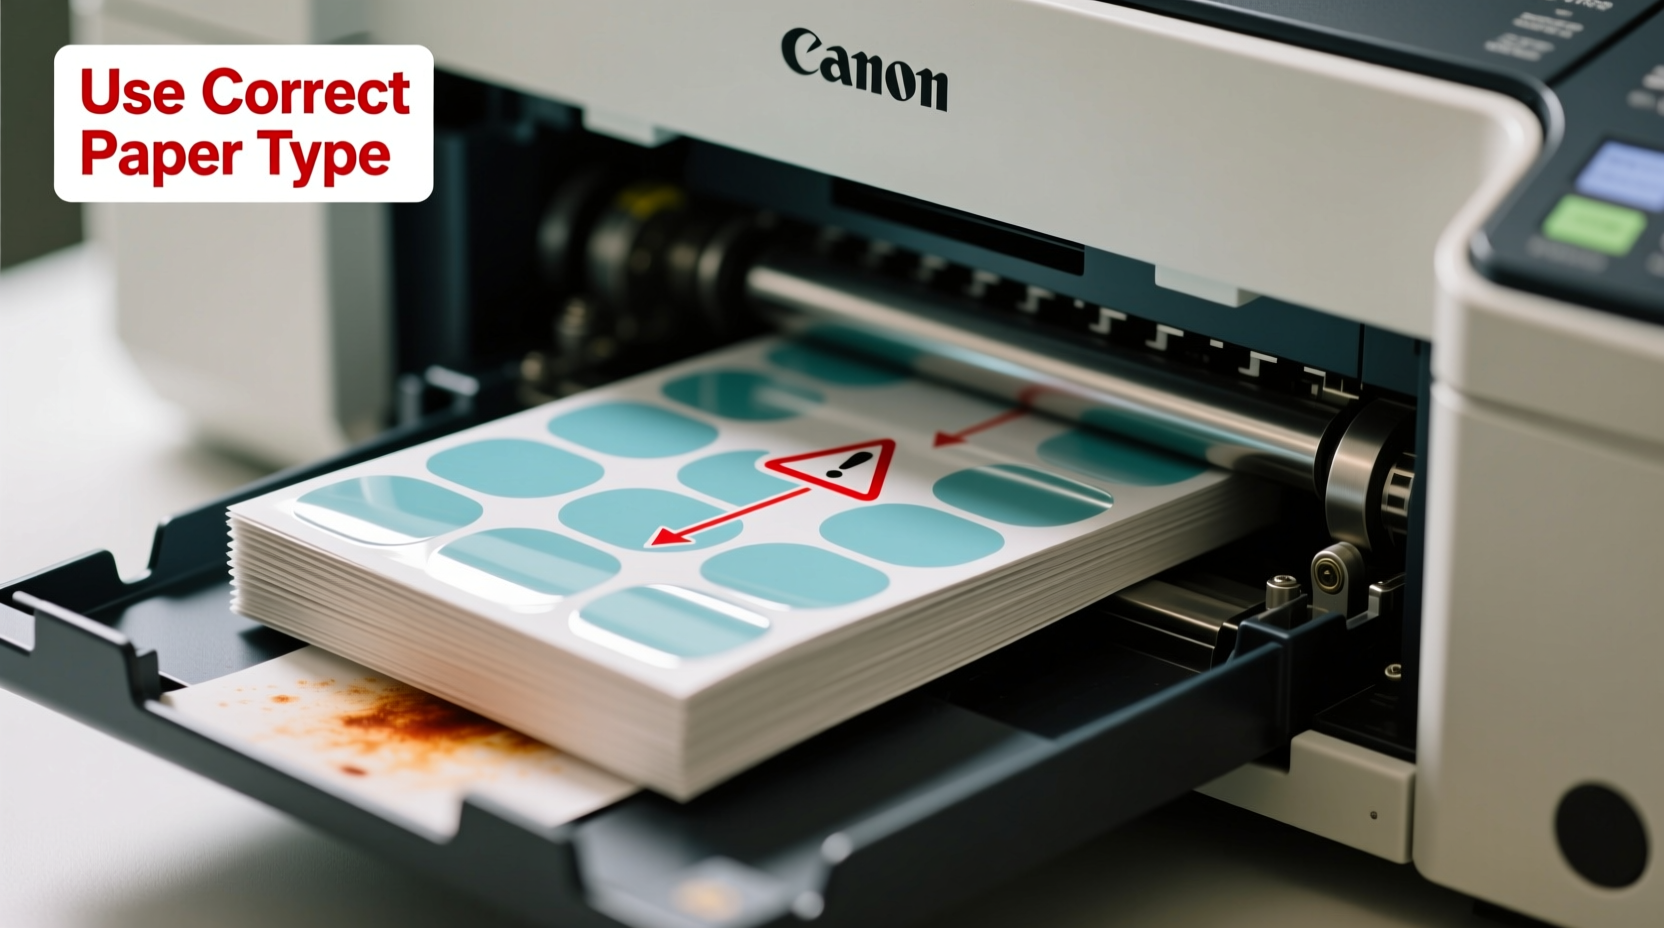
Sticker paper comes in two primary types: inkjet and laser. Each is coated differently to absorb toner or ink properly. Using the wrong type can lead to poor adhesion, smudging, or even damage to your printer. Inkjet sticker paper has a porous coating designed to soak up liquid ink quickly, while laser sticker paper uses a heat-resistant coating to bond with melted toner.
Before purchasing any sticker paper, check your printer’s specifications. Most consumer-grade inkjet printers (like those from HP, Canon, Epson, and Brother) handle inkjet sticker paper well. Laser printers (such as models from Brother, HP, and Xerox) work best with laser-compatible sticker sheets. Attempting to use inkjet paper in a laser printer can cause the adhesive to melt inside the machine due to high internal temperatures, potentially leading to costly repairs.
“Using incompatible sticker paper is one of the top reasons for printer malfunctions in home offices,” says Daniel Reeves, a certified printer technician with over 15 years of experience. “Always match the media type to your printer technology.”
Additionally, consider the weight and thickness of the sticker paper. Some regular printers are designed only for standard 20–24 lb paper. Sticker sheets often range from 30–60 lb, which may exceed your printer’s feed tolerance. Check your device manual for maximum paper weight capacity before loading anything heavier.
Step-by-Step Guide to Printing on Sticker Paper
Printing on sticker paper isn't just about loading the sheet and hitting print. A few deliberate steps ensure clean, durable results.
- Select the correct sticker paper type — Match it precisely to your printer (inkjet vs. laser).
- Design your sticker — Use software like Canva, Adobe Illustrator, or Microsoft Word. Leave appropriate margins (at least 0.25 inches) to prevent cutting into important elements.
- Set printer preferences — In your print dialog box, change the paper type to “Premium Glossy Photo Paper” or “Labels,” depending on your model. This adjusts ink/toner application and drying time.
- Load the sheet carefully — Place the sticker paper in the tray with the printable side facing the correct direction. Consult your printer manual if unsure.
- Print a test page — Use scrap layout first to confirm alignment and color accuracy.
- Allow ink to dry completely — Especially with inkjet printers, wait several minutes before handling to prevent smearing.
- Cut precisely — Use scissors, a craft knife, or a cutting machine like Cricut or Silhouette for clean edges.
For best results, avoid double-sided printing on sticker paper unless explicitly supported by both the printer and the material. The adhesive layer can interfere with second-pass feeding and increase jam risk.
Common Pitfalls and How to Avoid Them
Even experienced users run into problems when printing stickers at home. Here are the most frequent issues—and how to sidestep them.
| Issue | Causes | Solutions |
|---|---|---|
| Printer jams | Paper too thick, static cling, incorrect tray alignment | Use thinner sticker stock; fan sheets before loading; print one sheet at a time |
| Ink smudging (inkjet) | High humidity, low-quality paper, insufficient drying time | Print in dry environment; allow 5–10 minutes drying; apply clear sealant spray |
| Toner flaking (laser) | Wrong paper type, overheating, poor fuser adhesion | Only use laser-rated sticker paper; avoid reprints on same sheet |
| Peeling adhesive | Poor surface prep, low-grade backing, moisture exposure | Clean surface thoroughly before application; store stickers in sealed bags |
| Color inaccuracy | Incorrect color profile, outdated ink, low-resolution design | Calibrate monitor; use CMYK mode; print test swatches |
Real Example: A Small Business Owner’s Experience
Jamie Lin, who runs a handmade candle business from her garage in Portland, started making her own labels to save costs. She used a $120 inkjet printer and bought generic sticker paper online. Her first batch looked great until customers reported smudged logos after a few days.
After investigating, Jamie realized she hadn’t selected “glossy photo” mode during printing. The ink wasn’t setting properly. She also learned that storing stickers near her humid workshop was causing premature degradation. By switching to premium inkjet sticker paper, adjusting printer settings, and storing finished stickers in airtight containers, she improved durability significantly. Now, her stickers survive shipping and last months on jars—even in humid bathrooms.
“I saved hundreds of dollars a year doing it myself,” Jamie said. “But I wasted about $40 in failed prints before learning the right way.”
Best Practices and Pro Tips
Achieving professional-looking stickers at home requires attention to detail. Follow these expert-backed recommendations to get consistent results.
- Buy reputable brands — Avery, Neato, and JetPap offer reliable sticker papers clearly labeled for inkjet or laser use.
- Maintain your printer — Clean print heads regularly (especially for inkjets) to prevent clogs and streaks.
- Use high-resolution designs — Aim for at least 300 DPI to avoid pixelation when printed.
- Store sticker paper properly — Keep unopened sheets in a cool, dry place away from sunlight. Humidity warps paper and reduces adhesive effectiveness.
- Seal outdoor stickers — For weather resistance, apply a waterproof clear coat or laminate thin stickers with transparent tape.
- Avoid overloading trays — Feed one or two sheets at a time to reduce friction and misfeeds.
“Most home printers can produce commercial-grade stickers—if you treat the process like a precision task, not a casual print job.” — Maria Tran, DIY Product Designer & Educator
Checklist: Preparing to Print Stickers at Home
- Confirm printer type (inkjet/laser)
- Purchase matching sticker paper
- Verify paper weight compatibility
- Design artwork with bleed and safe zones
- Set printer to correct media mode
- Perform nozzle check (inkjet) or toner inspection (laser)
- Print a test sheet on plain paper for alignment
- Fan sticker sheets to prevent sticking
Frequently Asked Questions
Can I use any sticker paper with my HP OfficeJet?
Most HP OfficeJet models are inkjet printers, so you must use inkjet-compatible sticker paper. Check HP’s official support site for recommended paper weights—typically up to 55 lb is acceptable. Avoid glossy laser sticker paper, as it won’t absorb ink properly and may damage rollers.
Why did my sticker curl after printing?
Curling usually occurs due to moisture imbalance between the front (coated) and back of the paper. Inkjet printing adds liquid to one side, causing expansion. To minimize curl, let prints lie flat under a heavy book for 10–15 minutes. Some users also print multiple sheets consecutively to balance humidity exposure across the stack.
Are homemade stickers waterproof?
Standard sticker paper is water-resistant but not fully waterproof. Inkjet prints can smear when wet unless sealed. For true waterproofing, use specialty vinyl sticker paper designed for inkjet printers, or apply a clear acrylic sealer spray after printing. Laser-printed stickers generally resist moisture better due to fused toner, but the paper base can still degrade if soaked.
Final Thoughts and Next Steps
Yes, you absolutely can use a regular printer for sticker paper—with smart choices and careful execution. Whether you're launching a side hustle, labeling pantry jars, or crafting personalized gifts, home printing offers flexibility and cost savings. But convenience shouldn’t come at the expense of quality. Matching the right materials to your printer, optimizing settings, and learning from common mistakes will transform trial-and-error into reliable success.
The key takeaway is preparation. Just like baking without measuring ingredients leads to unpredictable results, skipping setup steps in sticker printing invites frustration. Take time to understand your tools, invest in quality supplies, and always test before scaling.


 浙公网安备
33010002000092号
浙公网安备
33010002000092号 浙B2-20120091-4
Comments
No comments yet. Why don't you start the discussion?