
For holiday creators, synchronizing Christmas lights to music transforms a simple display into a memorable experience. Whether it’s a front-yard spectacle or a community event, the magic lies in how precisely each bulb pulses with the beat. But achieving that harmony has traditionally required either technical skill or hours of meticulous work. Today, creators face a pivotal choice: use modern Christmas light mapping software or stick with manual planning methods. The good news? Neither requires coding knowledge. The better news? One can drastically reduce effort while increasing accuracy and creative freedom.
The Evolution of Light Synchronization
In the past, syncing lights to music meant painstakingly counting beats, marking timecodes on paper, and manually assigning channels to fixtures. Hobbyists would spend weeks choreographing a 3-minute song using spreadsheets and audio editing tools. Even minor changes could mean starting over. As LED technology and smart controllers became more accessible, so did new tools designed to simplify this process.
Today, dedicated Christmas light mapping software automates much of the synchronization process. These platforms analyze music, map lighting effects to specific instruments or beats, and allow users to visualize their display in 3D—all through intuitive drag-and-drop interfaces. Meanwhile, traditionalists still rely on manual planning, valuing control and familiarity. But as displays grow in complexity, the gap between efficiency and effort widens.
How Light Mapping Software Works (Without Coding)
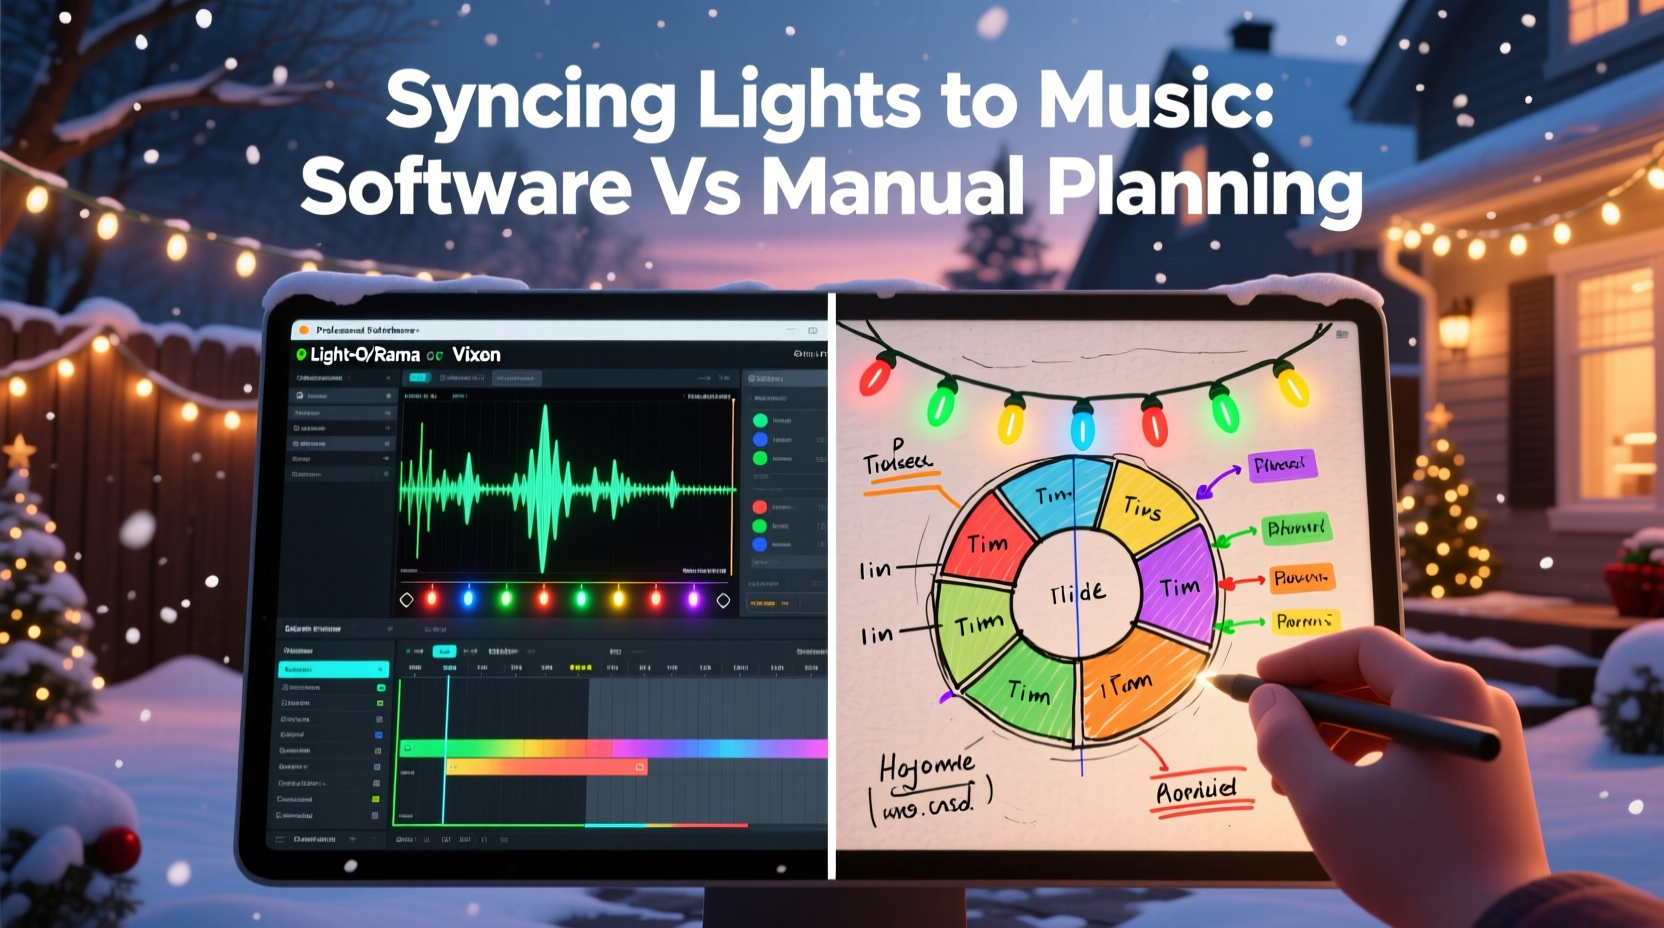
Modern light mapping software is built specifically for non-programmers. Tools like Light-O-Rama Sequence Editor, xLights, and Holiday Coro Designer offer visual timelines where users align lighting effects with music. Most support common file formats (MP3, WAV) and integrate with hardware such as E1.31 controllers and pixel strings.
The process typically begins by importing a song. The software analyzes the waveform and allows beat detection with a single click. Users then assign light elements—like arches, trees, or roof lines—to virtual representations of their physical setup. Effects such as fades, chases, or twinkle can be applied with sliders and previewed in real time. Some platforms even support 3D modeling, letting you see exactly how your yard will look before a single wire is connected.
No coding is involved. Instead, the software generates sequence files that are uploaded directly to controllers. This abstraction layer means creators focus on artistry, not syntax.
Manual Planning: The Traditional Approach
Manual planning remains a viable option, especially for small-scale displays or those who prefer complete hands-on control. It usually involves:
- Listening to a song repeatedly and noting timestamps for key moments (e.g., drum hits, lyrics).
- Creating a spreadsheet or timeline that maps each lighting channel to an action at a given second.
- Using generic animation software or audio editors to simulate timing.
- Testing sequences physically, often requiring multiple iterations.
This method offers granular precision. You decide exactly when each light turns on, off, or changes color. There’s no reliance on software interpretation of beats. However, it demands significant time investment and attention to detail. A five-minute song might require hundreds of individual entries across dozens of channels.
“With manual planning, I know every millisecond is intentional. But last year, I spent 80 hours on one sequence. That’s not sustainable if you want to scale.” — Mark T., Holiday Display Enthusiast, 12-year veteran
For creators managing multiple songs or large installations, manual planning becomes exponentially harder. Human error—such as mistiming a cue or mislabeling a channel—is common and difficult to debug.
Comparing Efficiency: Software vs Manual
To understand the practical differences, consider the following comparison based on real-world usage patterns.
| Factor | Light Mapping Software | Manual Planning |
|---|---|---|
| Setup Time | 1–3 hours per song (after initial configuration) | 10–50+ hours per song |
| Learning Curve | Moderate (1–2 weeks to master basics) | Steeper due to need for organizational discipline |
| Error Rate | Low (automated checks, previews) | High (manual entry mistakes common) |
| Reusability | High (save templates, reuse models) | Low (each project starts from scratch) |
| Creative Flexibility | High (real-time previews, effect libraries) | Moderate (limited by time and patience) |
| Hardware Compatibility | Broad (supports most DMX, E1.31, Renard) | Universal (but requires custom wiring logic) |
The data shows a clear trend: software drastically reduces labor while improving consistency. For example, xLights users report cutting sequence creation time by up to 70% compared to manual methods. Additionally, automated beat detection ensures rhythmic accuracy that’s hard to match by ear.
Real-World Example: From Spreadsheet to Software
Jessica R., a creator in Minnesota, used manual planning for her family’s annual display for six years. Each December, she’d begin in September, building Excel sheets with columns for time, channel, action, and duration. Her 2020 display had 18 channels and three songs. She estimated spending 120 hours total.
In 2021, she switched to xLights after a neighbor demonstrated a 3D preview of his setup. With help from online tutorials, she modeled her house, mapped her 24 channels, and imported her favorite songs. Using auto-beat detection and pre-built effects, she completed all three sequences in under 30 hours. More importantly, her display received its highest praise yet—viewers noted the “professional” timing and dynamic transitions.
“I didn’t realize how much I was missing,” Jessica said. “The software caught sync points I never heard. Now I can add more songs instead of dreading the work.”
Step-by-Step: Transitioning from Manual to Software
If you're considering making the switch, here’s a proven path to get started without feeling overwhelmed.
- Inventory Your Setup: List all lighting elements (e.g., 50-pixel tree, 8-channel roof outline) and note their controller assignments.
- Choose Free or Paid Software: Start with free tools like xLights or Vixen 3. They offer full functionality without cost and have active user communities.
- Install and Configure: Download the software, connect your controller via network or USB, and run a test sequence (e.g., a simple chase).
- Build Your Model: Use the layout tool to place virtual representations of your lights. Match them to real-world positions for accurate previews.
- Import Music and Detect Beats: Load your first song and use the beat detection feature. Adjust sensitivity if needed.
- Create a Simple Sequence: Apply one effect (e.g., fade-in) to a single element. Preview and export to hardware.
- Scale Gradually: Add more layers, synchronize vocals, experiment with macros. Save templates for next year.
This approach minimizes risk and builds confidence. Most creators find that within two to three projects, they’re working faster and producing higher-quality results than before.
Common Misconceptions About Light Mapping Software
Despite its advantages, some creators hesitate to adopt software due to myths.
- Myth: “It’s too complicated for beginners.”
Reality: While there’s a learning curve, most platforms include video guides, forums, and preset templates. Many users become proficient within days. - Myth: “Software makes everything look the same.”
Reality: The software is a tool, not a template. Creativity comes from how you combine effects, structure layers, and interpret music—not from automation. - Myth: “I’ll lose control over details.”
Reality: Most software allows frame-level editing (down to 1/10th of a second). You retain full control, just with better tools to execute it.
Tips for Maximizing Results Without Coding
Frequently Asked Questions
Do I need to buy expensive hardware to use light mapping software?
No. Many creators use affordable Ethernet-to-DMX adapters or ESP8266-based controllers (like WLED) that work seamlessly with free software. You can start with a basic E1.31 setup for under $100.
Can I use light mapping software if I only have basic string lights?
Yes, but the impact depends on your lights’ capabilities. Non-addressable (dumb) lights can only turn on/off or dim as a group. For detailed effects like chasing or color waves, you’ll need pixel (addressable) LEDs. Still, even basic setups benefit from precise timing.
Is it possible to mix manual and software methods?
Absolutely. Some creators use software for beat detection and timeline structuring but manually adjust key moments. Others build sequences in software and fine-tune them during live tests. Hybrid workflows are common and effective.
Checklist: Getting Started with Light Mapping Software
- ✔ Assess your current lighting setup and controller type
- ✔ Choose a beginner-friendly platform (xLights, Vixen 3, or Light-O-Rama)
- ✔ Watch an introductory tutorial (YouTube has many)
- ✔ Install the software and connect to your controller
- ✔ Create a digital model of your display layout
- ✔ Import one song and run beat detection
- ✔ Apply a simple effect and test on hardware
- ✔ Save your project and back up configurations
Completing these steps establishes a foundation you can build on year after year.
Conclusion: Embrace Tools That Amplify Creativity
The choice between Christmas light mapping software and manual planning isn’t about abandoning tradition—it’s about empowering creativity with better tools. Software doesn’t replace the artist; it removes the drudgery so the artist can focus on expression. What once took weeks can now take evenings. What was prone to error is now precise and repeatable.
Whether you’re a hobbyist enhancing your home display or a community organizer managing a public show, leveraging technology lets you do more, stress less, and delight more viewers. The holidays are about wonder, not spreadsheets. Let the software handle the timing. You bring the joy.


 浙公网安备
33010002000092号
浙公网安备
33010002000092号 浙B2-20120091-4
Comments
No comments yet. Why don't you start the discussion?