
When holiday lights refuse to turn on, the frustration is real—especially when you're racing against time before guests arrive or a neighborhood display deadline. The culprit is often a single dead bulb in a string of dozens, but finding it can feel like searching for a needle in a haystack. Two tools commonly used for troubleshooting are the Christmas light tester and the multimeter. While both can help identify faults, they differ significantly in speed, ease of use, and precision. Understanding their strengths and limitations helps you choose the right tool for fast, effective diagnosis.
How Traditional Light Strings Fail—and Why It Matters
Most incandescent Christmas light strings are wired in series, meaning electricity must pass through each bulb to complete the circuit. If one bulb burns out, becomes loose, or develops a broken shunt (a small wire meant to bypass a failed filament), the entire string goes dark. LED strings may behave differently—some use parallel wiring or built-in controllers—but many still rely on series circuits for sections of bulbs.
This design means that simply plugging in the string won’t tell you where the fault lies. You could replace every bulb one by one, but that’s inefficient. That’s where diagnostic tools come in: they let you isolate the problem without guesswork.
What Is a Christmas Light Tester? How Does It Work?
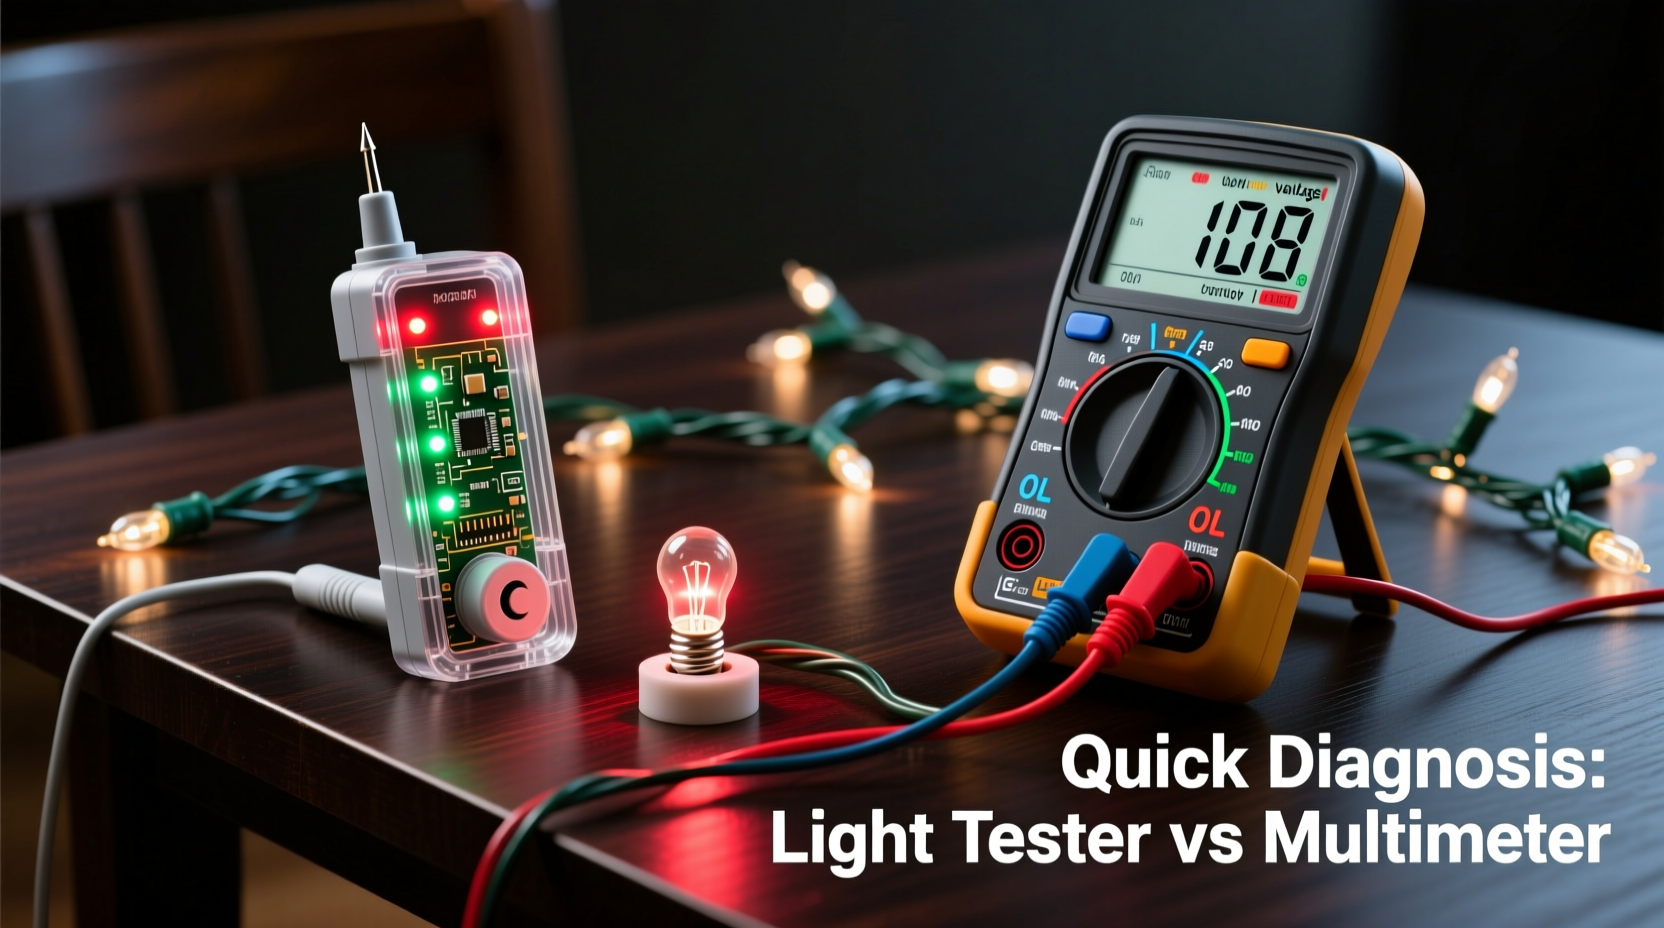
A Christmas light tester is a handheld device specifically designed for holiday lighting. Most models work by sensing electromagnetic fields generated around live wires. You hold the tester near each bulb socket while the string is plugged in. When the tester detects current flow, an indicator light or sound confirms the circuit is intact up to that point.
The principle is simple: if the tester responds at a given bulb, power is reaching that location. If it stops responding, the fault lies between the last working bulb and the next one. Some advanced testers can even detect open shunts in mini-bulb sets without requiring the string to be powered.
These devices are marketed as “no-contact” or “non-invasive,” making them appealing to users who want quick fixes without disassembling strings. They’re typically inexpensive, battery-powered, and require minimal technical knowledge.
“Light testers are great for homeowners who just want their lights back on fast. They remove the guesswork without needing to understand electrical theory.” — Mark Reynolds, Electrical Technician & Holiday Display Installer
Using a Multimeter: Precision Over Convenience
A multimeter is a versatile electronic measuring instrument that can test voltage, resistance, continuity, and more. When diagnosing light strings, it's most useful in continuity mode (to check if a circuit is complete) or voltage mode (to see if power reaches a specific point).
To use a multimeter on a light string, you’d typically:
- Unplug the string and set the multimeter to continuity or resistance (ohms).
- Test individual bulbs by placing probes on the bulb base contacts. A good bulb shows low resistance; an open filament reads infinite resistance.
- Alternatively, with the string plugged in (carefully!), use voltage mode to check for power at various sockets along the strand.
Unlike light testers, multimeters provide quantitative data. You’re not relying on proximity detection—you’re getting actual readings. This makes them more accurate, especially when dealing with complex strings, partial failures, or faulty plugs and fuses.
However, using a multimeter requires a basic understanding of electronics, safety precautions, and more time per test. It’s a methodical approach best suited for those comfortable handling tools and interpreting results.
Side-by-Side Comparison: Light Tester vs Multimeter
| Feature | Christmas Light Tester | Multimeter |
|---|---|---|
| Primary Use | Quick fault detection in holiday lights | General electrical diagnostics |
| Speed of Diagnosis | Fast – scan multiple bulbs in seconds | Slower – requires individual testing |
| Accuracy | Moderate – prone to false positives/negatives near ends or damaged wires | High – provides measurable, repeatable results |
| Skill Required | Low – intuitive operation | Moderate to high – requires electrical knowledge |
| Safety Risk | Low – non-contact options available | Moderate – direct contact with live circuits possible |
| Cost | $10–$25 | $20–$100+ (depending on model) |
| Additional Uses | Limited to holiday lights | Circuit testing, battery checks, appliance repair, etc. |
Real-World Example: Diagnosing a 50-Bulb Mini-Light String
Consider a homeowner trying to fix a 50-bulb C7 string that won’t light. The fuse looks intact, and the plug appears undamaged. Here’s how each tool performs:
With a Christmas light tester:
The user plugs in the string, turns off the room lights, and runs the tester along the first few bulbs. The tester beeps consistently up to bulb #12, then falls silent. Suspecting a break nearby, they inspect sockets #12–#15, discovering a corroded contact in socket #13. After cleaning it, the string lights up—total time: under 3 minutes.
With a multimeter:
The user unplugs the string and removes each bulb from #1 onward, testing resistance. The first 12 show ~2–5 ohms; bulb #13 reads “OL” (open loop). They replace it, reassemble, and test—success. But the process took 15 minutes due to manual handling and disassembly.
In this case, the light tester saved significant time. However, if the issue had been a damaged wire between sockets (not a bulb), the multimeter could have confirmed continuity across the line, while the light tester might have given inconsistent feedback.
Step-by-Step Guide: Choosing and Using the Right Tool
Follow this decision path based on your needs and skill level:
- Assess the situation: Is this a simple string of mini-lights that suddenly went out? Or a complex LED array with flickering sections?
- For basic troubleshooting (homeowners, seasonal use):
- Buy a non-contact Christmas light tester.
- Plug in the string and slowly move the tester along the bulbs.
- Note where the signal drops off—inspect that area for loose, darkened, or damaged bulbs.
- Replace or clean the suspect bulb and retest.
- For detailed diagnostics (tech-savvy users, recurring issues):
- Use a digital multimeter set to continuity or resistance.
- Remove bulbs individually and test filaments.
- Check voltage at the plug and mid-string points (with power on, carefully).
- Inspect fuses, connectors, and wire integrity.
- Verify the fix: Reconnect everything and power up. If still not working, consider internal wire breaks or controller failure (in LED sets).
Common Mistakes to Avoid
- Testing without unplugging: Never insert probes or open enclosures while the string is live unless using proper voltage-testing procedures.
- Ignoring the fuse: Many light strings have two tiny fuses in the plug. One may blow while the other remains intact, giving false hope.
- Overlooking socket damage: Corrosion, bent contacts, or melted plastic can interrupt current even with a good bulb.
- Assuming all LEDs are the same: Some LED strings use rectifiers or ICs that fail independently of bulbs. A multimeter is better suited here.
- Using a light tester on unpowered strings: Most models require the circuit to be energized to detect current flow.
Expert Recommendations and Best Practices
Professional installers and electricians often keep both tools on hand. As one veteran decorator puts it: “I use the light tester for 80% of jobs—it’s fast and gets the job done. But when I hit a stubborn string, I break out the multimeter to measure exactly what’s happening.”
For long-term reliability, consider upgrading to commercial-grade light strings with shunted sockets and replaceable bulbs. These are more compatible with both testing methods and reduce recurrence.
“The best tool depends on your goal. Want speed? Go for the light tester. Want certainty? Use the multimeter.” — Dana Liu, Residential Lighting Consultant
FAQ
Can a Christmas light tester work on LED strings?
Yes, but with caveats. Many LED strings operate at lower voltages or use pulsed DC current, which some testers struggle to detect. Look for models advertised as “LED-compatible.” Non-contact testers may not work reliably on low-power LED strands.
Is a multimeter safe for beginners to use on Christmas lights?
Yes, as long as you follow safety rules. Always unplug the string before testing resistance or continuity. If measuring voltage, keep fingers away from metal probe tips and don’t touch exposed conductors. Start with a basic auto-ranging digital multimeter for easier use.
Why does my light tester indicate power but the string still doesn’t light?
This usually means the tester detects voltage on the hot wire, but the circuit isn’t completing—possibly due to a broken neutral wire, bad socket connection, or failed shunt. A multimeter can verify continuity across the full loop.
Checklist: Quick Diagnosis Workflow
- ✅ Unplug the light string
- ✅ Visually inspect for obvious damage (melted sockets, cut wires)
- ✅ Check and replace fuses in the plug (if accessible)
- ✅ Plug in and test with a Christmas light tester (for speed)
- ✅ If no result, use a multimeter to test bulb continuity
- ✅ Test voltage at plug and mid-point (with caution)
- ✅ Replace or clean faulty bulbs/sockets
- ✅ Reassemble and verify function
Conclusion
When it comes to diagnosing dead Christmas light strings, both the Christmas light tester and multimeter have valuable roles. The light tester wins for speed, simplicity, and accessibility—ideal for occasional users who want fast results without technical hassle. The multimeter offers precision, versatility, and deeper insight, making it the go-to for persistent problems or advanced users.
For most households, keeping an affordable light tester in the holiday toolkit is a smart move. But if you frequently deal with electrical projects or complex displays, investing in a quality multimeter pays dividends beyond the season. Ultimately, the best choice isn’t about one tool being superior—it’s about matching the right tool to your needs, skills, and timeline.


 浙公网安备
33010002000092号
浙公网安备
33010002000092号 浙B2-20120091-4
Comments
No comments yet. Why don't you start the discussion?