
Grout lines are essential in tile installations, providing structural support and preventing moisture penetration. However, their porous nature makes them magnets for dirt, mold, mildew, and everyday stains. While many turn to bleach for a quick fix, it comes with significant drawbacks: harsh fumes, potential damage to grout and surrounding materials, and environmental concerns. The good news is that you don’t need bleach to restore your grout to its original condition. With the right homemade solutions and techniques, you can achieve sparkling results safely and affordably.
This guide explores proven, non-toxic alternatives that clean deeply, preserve grout integrity, and protect your home environment. Whether dealing with kitchen backsplashes, bathroom floors, or shower walls, these methods deliver real results without compromising health or surfaces.
Why Avoid Bleach on Grout?
Bleach has long been a go-to for disinfecting and whitening, but its use on grout is increasingly discouraged by tile and cleaning experts. Sodium hypochlorite—the active ingredient in household bleach—can degrade grout over time, especially if it’s unsealed or already compromised. Repeated exposure weakens the material, leading to cracking, crumbling, and increased porosity, which ironically makes grout more prone to future staining.
Beyond material damage, bleach poses health risks. Its strong odor can trigger respiratory issues, particularly in enclosed spaces like bathrooms. It also reacts dangerously with other common cleaners (like vinegar or ammonia), producing toxic gases. For households with children, pets, or individuals with sensitivities, eliminating bleach from cleaning routines is a smart safety move.
“Bleach may whiten grout temporarily, but long-term use erodes the surface and increases maintenance needs. Safer alternatives not only clean effectively but help maintain grout longevity.” — Laura Simmons, Certified Tile & Grout Specialist, NTCA
Top Homemade Solutions That Work
The key to successful bleach-free grout cleaning lies in combining natural abrasives, pH-balanced acids, and surfactants that lift grime without erosion. Below are five of the most effective homemade formulas backed by consistent user results and expert recommendations.
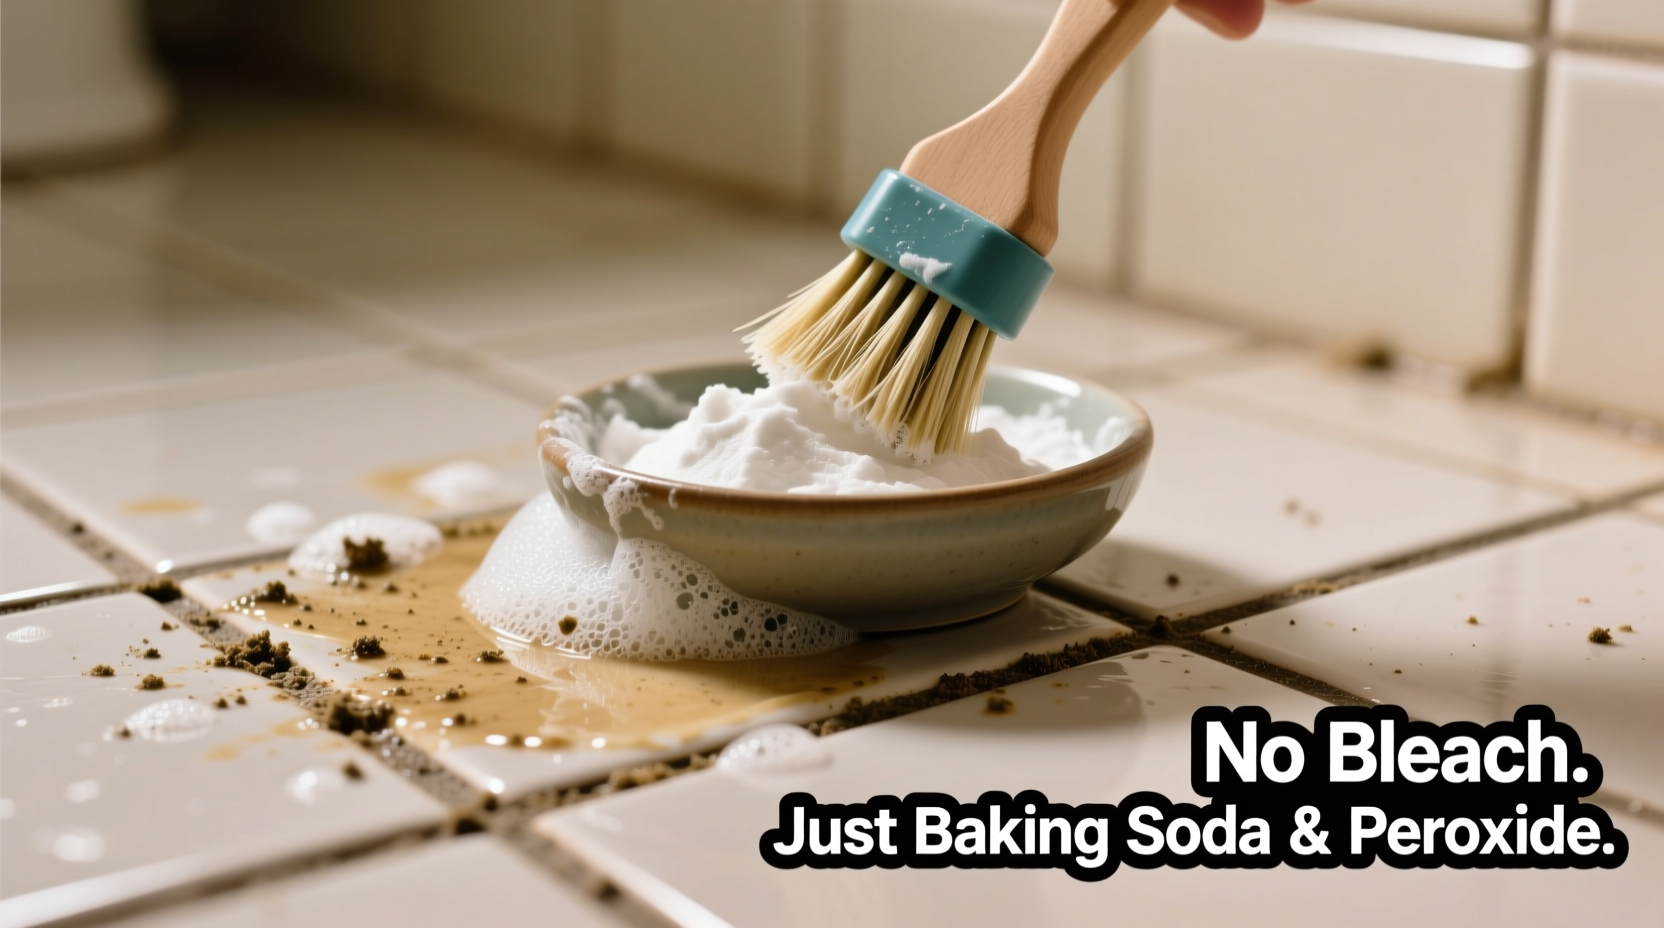
1. Baking Soda and Hydrogen Peroxide Paste
This combination creates a gentle yet powerful cleaning agent. Baking soda acts as a mild abrasive, while hydrogen peroxide provides oxygen-based bleaching and disinfection without the toxicity of chlorine bleach.
Recipe:
Mix ½ cup baking soda with ¼ cup hydrogen peroxide (3%) to form a thick paste. Apply with an old toothbrush, scrub gently, let sit for 10–15 minutes, then wipe clean with a damp cloth.
2. Vinegar and Baking Soda (Used Separately)
While mixing vinegar and baking soda creates a fun fizz, it neutralizes both ingredients’ effectiveness. Instead, apply them sequentially for better results.
Method:
Spray white vinegar directly onto grout lines and allow it to sit for 5 minutes. Follow by sprinkling baking soda over the area. Use a soft brush to agitate the mixture into the grout. The reaction helps loosen embedded dirt. Wipe clean after 10 minutes.
3. Dish Soap and Baking Soda Scrub
Dish soap cuts through grease and oils—common culprits in kitchen grout stains—while baking soda scrubs away residue.
Recipe:
Combine 3 tablespoons baking soda with 1 tablespoon liquid dish soap (preferably plant-based) to create a spreadable paste. Apply to grout, scrub thoroughly, and rinse well. Ideal for greasy backsplashes.
4. Lemon Juice and Salt Abrasive
Lemon juice contains citric acid, which naturally brightens discoloration. Salt adds mild abrasion. This method works best on light stains and outdoor tiles exposed to sun and rain.
Caution: Do not use on marble or limestone tiles—citric acid can etch calcium-based stone.
Application:
Squeeze fresh lemon juice over stained grout, sprinkle coarse salt, and scrub with a nylon brush. Let sit for 10 minutes before rinsing. Repeat weekly for stubborn areas.
5. Castile Soap and Warm Water Soak
For routine maintenance or lightly soiled grout, this gentle formula preserves sealant and prevents buildup.
Mix:
Add 2 tablespoons of liquid Castile soap to 2 cups warm water. Spray or sponge onto grout, wait 5–7 minutes, then scrub and rinse. Safe for daily-use areas like entryway tiles.
Step-by-Step Deep Cleaning Process
Effective grout cleaning isn’t just about the solution—it’s about technique. Follow this detailed process to maximize results and minimize effort.
- Clear and Dry the Area: Remove rugs, mats, or objects from the floor. Wipe down tile surfaces to eliminate loose dust and debris.
- Premist with Vinegar (Optional): Lightly spray white vinegar on grout lines to begin breaking down mineral deposits and organic matter.
- Apply Chosen Paste: Using a small spatula, spoon, or brush, coat grout lines evenly with your selected cleaning paste. Focus on discolored zones.
- Scrub Thoroughly: Use an old toothbrush or narrow grout brush to agitate the paste into the grooves. Work in small sections (2x2 feet) to prevent drying.
- Dwell Time: Allow the solution to sit for 10–15 minutes. Do not let it dry completely, as rehydration becomes harder.
- Rinse and Wipe: Dampen a microfiber cloth with clean water and wipe away residue. Change water frequently to avoid redepositing dirt.
- Dry Completely: Use a dry towel or fan to speed up drying. Moisture left in grout encourages mold regrowth.
- Seal (Recommended): After deep cleaning, apply a penetrating grout sealer to protect against future stains. Wait 24–48 hours post-cleaning before sealing.
Comparison Table: Homemade Solutions at a Glance
| Solution | Best For | Time Required | Notes |
|---|---|---|---|
| Baking Soda + Hydrogen Peroxide | Bathroom grout, mold stains | 15 minutes | Safe for most surfaces; slight foaming indicates activity |
| Vinegar + Baking Soda (Sequential) | Kitchen grout, hard water deposits | 10 minutes | Avoid on natural stone; use ventilation |
| Dish Soap + Baking Soda | Fatty/oily splatter stains | 12 minutes | Gentle on hands and surfaces |
| Lemon Juice + Salt | Outdoor tiles, mild discoloration | 10 minutes | Not suitable for calcium-based stones |
| Castile Soap + Water | Routine maintenance | 7 minutes | Ideal for weekly upkeep |
Real Example: Reviving a Shower Floor Without Harsh Chemicals
Jamie, a homeowner in Portland, Oregon, struggled with darkened grout in her tiled walk-in shower. Years of humidity and soap scum had turned the once-gray lines nearly black. She avoided bleach due to asthma concerns and wanted a family-safe option.
She began by testing the baking soda and hydrogen peroxide paste in one corner. After seeing visible improvement, she applied the method to the entire floor using an old toothbrush. She repeated the process twice weekly for three weeks. On the fourth week, she sealed the grout with a water-based penetrating sealer.
Result: Over 80% of the discoloration was removed. Mold regrowth slowed significantly, and Jamie now maintains cleanliness with biweekly Castile soap sprays. “I wish I’d known how easy it was,” she said. “No more coughing during cleaning day.”
Checklist: Bleach-Free Grout Care Routine
- ✅ Sweep or vacuum tile surfaces weekly to reduce grit buildup
- ✅ Wipe down tiled areas after showers or cooking to prevent residue accumulation
- ✅ Perform deep cleaning every 4–6 weeks using a homemade paste
- ✅ Rinse thoroughly after each cleaning to avoid soap film
- ✅ Reapply grout sealer every 6–12 months depending on foot traffic
- ✅ Use ventilated fans in bathrooms and kitchens to control moisture
- ✅ Rotate cleaning methods monthly to prevent resistant buildup
Frequently Asked Questions
Can I use vinegar on all types of grout?
Yes, vinegar is safe for cement-based grout when used occasionally. However, avoid frequent use on unsealed grout, as acidity may degrade the material over time. Never use vinegar on natural stone tiles (e.g., marble, travertine), as it can cause etching.
How often should I deep-clean grout without bleach?
Every 4 to 6 weeks for high-moisture areas like showers and kitchen backsplashes. Low-traffic floors may require deep cleaning only every 2–3 months. Regular surface wiping extends the interval between deep cleans.
Will homemade solutions kill mold in grout?
Yes, several natural agents—including hydrogen peroxide, vinegar, and tea tree oil—have antifungal properties. Hydrogen peroxide is particularly effective, killing up to 80% of common mold species on contact. For severe infestations, professional remediation may still be necessary.
Final Tips for Long-Term Grout Health
Clean grout isn’t just about appearance—it’s about hygiene and durability. Unchecked grime leads to microbial growth, unpleasant odors, and costly repairs. By adopting bleach-free practices, you protect both your home and your health.
Consistency matters more than intensity. Short, regular maintenance sessions outperform infrequent, aggressive treatments. Pair your cleaning routine with proper ventilation and sealing to create a sustainable system that keeps grout looking fresh year-round.
Remember: not all grout can return to “brand new” if years of neglect have caused deep-set stains or physical damage. In such cases, consider regrouting or professional steam cleaning as complementary steps after exhausting natural methods.
Take Action Today
You don’t need harsh chemicals to reclaim clean, healthy grout lines. The solutions outlined here are accessible, affordable, and scientifically sound. Start with one method—perhaps the baking soda and peroxide paste—and observe the difference after just one session. Track your progress, refine your approach, and build a routine that fits your lifestyle.


 浙公网安备
33010002000092号
浙公网安备
33010002000092号 浙B2-20120091-4
Comments
No comments yet. Why don't you start the discussion?