
Recording your screen with clear, crisp audio is essential whether you're creating tutorials, capturing gameplay, delivering presentations, or producing online courses. Poor audio can ruin even the most visually polished recording. The good news: high-quality screen and sound capture is achievable on nearly any device—Windows, Mac, iOS, Android, or Chromebook—with the right tools and techniques. This guide walks through everything from selecting software to optimizing microphone settings and avoiding common pitfalls.
Choosing the Right Screen Recording Software
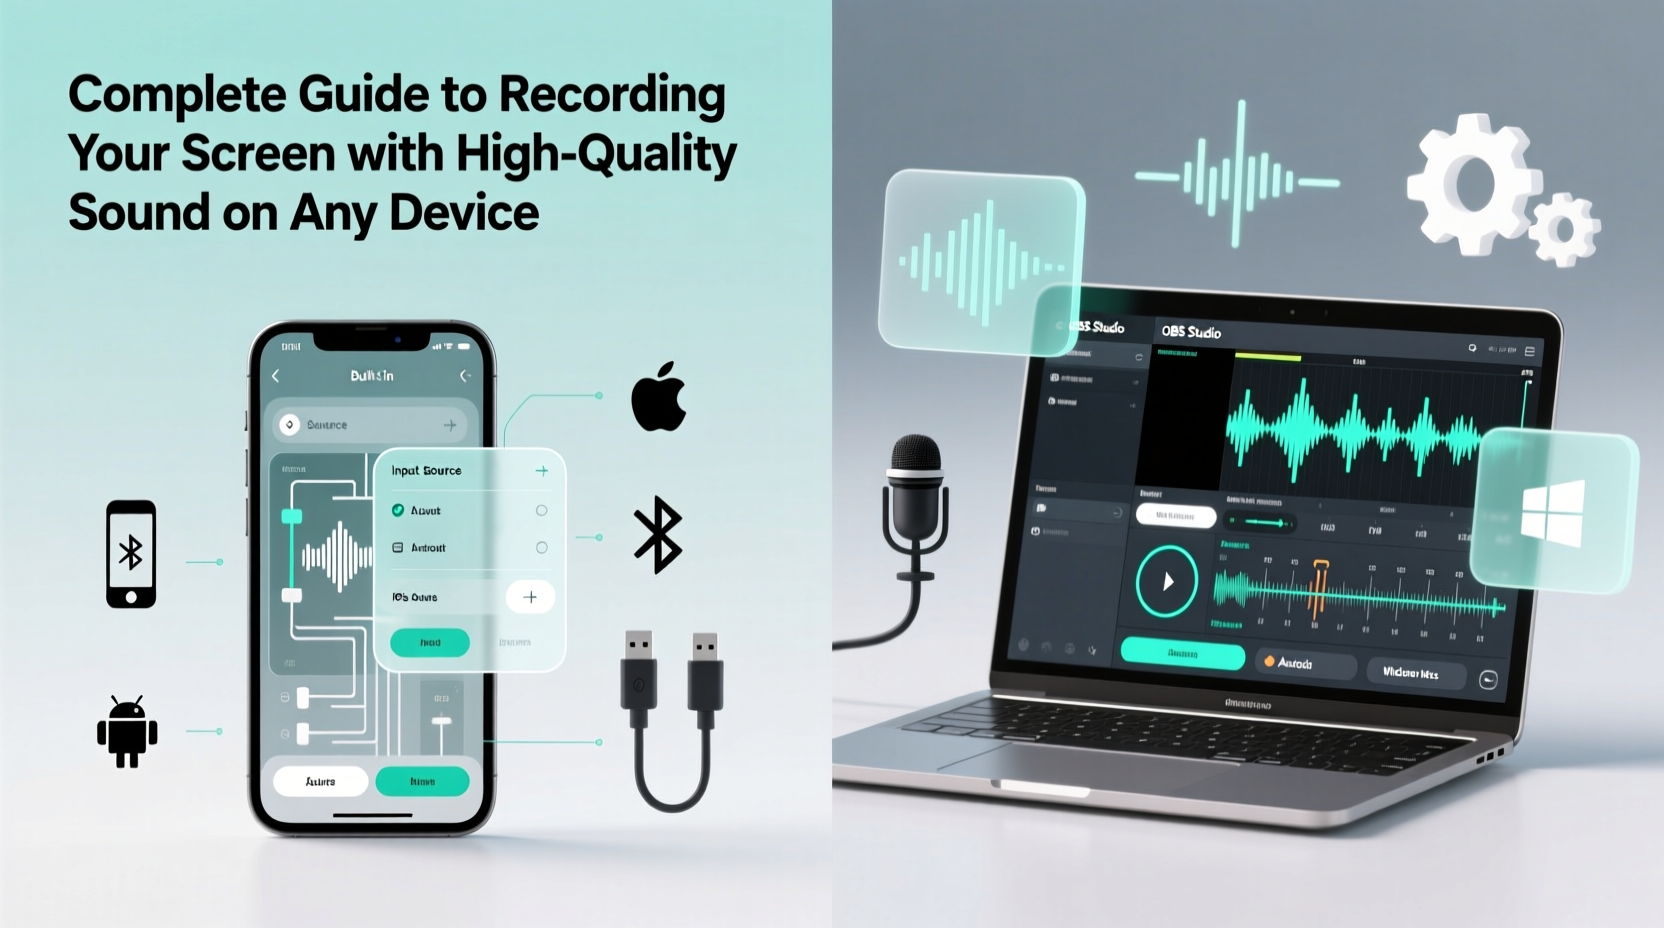
The first step in achieving professional-grade recordings is selecting software that supports both high-resolution video and clean audio input. Not all screen recorders treat audio equally—some compress sound or limit microphone options, leading to muffled or distorted results.
On desktop platforms, built-in tools like Windows Game Bar and macOS QuickTime offer basic functionality but lack advanced audio routing. For greater control, third-party applications are often better choices:
- OBS Studio – Free, open-source, and powerful. Supports multiple audio sources, custom bitrates, and scene composition.
- Camtasia – Ideal for educators and professionals. Offers post-production editing and noise reduction.
- ScreenFlow (Mac) – Excellent audio waveform visualization and multi-track editing.
- Bandicam (Windows) – Lightweight with strong hardware encoding support.
Mobile users have fewer options but can rely on native features: iOS has a built-in screen recorder (enable via Control Center), while many Android devices include one under Quick Settings. For enhanced audio control, apps like AZ Screen Recorder (Android) or RecForge II allow external mic selection and bitrate adjustment.
Optimizing Audio Quality Across Devices
Video without clear audio fails to engage. Background noise, low volume, or echo can distract viewers no matter how sharp the visuals are. To ensure high-fidelity sound, consider these factors:
Microphone Selection and Placement
Internal microphones work in quiet environments but pick up keyboard clicks, fan noise, and room reverberation. External microphones significantly improve clarity:
- Lavalier mics – Clip-on models like the Rode SmartLav+ deliver consistent voice capture, ideal for talking-head videos.
- USB condenser mics – Models such as the Blue Yeti or Audio-Technica AT2020USB+ offer studio-like quality for desktop setups.
- Dynamic mics – Shure SM7B or Electro-Voice RE20 reduce background noise and are excellent for untreated rooms.
Position your microphone 6–12 inches from your mouth, slightly off-axis to avoid plosive sounds (like “p” and “b”). Use a pop filter if available.
Audio Settings That Matter
Most recording software lets you adjust sample rate, bit depth, and input levels. For optimal results:
| Setting | Recommended Value | Why It Matters |
|---|---|---|
| Sample Rate | 48 kHz | Standard for video; ensures sync with playback systems. |
| Bit Depth | 16-bit or 24-bit | Higher bit depth preserves dynamic range and reduces noise. |
| Input Level | -12 dB to -6 dB peak | Prevents clipping while leaving headroom for editing. |
| Noise Suppression | Enable selectively | Can reduce background hum but may affect voice naturalness. |
“Even the best screen recorder won’t fix bad audio. Invest time in mic placement and level calibration—it’s the difference between amateur and professional.” — Lena Torres, Audio Engineer & Content Creator
Step-by-Step: Setting Up a High-Quality Recording Session
Follow this sequence to maximize output quality regardless of your device:
- Prepare your environment: Close noisy apps, silence notifications, and choose a quiet space. Soft furnishings help absorb echo.
- Connect and test your microphone: Plug in your mic, select it in system preferences, and do a voice test.
- Configure recording software: Set video resolution to at least 1080p, frame rate to 30fps (60fps for fast motion), and audio to 48kHz/16-bit.
- Assign audio sources: In OBS or Camtasia, specify which mic and system audio to capture. Avoid recording both internal and external mics simultaneously unless needed.
- Do a test run: Record 30 seconds of speaking and playing audio. Play back to check sync, volume balance, and clarity.
- Begin final recording: Speak clearly, minimize pauses, and keep a steady pace. Monitor levels if possible.
- Edit and export: Trim silences, normalize audio, and export using H.264 codec with AAC audio for broad compatibility.
Real-World Example: Creating a Tutorial Video on a Budget
Sophie, a freelance designer teaching Figma basics on YouTube, used her MacBook Air, a $50 USB microphone, and OBS Studio. Initially, her early videos had faint audio and occasional distortion. After adjusting her setup—moving the mic closer, lowering input gain, and enabling noise suppression in OBS—her audio clarity improved dramatically. She also started recording in a closet filled with clothes to dampen room reflections. Viewer retention increased by 40% within two months, and several students commented specifically on how easy it was to follow along thanks to the clean sound.
Her workflow now includes a pre-recording checklist and a 1-minute test clip. “I used to think video quality was everything,” she said. “Now I know audio makes or breaks engagement.”
Common Mistakes and How to Avoid Them
Even experienced creators make preventable errors. Here are frequent issues and their solutions:
| Mistake | Solution |
|---|---|
| Recording in a noisy environment | Use noise gate plugins or record during quiet hours. Consider acoustic panels or blankets. |
| Overmodulation (audio clipping) | Set input levels so peaks stay below -6dB. Watch metering in real time. |
| Ignoring system audio latency | Use direct monitoring if available, or wear one earbud to hear system sound with minimal delay. |
| Exporting with low bitrate | Use at least 192 kbps for AAC audio and 8 Mbps for 1080p video. |
FAQ
Can I record system audio and microphone at the same time?
Yes, most modern software supports multi-track recording. On Windows, use OBS or Audacity alongside your recorder. On Mac, QuickTime can capture internal audio with third-party tools like BlackHole. Mobile devices vary—iOS restricts internal audio capture unless using Screen Recording with microphone enabled in settings.
Why does my audio sound muffled or distant?
This usually results from poor mic placement, low input gain, or recording in a reflective room. Move the microphone closer, increase gain (without clipping), and add soft materials like rugs or curtains to absorb sound waves.
Is it possible to improve audio after recording?
Yes. Tools like Audacity (free) or Adobe Audition can remove noise, enhance clarity, and normalize volume. Apply EQ to boost vocal frequencies (around 2–4 kHz) and reduce low-end rumble below 80 Hz.
Final Checklist Before You Record
- ✅ Test microphone and system audio in recording software
- ✅ Close unnecessary apps to free CPU and eliminate pop-up notifications
- ✅ Set video resolution to 1080p or higher
- ✅ Confirm audio sample rate is 48 kHz and bit depth is 16-bit minimum
- ✅ Position microphone correctly and use a pop filter if available
- ✅ Perform a 30-second test recording and review playback
- ✅ Save project files to a drive with ample storage space
Start Capturing With Confidence
High-quality screen recordings with pristine audio aren’t reserved for studios or high-end gear. With thoughtful preparation, the right software, and attention to sound detail, anyone can produce professional results on everyday devices. Whether you’re teaching, presenting, or sharing ideas, clear audio ensures your message lands exactly as intended. Take the time to set up once—your future audience will thank you.


 浙公网安备
33010002000092号
浙公网安备
33010002000092号 浙B2-20120091-4
Comments
No comments yet. Why don't you start the discussion?