
When you press the power button and your computer monitor remains dark, it can be more than just frustrating—it can halt productivity, disrupt work, or ruin a gaming session. A screen that won’t turn on isn’t always a sign of a dead monitor or motherboard. In many cases, the issue lies in simple connections, settings, or power supply problems that are easy to resolve with the right approach. Understanding how to systematically troubleshoot the problem saves time, money, and unnecessary replacements.
Check the Power Source and Connections
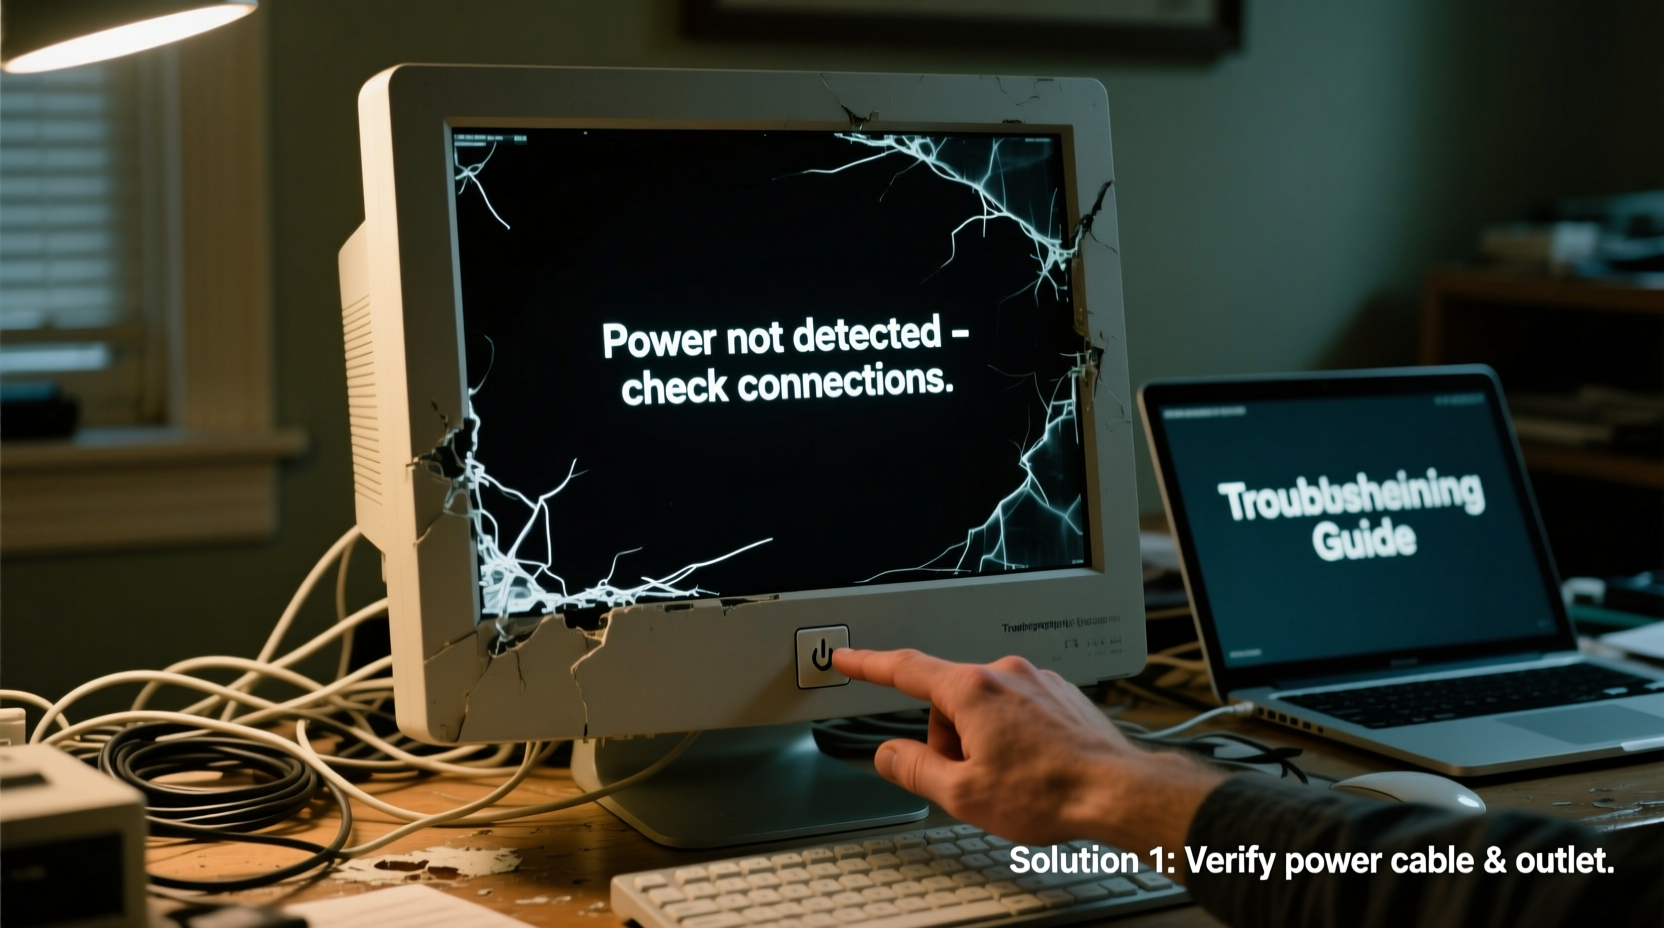
The first step is often the most overlooked: verify that your monitor is receiving power. Start by inspecting the power cable for fraying, kinks, or loose ends. Plug the cable directly into a wall outlet rather than a power strip or surge protector to rule out faulty intermediate devices. Ensure the power brick (if applicable) is securely connected at both ends.
Next, examine the video cable—whether HDMI, DisplayPort, DVI, or VGA. Unplug and reconnect it firmly at both the monitor and computer ends. Dust or poor contact can interrupt signal transmission even if the monitor appears powered.
Power Indicator Lights: What They Mean
Most monitors have an LED indicator near the power button. The color and behavior of this light offer critical clues:
- Green or white steady light: Monitor is on and receiving a signal.
- Amber or orange light: Monitor is in standby mode or receiving power but no signal.
- No light at all: Likely a power delivery issue—check cables, outlet, or internal fuse.
- Blinking light: Could indicate a hardware fault or failed self-test.
Test the Monitor on Another Device
To determine whether the problem is with the monitor or the computer, connect the monitor to another device—a laptop, gaming console, or secondary PC. If the screen lights up with another source, the issue likely resides in your original computer’s graphics output, GPU, or motherboard.
Conversely, if the monitor remains black across multiple devices, the fault is within the monitor itself—possibly the backlight, inverter board (on older LCDs), or main control board.
“Always isolate components when troubleshooting. A working monitor on one system rules out display failure.” — James Lin, Hardware Diagnostic Technician
Inspect Internal Computer Components
If the monitor works with other devices but not your PC, the problem may lie inside the computer. Begin by checking the graphics card connection. For desktops with dedicated GPUs, ensure the card is fully seated in the PCIe slot and that all power connectors are attached.
For systems using integrated graphics, plug the monitor into the motherboard’s video port instead of the GPU. This bypasses the dedicated card and tests whether the onboard processor can generate a signal.
BIOS Beep Codes and POST Indicators
Many motherboards emit beep codes during startup (Power-On Self-Test) to indicate hardware failures. No beeps could mean the motherboard isn’t receiving power or has failed. One long beep followed by two short beeps often signals a graphics card error.
If your system doesn’t POST (Power-On Self-Test), check:
- RAM modules—are they properly inserted?
- CMOS battery—is it dead?
- Front panel connectors—are power switch wires correctly attached?
Step-by-Step Troubleshooting Guide
Follow this logical sequence to identify and resolve the root cause:
- Verify power outlet – Plug in another device to confirm the socket works.
- Check monitor power cable – Swap with a known-working cable if possible.
- Inspect video cable – Replace or use a different type (e.g., HDMI instead of VGA).
- Test monitor on another device – Rule out monitor failure.
- Listen for POST beeps – Absence suggests motherboard or PSU issue.
- Reseat internal components – RAM, GPU, and power connectors.
- Try integrated graphics – Disconnect GPU and plug monitor into motherboard.
- Boot with minimal hardware – Disconnect peripherals and non-essential drives.
- Check for physical damage – Look for bulging capacitors or burnt smells inside the PC.
- Consult manufacturer diagnostics – Some brands offer built-in screen tests via monitor buttons.
Common Causes and Solutions Table
| Issue | Likely Cause | Solution |
|---|---|---|
| No power, no light | Faulty power cable, dead outlet, blown fuse | Test with new cable/outlet; check fuse in plug |
| Power light on but no image | No signal, loose video cable, GPU issue | Reconnect cables; test with other GPU or device |
| Blinking power light | Internal hardware fault or firmware error | Reset monitor; consult service manual |
| Screen flickers then turns off | Failing backlight or overheating component | Let cool down; seek professional repair |
| PC runs but no display | GPU failure, RAM issue, or BIOS corruption | Reseat hardware; clear CMOS; test components |
Mini Case Study: Office Worker Resolves Black Screen Issue
Sarah, a remote project manager, arrived at her desk one morning to find her monitor completely unresponsive—no light, no sound. She checked the power strip, which was on, but noticed the monitor’s LED was dead. After swapping the power cable with her lamp (which worked), she realized the issue wasn’t the cable. She then plugged the monitor into a wall outlet directly, and the power light turned on. The culprit? A failing surge protector that delivered inconsistent voltage. By isolating each variable, Sarah avoided an unnecessary monitor replacement and saved over $200.
Do’s and Don’ts When Your Screen Won’t Turn On
| Do’s | Don’ts |
|---|---|
| Use known-good cables and outlets for testing | Assume the monitor is dead without testing |
| Clear CMOS if no POST occurs | Open the monitor casing unless qualified |
| Try the system with minimal hardware | Apply excessive force when connecting cables |
| Document symptoms (lights, sounds, smells) | Ignore burning odors or visible damage |
FAQ
Why does my computer run but the screen stays black?
This usually means the system is booting but not sending a video signal. Possible causes include a disconnected GPU, faulty RAM, incorrect display input selection, or BIOS failure. Test with integrated graphics or reseat components.
Can a monitor fail suddenly without warning?
Yes. While gradual dimming or flickering is common, sudden failure can occur due to power surges, capacitor failure, or internal circuit damage. Surge protectors and proper shutdowns reduce risk.
Is it worth repairing a monitor that won’t turn on?
It depends. For monitors under warranty, repair is ideal. For older models, cost of parts and labor often exceeds replacement value. However, if it’s a high-end or specialized display, professional diagnosis may be worthwhile.
Final Checklist Before Seeking Help
- ✅ Power cable tested with another device
- ✅ Video cable replaced or reconnected
- ✅ Monitor tested on alternate system
- ✅ Computer checked for POST beeps
- ✅ RAM and GPU reseated
- ✅ Tried integrated graphics (if available)
- ✅ Checked for physical or burn damage inside PC
- ✅ Verified input source on monitor (HDMI 1 vs. HDMI 2)
Conclusion
A computer screen that won’t turn on doesn’t automatically mean disaster. With methodical testing, most issues can be diagnosed and resolved without costly repairs. From checking simple power connections to isolating hardware faults, each step brings you closer to a solution. Whether you’re a casual user or a seasoned tech enthusiast, staying calm and systematic is key.


 浙公网安备
33010002000092号
浙公网安备
33010002000092号 浙B2-20120091-4
Comments
No comments yet. Why don't you start the discussion?