
Creating handmade accessories is more than just a hobby—it’s a way to express personality, reduce stress, and make thoughtful gifts. Among the most delightful beginner projects is the DIY cherry keychain. With its playful shape, vibrant colors, and compact size, it’s both functional and decorative. Whether you're new to crafting or looking for a relaxing weekend activity, this guide walks you through every stage of making your own cherry keychain using accessible materials and simple techniques.
Why This Project Works for Beginners
The charm of the cherry keychain lies in its simplicity. It requires minimal tools, uses affordable supplies, and teaches foundational skills like shaping, coloring, and assembling small components. Unlike complex crafts that demand precision or advanced tools, this project embraces imperfection—each slightly lopsided cherry becomes part of its handmade appeal.
Additionally, polymer clay, the primary material used, is forgiving. If a piece doesn’t turn out right, it can be reshaped or baked again. This flexibility makes it ideal for first-time crafters who may feel intimidated by more rigid mediums.
Materials and Tools You’ll Need
Gathering the right supplies ensures a smooth crafting process. Below is a checklist of everything required to complete your cherry keychain.
Checklist: Essential Supplies
- Polymer clay (red for cherries, green for stems, optional brown for details)
- Acrylic rolling pin or clean bottle (for flattening clay)
- Clay sculpting tools or toothpicks (for detailing)
- Oven-safe baking sheet
- Parchment paper or silicone mat
- Small hole punch or needle (for keychain loop)
- Sandpaper (fine grit, 400+)
- Clear varnish or glaze (optional, for shine)
- Jump ring and keychain ring (metal hardware)
- Wire cutters or pliers (to open/close jump rings)
Polymer clay brands like Sculpey III or Fimo Soft are recommended for beginners due to their soft texture and ease of manipulation. Always follow package instructions regarding baking temperature and time.
Step-by-Step Guide to Crafting Your Cherry Keychain
Follow this clear sequence to create a polished, professional-looking keychain—even if it's your first time working with clay.
- Prepare your workspace. Cover your table with parchment paper or wax paper. Preheat your oven to the temperature specified on your clay packaging (usually 275°F / 130°C).
- Condition the red clay. Knead a small piece until soft and pliable. Roll it between your palms to form a smooth ball about the size of a marble.
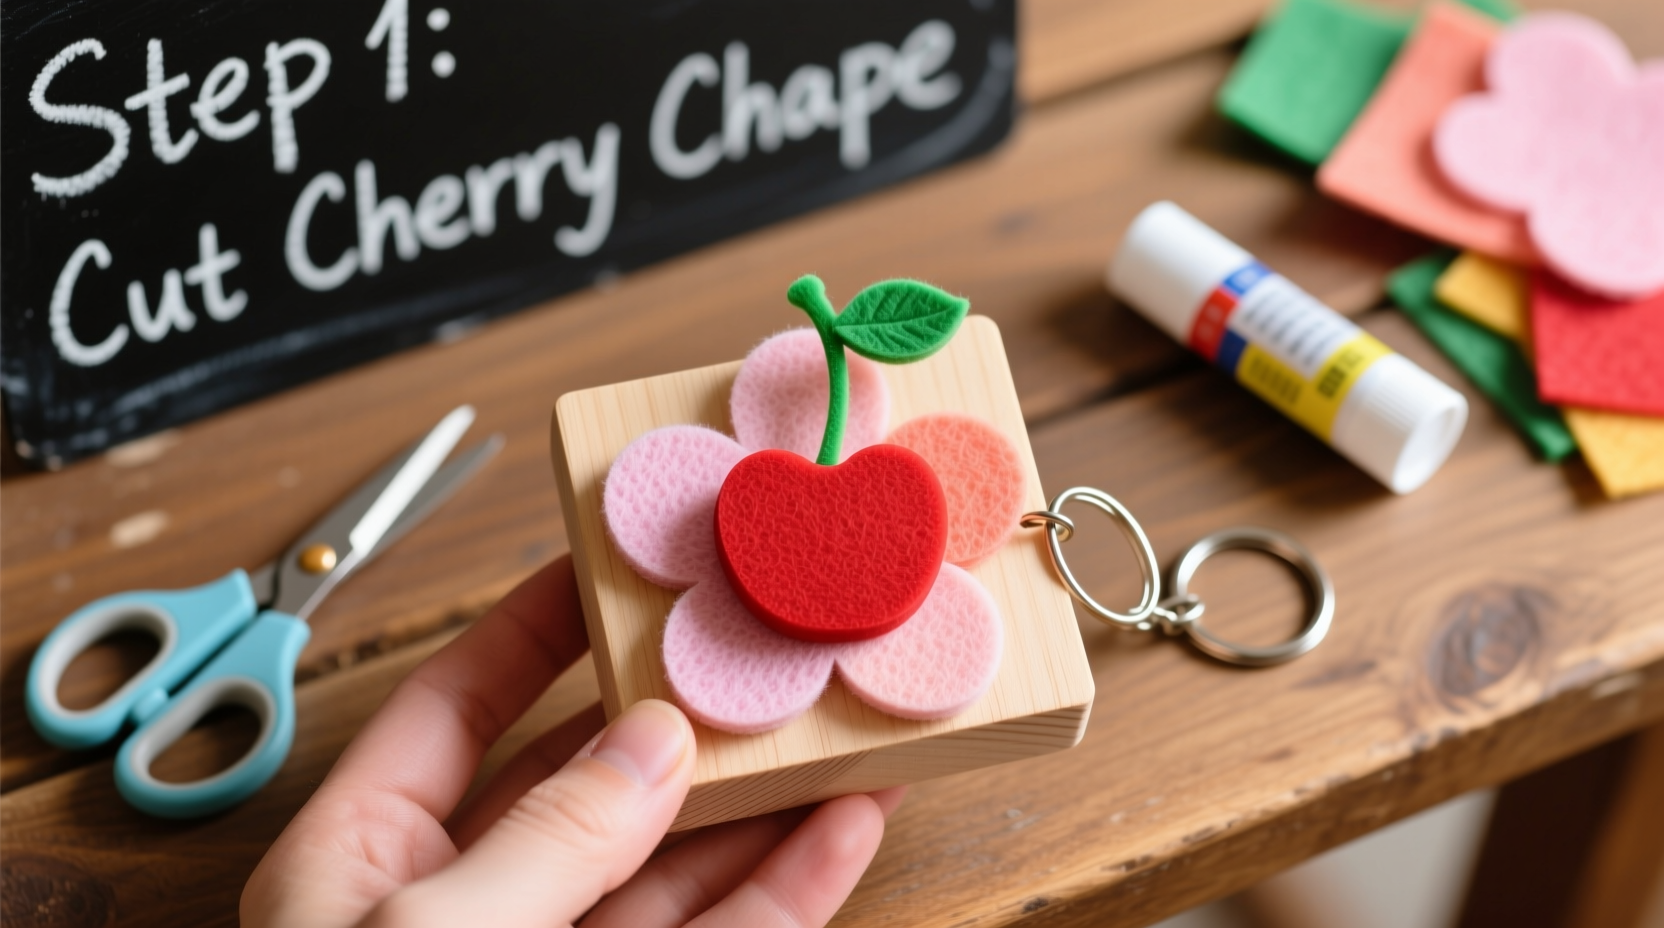
- Create the cherry shape. Gently press the ball into a slight oval, mimicking a real cherry. Use your thumb to indent the top where the stem will go.
- Add the second cherry. Make another ball and press it against the first at a slight angle so they overlap naturally, like a pair of cherries on a stem.
- Shape the stem and leaf. Roll a tiny piece of green clay into a short curve for the stem. Attach it across the indentation. Flatten a pea-sized piece and pinch one end to form a leaf. Press it beside the stem.
- Refine details. Use a toothpick to add subtle texture to the cherries and vein lines on the leaf. Be gentle—small touches make a big difference.
- Punch the hole. Insert a needle or small skewer through the top edge of one cherry, angling toward the center. This hole will hold the jump ring later. Ensure it’s wide enough for the metal loop to pass through after baking.
- Bake according to instructions. Place the piece on parchment-lined baking sheet. Bake for 15–20 minutes depending on thickness. Let cool completely.
- Sand lightly. Once cooled, use fine sandpaper to smooth any rough edges or fingerprints.
- Apply finish (optional). Brush on a thin layer of clear glaze for a glossy, realistic look. Allow to dry fully before handling.
- Attach hardware. Open the jump ring with pliers, thread it through the baked hole and the keychain ring, then close securely.
Do’s and Don’ts When Working with Polymer Clay
| Do’s | Don’ts |
|---|---|
| Wash hands before and after handling clay to avoid dirt marks | Don’t use kitchen ovens for food afterward without thorough cleaning |
| Store unused clay in airtight containers away from heat | Don’t exceed recommended baking times—clay can burn or discolor |
| Use dedicated craft tools not intended for food preparation | Don’t leave unbaked clay in direct sunlight or hot cars |
| Test glaze on a scrap piece first to ensure compatibility | Don’t rush cooling—sudden temperature changes can cause cracks |
Real Example: Maya’s First Keychain Success
Maya, a college student with no prior crafting experience, decided to try the cherry keychain as a gift for her roommate’s birthday. She followed the steps carefully, watching a tutorial video for visual reference. Her first attempt had uneven cherries and a crooked stem, but instead of discarding it, she rebaked the piece after reshaping. The final result wasn’t perfect—but it was full of character.
She added a handwritten note: “Made with love, just like our late-night talks.” Her roommate wore the keychain on her backpack immediately. What started as a simple craft became a meaningful keepsake. Maya now hosts monthly crafting nights with friends, always including a keychain project.
“Handmade items carry emotion. A tiny clay cherry isn’t just an accessory—it’s a gesture of care.” — Lena Torres, Art Therapist and Craft Educator
Frequently Asked Questions
Can I use air-dry clay instead of polymer clay?
Air-dry clay can work, but it’s more fragile and less durable for everyday use. Polymer clay hardens in the oven and offers better resistance to chipping and moisture, making it ideal for keychains that get frequent handling.
How long does the entire process take?
Active crafting takes about 20–30 minutes. Baking adds 15–20 minutes, plus cooling time. Including drying for any glaze, expect 1–1.5 hours total. Most of the time involves waiting, so it’s easy to multitask.
Is polymer clay safe to bake at home?
Yes, when used as directed. Bake in a well-ventilated area and avoid overheating, which can release fumes. Never burn the clay. Use an oven thermometer to ensure accuracy, especially with older ovens.
Final Thoughts and Encouragement
Making a DIY cherry keychain is more than just assembling parts—it’s about taking time to create something tangible with your hands. In a world dominated by mass-produced goods, these small handmade objects stand out as personal, intentional, and joyful.
You don’t need artistic talent to succeed. Patience, curiosity, and a willingness to learn matter far more. Each keychain you make improves your skill and confidence. Try different colors—yellow cherries, blackberries, even watermelons. Turn this beginner project into a creative habit.


 浙公网安备
33010002000092号
浙公网安备
33010002000092号 浙B2-20120091-4
Comments
No comments yet. Why don't you start the discussion?