
Smartphones are both essential tools and personal accessories, often exposed to daily wear and tear. While cases protect the body of your phone, few address one of the most vulnerable components: the speaker grille. Dust, lint, and moisture can easily clog or damage the tiny openings, degrading sound quality over time. A custom leather iPhone speaker protector offers a stylish, functional solution—handcrafted, breathable, and uniquely yours. This guide walks you through every stage of creating a precision-fit leather cover that enhances protection without compromising acoustics.
Why Choose Leather for Speaker Protection?
Leather is more than just a premium aesthetic choice—it’s naturally durable, flexible, and resistant to abrasion. When properly cut and treated, thin vegetable-tanned leather allows sound waves to pass through while blocking debris. Unlike plastic mesh covers, leather ages gracefully, developing a rich patina over time. It also resists fraying at the edges, making it ideal for small, intricate applications like speaker grilles.
Additionally, crafting your own protector means you control the fit, finish, and design. Whether you prefer minimalist elegance or embossed patterns, a handmade leather piece adds a touch of craftsmanship to an otherwise overlooked part of your device.
“Precision in leatherwork starts with understanding the material’s behavior. Thin leather breathes and flexes, but only if cut correctly.” — Marcus Reed, Artisan Leatherworker & Educator
Tools and Materials Checklist
Before beginning, gather the following supplies. Accuracy depends on using the right tools, especially when working at such a small scale.
- Vegetable-tanned leather (0.5–0.7 mm thickness)
- Sharp X-Acto knife or scalpel
- Self-healing cutting mat
- Metal ruler (preferably stainless steel)
- Digital calipers (for measuring iPhone speaker dimensions)
- Leather punch (optional, for edge detailing)
- Beeswax or leather conditioner (for finishing)
- Adhesive (3M Scotch-Weld or micro-dots of E6000)
- Tweezers (for precise placement)
- Printed template or CAD-designed stencil (scaled 1:1)
Step-by-Step Guide to Crafting Your Protector
This process emphasizes precision and patience. Rushing can lead to misalignment or adhesive failure. Follow each step carefully.
- Measure Your iPhone’s Speaker Grille
Use digital calipers to measure the length, width, and position of the bottom speaker grille. Note whether the opening is recessed or flush. For example, iPhone 14 models have a 38.2 mm long by 2.1 mm wide speaker slit centered slightly off-midline. - Create a Template
Draw the exact dimensions on paper or use graphic software to design a 1:1 stencil. Print it and test-fit against the phone. Adjust until alignment is perfect. Include a 1–2 mm border around the grille for adhesive overlap. - Select and Prepare the Leather
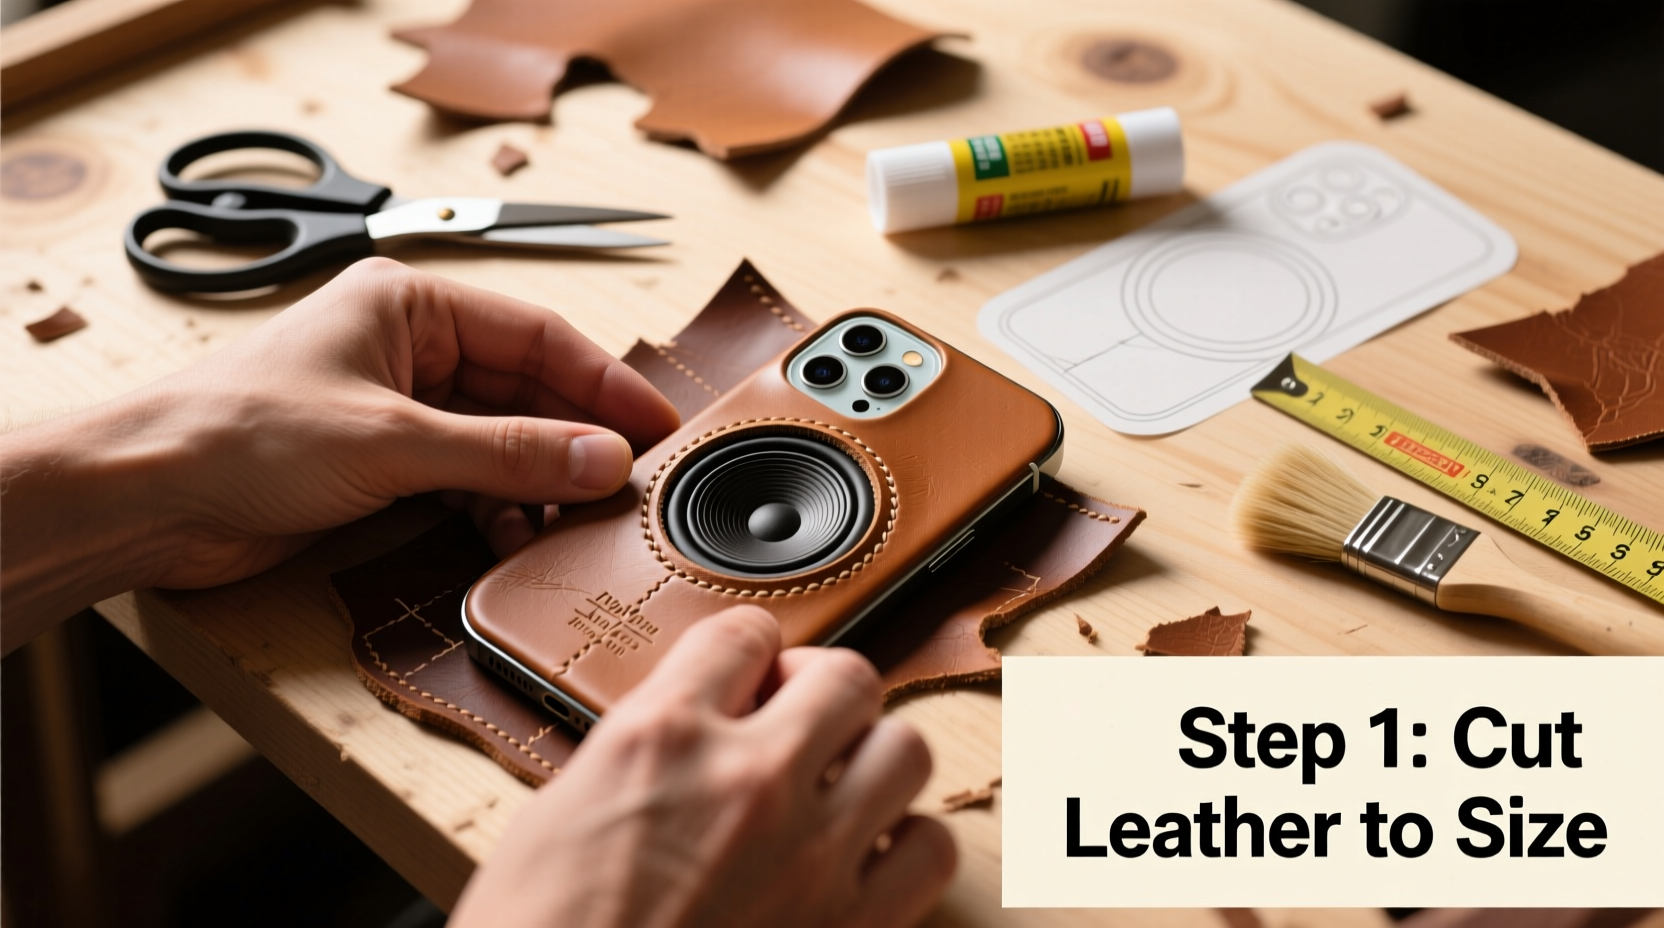
Choose a smooth, flaw-free section of 0.6 mm veg-tan leather. Place the template on the flesh side (so markings don’t show). Secure with tape to prevent shifting. - Cut the Leather Piece
Using a sharp X-Acto blade and metal ruler, cut along the template edges with slow, deliberate strokes. Change blades frequently to maintain sharpness. Avoid sawing motions that can fray edges. - Refine the Edges
Lightly sand the perimeter with 600-grit sandpaper to remove burrs. Wipe clean with a dry cloth. Optionally, apply a thin line of edge kote for a polished look—but keep it minimal to avoid bulk. - Condition and Test Fit
Rub a small amount of beeswax onto the leather to enhance flexibility and water resistance. Let it absorb for 5 minutes, then buff lightly. Hold the piece near the speaker to confirm alignment without adhesive. - Apply Adhesive
Use tweezers to place 2–3 rice-sized dots of E6000 or 3M micro-adhesive on the back. Avoid covering the entire surface—this ensures breathability and reduces risk of seepage into the speaker. - Attach to iPhone
Carefully align the leather piece over the speaker grille. Press gently with a burnishing tool or clean fingertip for 15 seconds. Allow 24 hours for full cure before use.
Do’s and Don’ts: Leather Speaker Protector Guidelines
| Do’s | Don’ts |
|---|---|
| Use thin, flexible vegetable-tanned leather | Use thick or chrome-tanned leather (too stiff) |
| Test fit multiple times before applying glue | Rush the adhesive application |
| Apply minimal, targeted adhesive | Glue over the entire back surface |
| Condition leather to resist moisture | Expose to excessive water or heat after installation |
| Inspect monthly for dust buildup | Use compressed air directly on the leather (can delaminate) |
Real-World Example: Sarah’s Custom Solution
Sarah, a freelance photographer in Portland, noticed her iPhone 13’s speaker muffled after months of shooting outdoors. Dust from forests and beaches had infiltrated the grille. She tried cleaning with brushes and tape, but gaps remained. Inspired by a leather journal she owned, she decided to make a custom cover.
Using a spare piece of 0.6 mm Horween leather, she followed a template printed from a scaled diagram. After three attempts (the first two were misaligned), she perfected the fit. She added a subtle hand-stitched border for flair. Six months later, her speaker remains clear, and the leather has developed a warm honey tone that matches her camera strap. “It’s not just protection,” she says, “it’s a detail people notice.”
Frequently Asked Questions
Will the leather block sound output?
No—if the leather is thin enough (under 0.8 mm) and properly fitted, sound transmission remains excellent. Veg-tan leather is porous at a microscopic level, allowing air and sound waves to pass while filtering particles. Many users report no noticeable difference in volume or clarity.
Can I remove the protector later?
Yes, but carefully. Use a dental pick or fingernail to gently lift one corner. Apply slight twisting motion rather than pulling straight up. Residual adhesive can be cleaned with isopropyl alcohol on a cotton swab. Avoid scratching the phone’s surface.
How long does a leather speaker protector last?
With proper care, 12–18 months or longer. Factors include exposure to sweat, UV light, and frequency of handling. Recondition every 3–4 months with a drop of leather balm to prevent drying and cracking.
Final Tips for Success
Conclusion: Elevate Function with Craftsmanship
A custom leather iPhone speaker protector blends utility with artistry. It solves a real problem—speaker degradation—while reflecting personal style and attention to detail. The process teaches valuable skills in precision cutting, material selection, and micro-scale assembly. Once mastered, you can adapt the technique for AirPods, smartwatch grilles, or even tablet speakers.
More than just a DIY fix, this project reconnects us with the value of handmade solutions in a world of mass-produced accessories. Whether you’re a seasoned crafter or a curious beginner, the satisfaction of placing a self-made, perfectly fitted piece on your phone is unmatched.


 浙公网安备
33010002000092号
浙公网安备
33010002000092号 浙B2-20120091-4
Comments
No comments yet. Why don't you start the discussion?