
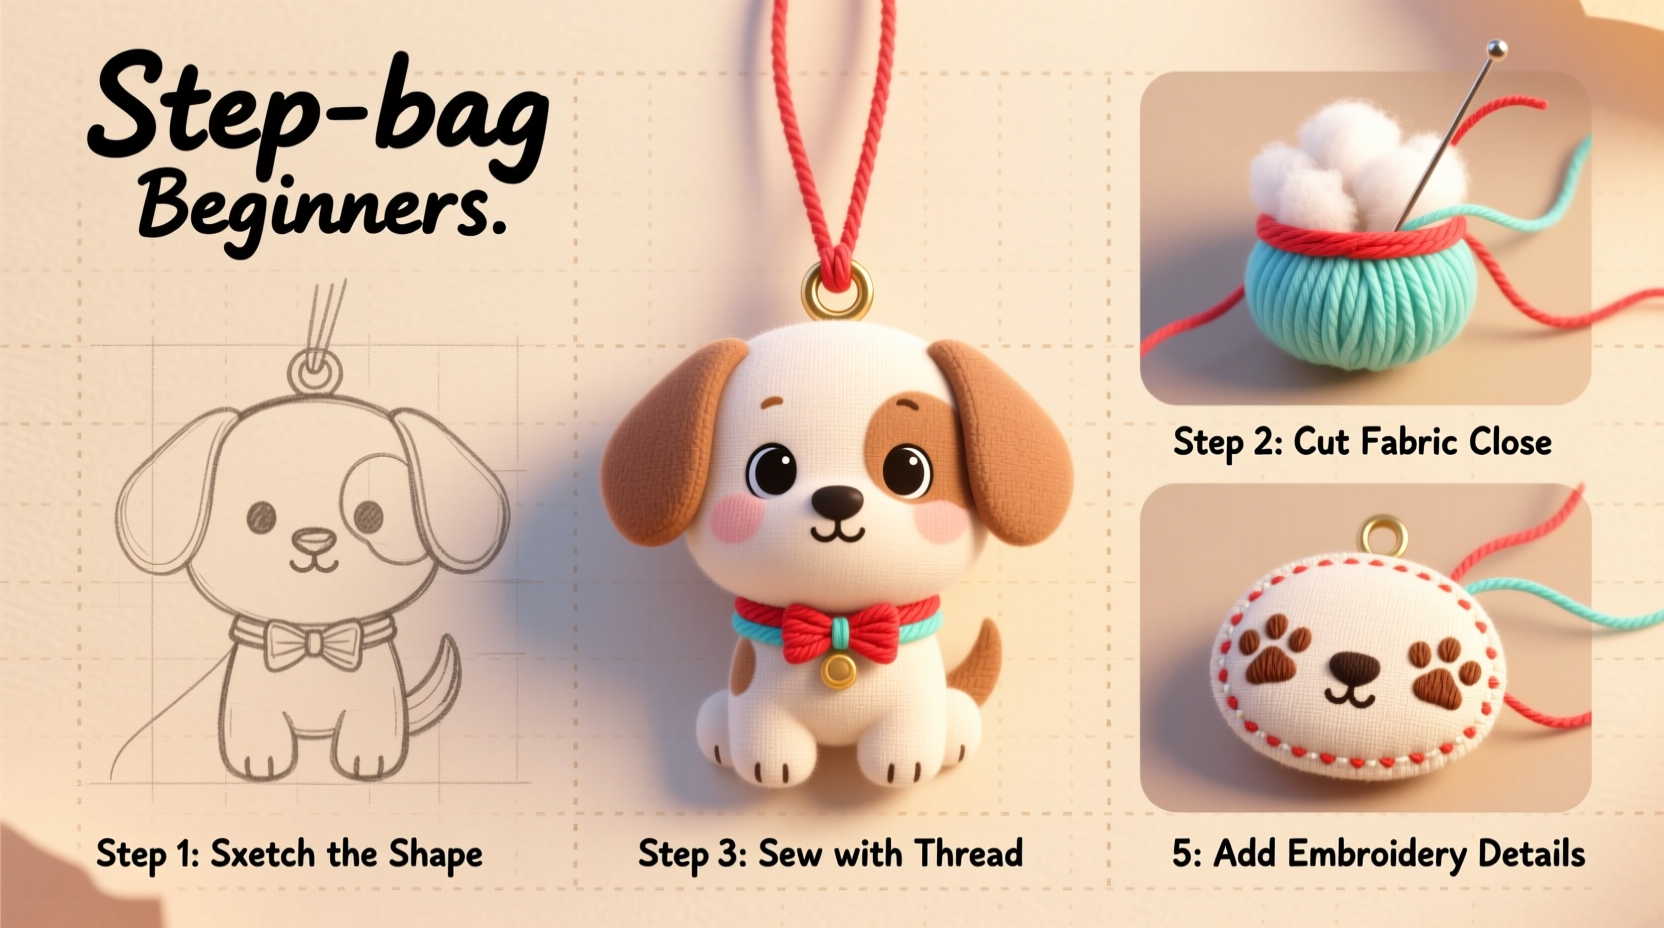
Crafting personalized accessories is more than a hobby—it's a way to express creativity and add sentimental value to everyday items. One of the most charming and popular handmade additions to bags, keychains, or zippers is the puppy bag pendant. With its playful appeal and compact design, it’s perfect for gifting or personal use. This guide walks you through every stage of creating your own adorable puppy pendant from scratch, even if you’ve never picked up a needle or shaped clay before.
Gathering Your Materials
The first step in any crafting project is assembling the right tools and supplies. For a cute puppy bag pendant, you’ll need accessible, affordable materials that are easy to work with. The beauty of this project lies in its simplicity—no specialized equipment required.
Here’s what you’ll need:
- FIMO or Sculpey polymer clay (brown, black, white, pink)
- Clay shaping tools (or household substitutes like toothpicks and butter knives)
- Acrylic rolling pin or smooth glass bottle
- Oven-safe baking tray
- Parchment paper
- Sandpaper (fine grit, 400–600)
- Clear varnish or glaze (glossy finish recommended)
- Small metal jump ring
- Mini lobster clasp or keychain ring
- Paintbrush (for applying varnish)
Step-by-Step Sculpting Process
Creating the puppy shape doesn’t require advanced sculpting skills. By breaking it down into manageable steps, beginners can achieve a polished result with patience and attention to detail.
- Form the head: Roll a small ball of brown clay (about the size of a marble) for the puppy’s head. Smooth it gently between your palms.
- Create the ears: Shape two teardrop forms from brown clay. Flatten slightly and press them onto the sides of the head at a slight angle for a perky look.
- Add facial features: Use tiny black clay balls for eyes. Roll a smaller pink oval for the nose and attach it below the eyes. Use a toothpick to indent nostrils.
- Shape the body: Make a slightly larger oval from brown clay for the body. Attach it beneath the head, blending gently where they meet.
- Form legs: Create four short sausage shapes. Attach two at the front and two at the back. Slightly bend the front pair forward for a walking effect.
- Add details: Use white clay dots for eye highlights and a curved line with a tool to suggest a happy mouth. You can also add a tiny collar using a thin strip of contrasting color.
- Insert hanging loop: Before baking, press a small hole near the top of the head or behind the ears using a needle or skewer. This will hold the jump ring later.
Baking and Finishing Touches
Once your puppy sculpture is complete, it’s time to bake it according to the clay manufacturer’s instructions. Most polymer clays cure at 230°F (110°C) for 15–30 minutes, depending on thickness.
| Clay Brand | Baking Temperature | Baking Time | Notes |
|---|---|---|---|
| FIMO Original | 230°F (110°C) | 30 minutes | Hardens well; great for fine details |
| Sculpey III | 275°F (135°C) | 15 minutes | Softer texture; easy to shape |
| Premo Sculpey | 275°F (135°C) | 30 minutes | Durable; ideal for pendants |
After baking, let the pendant cool completely. Lightly sand any rough edges with fine-grit sandpaper for a smooth finish. Wipe away dust with a dry cloth.
Apply 2–3 thin layers of clear glossy varnish using a small brush, allowing each layer to dry before adding the next. This enhances shine and protects the surface from scratches.
“Handmade polymer clay pendants have seen a resurgence because they combine nostalgia with modern customization.” — Lena Torres, Artisan Craft Educator
Common Mistakes and How to Avoid Them
Even simple projects can go awry without awareness of common pitfalls. Here’s a checklist to ensure success:
- Under-baking: Leads to fragile pendants. Always follow package instructions and use an oven thermometer for accuracy.
- Uneven thickness: Thick areas may not cure properly. Aim for consistent shaping.
- Skipping sanding: Rough spots detract from the final look. A quick sand gives a professional touch.
- Overloading with details: Too many elements can make the puppy look cluttered. Keep features simple and balanced.
- Forgetting the hole: Double-check that the hanging loop is inserted before baking—once cured, drilling is risky.
Real-Life Inspiration: Maya’s First Pendant
Maya, a college student with no prior crafting experience, decided to make a puppy pendant as a birthday gift for her younger sister. She watched a short tutorial, bought a starter polymer clay set, and followed basic shaping steps. Her first attempt had lopsided ears and a smudged nose, but she refined it by remolding and rebaking.
After applying three coats of varnish and attaching a silver jump ring, the finished pendant became her sister’s favorite accessory. “It looks store-bought,” her sister said. Maya now makes custom pendants for friends and sells a few online. Her story shows that imperfection is part of the learning curve—and often leads to the most rewarding results.
Customization Ideas and Creative Variations
Once you’ve mastered the basic puppy design, consider these fun variations to personalize your pendant:
- Breed styles: Alter ear shape and snout length to mimic a Dachshund, Pug, or Husky.
- Color combos: Use golden retriever tones, black-and-white Dalmatian spots, or pastel colors for a whimsical twist.
- Accessories: Add a tiny bow, heart charm, or engraved name tag.
- Themes: Create holiday versions—Santa hat, Halloween pumpkin collar, or Valentine’s bow.
You can also experiment with different finishes: matte for a soft look, glitter-infused varnish for sparkle, or metallic paint accents on collars.
FAQ
Can I use air-dry clay instead of polymer clay?
Yes, but polymer clay is more durable and water-resistant after baking. Air-dry clay is softer and prone to chipping, making it less ideal for pendants that will be handled frequently.
How long does the entire process take?
Active crafting takes about 30–45 minutes. Baking requires 15–30 minutes, plus cooling and drying time for varnish (up to 2 hours). Plan for a total of 2–3 hours spread over a day.
Is this safe for children to make?
With adult supervision, yes. Children can shape the clay, but baking should be done by an adult due to oven use. Use non-toxic brands like Crayola or FIMO Kids for younger crafters.
Final Thoughts and Next Steps
Crafting a cute puppy bag pendant is more than just a creative outlet—it’s a way to create meaningful keepsakes with minimal investment. The skills you develop here—shaping, detailing, finishing—can be applied to other clay projects, from jewelry to miniature art. Each pendant carries a piece of your effort and imagination, making it far more valuable than anything mass-produced.
Start small, embrace minor flaws, and celebrate each completed piece. Whether you’re making one for yourself or planning a batch for gifts, this project proves that beautiful things come from simple beginnings.


 浙公网安备
33010002000092号
浙公网安备
33010002000092号 浙B2-20120091-4
Comments
No comments yet. Why don't you start the discussion?