
Paracord, commonly known as 550 cord, is renowned for its strength, flexibility, and resilience—qualities that make it ideal for crafting functional outdoor gear. Among the most practical DIY projects is a homemade dog leash, which combines utility with personalization. For beginners, creating a durable 550 cord dog leash may seem daunting, but with the right materials, techniques, and patience, it becomes an accessible and rewarding task. This guide walks you through each phase of construction, ensuring your pet’s safety while delivering a leash that stands up to daily use.
Why Use 550 Cord for a Dog Leash?
550 paracord was originally designed for military parachute suspension lines and is rated to hold up to 550 pounds of tensile strength. Even when braided into a leash, it retains exceptional durability. The outer nylon sheath resists abrasion, UV degradation, and moisture, while the internal strands add structural integrity. Beyond strength, 550 cord comes in dozens of colors and patterns, allowing owners to customize their dog’s gear to reflect personality or visibility needs.
Beyond aesthetics, handcrafted leashes offer peace of mind. Commercial leashes may use lower-grade materials or weak stitching. By making your own, you control every aspect—from knot security to handle comfort—ensuring reliability during walks, hikes, or training sessions.
“Handmade paracord leashes are not just tools—they’re statements of care. When you build it yourself, you know exactly what holds your dog.” — Jordan Reed, Wilderness Survival Instructor and K9 Trainer
Materials and Tools Checklist
Before beginning, gather all necessary supplies. Having everything ready streamlines the process and reduces interruptions. Below is a checklist tailored for a standard 4-foot leash with a comfortable handle:
- Two spools of 550 paracord (approx. 100 feet total; two colors optional for contrast)
- Heavy-duty carabiner or metal D-ring (rated for at least 500 lbs)
- Lighter or matches (for sealing cut ends)
- Scissors or rotary cutter
- Measuring tape or ruler
- Alligator clip or clamp (to secure end during braiding)
- Lighter fluid-resistant surface (ceramic tile or metal tray)
- Optional: leather or rubber grip for handle comfort
Step-by-Step Construction Guide
This method uses a three-strand diamond braid (also called a cobra weave) for maximum strength and a professional finish. The structure distributes force evenly across strands, reducing wear points.
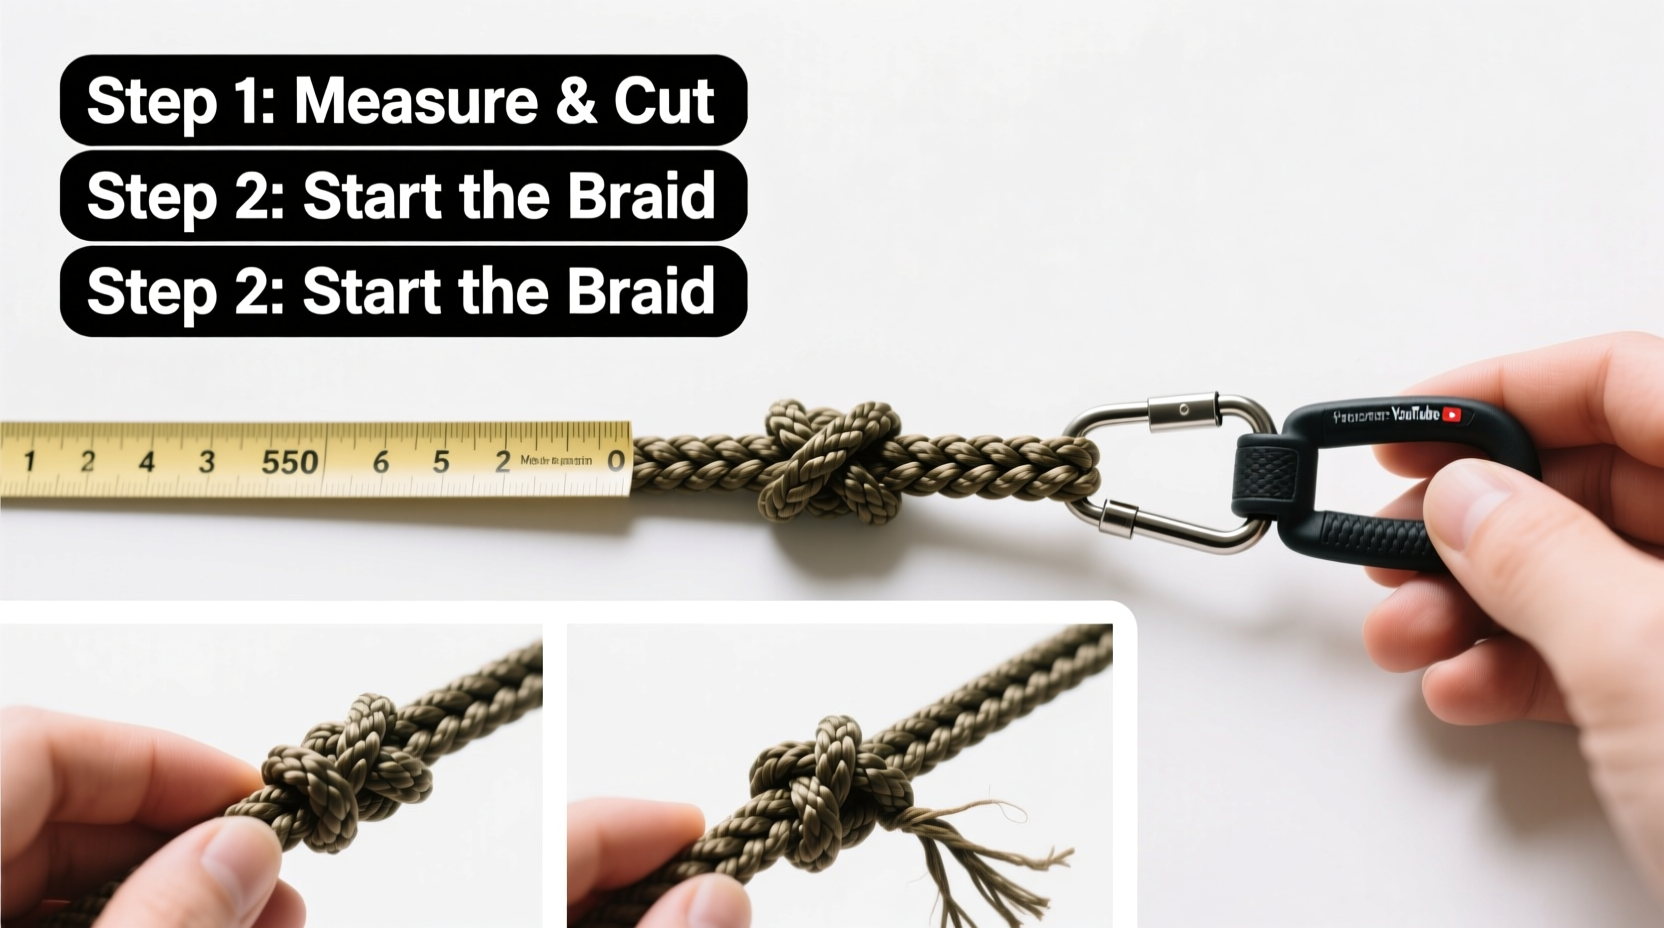
- Cut and Prepare the Cords: Measure and cut four lengths of 550 cord, each 12 feet long. These will form two pairs—one for the main leash body, one for the inner core if desired. For simplicity, beginners should start with two 12-foot cords.
- Attach to the Carabiner: Fold both cords in half and loop them through the carabiner. Pull the loose ends through the folded loop to create a lark’s head knot. Tighten securely. This forms the anchor point for braiding.
- Begin the Cobra Braid: Separate the four strands into two pairs. Hold two strands on the left and two on the right. Take the right outer strand and cross it over the center. Then take the left outer strand and cross it over the top of the right strand, passing it under the center and through the loop formed on the right. Pull snug. Repeat from the opposite side, alternating sides with each pass.
- Maintain Tension: As you braid, keep consistent tension. Too loose, and the leash will sag; too tight, and it becomes stiff. Use the alligator clip to anchor the carabiner and free up both hands.
- Braid the Main Length: Continue the cobra weave for approximately 3.5 feet. This allows room for the handle and clasp end.
- Create the Handle Loop: At the 3.5-foot mark, stop the braid. Fold the working ends back toward the leash body to form a 6-inch loop. Wrap one cord around both standing parts and the fold, using a series of half-hitch knots for 4–5 inches. This creates a secure, padded grip. Trim excess and melt the end to prevent fraying.
- Finish the Opposite End: Return to the carabiner end. After the initial lark’s head, perform the same wrapping technique for 2–3 inches to reinforce the connection. Melt the tail end and tuck it into the braid if possible.
- Seal All Ends: Use a lighter to carefully melt the tips of any exposed strands. Do not burn the cord—just touch the flame briefly until the tip forms a small bead. This prevents unraveling.
Do’s and Don’ts: Paracord Leash Best Practices
| Do | Don't |
|---|---|
| Use high-quality 550 cord with a mil-spec rating | Use old, sun-damaged, or frayed cord |
| Knot and seal every termination point | Leave raw ends unsealed |
| Test the leash with gradual tension before first use | Allow aggressive chewers unsupervised access to the leash |
| Wash occasionally with mild soap and air dry | Machine wash or dry with heat |
| Inspect monthly for wear, especially near knots | Ignore signs of fraying or loosening |
Real Example: A Hiker’s Custom Leash for Rocky Trails
Mark, a weekend hiker from Colorado, needed a reliable leash for his Australian Shepherd, Scout, who often pulls on steep terrain. Store-bought leashes failed within months due to abrasion against rocks. Mark built a 550 cord leash using tan and black cord for high visibility and ruggedness. He added a leather sleeve to the handle for better grip in cold weather. After six months of frequent trail use, the leash showed minimal wear. “I’ve had dogs for 15 years,” he said, “but this is the first leash that hasn’t needed replacing.” His story underscores how customization enhances both performance and longevity.
Caring for Your Handmade Leash
Durability isn’t just about construction—it also depends on maintenance. Nylon degrades under prolonged UV exposure and repeated stress. To extend the life of your leash:
- Rinse with fresh water after muddy or salty walks.
- Air dry away from direct sunlight.
- Store loosely coiled in a dry drawer or gear bag.
- Inspect knots monthly, especially where the cord meets the carabiner.
Frequently Asked Questions
Can I make a leash for a large, strong dog like a German Shepherd?
Yes, but consider using a six-strand braid or adding a steel cable core inside the paracord sheath for extra tensile strength. Always test with controlled tension before trusting it with a powerful puller.
How long does it take to make a 550 cord leash?
For a beginner, expect 1.5 to 3 hours, depending on braid complexity and experience. With practice, construction time drops to under an hour.
Is paracord safe if my dog chews it?
No. While strong, ingested nylon fibers can cause intestinal blockages. Never leave a dog unattended with a paracord leash. Consider covering vulnerable sections with bitter-tasting deterrent spray if chewing is a habit.
Final Thoughts and Call to Action
Creating a durable 550 cord dog leash is more than a craft—it’s an investment in your pet’s safety and your shared adventures. Each knot tied adds confidence; every color chosen reflects your bond. Whether walking city sidewalks or mountain trails, a well-made paracord leash performs reliably and proudly bears the mark of your effort.
Now that you have the knowledge, grab your cord and tools. Start simple, learn from each braid, and soon you’ll be designing custom leashes for friends, gifts, or even a small craft business. Share your creations online, tag fellow pet lovers, and inspire others to build something lasting.


 浙公网安备
33010002000092号
浙公网安备
33010002000092号 浙B2-20120091-4
Comments
No comments yet. Why don't you start the discussion?