
Paracord leashes are more than just functional—they’re a statement of craftsmanship and care. Built to withstand rugged use while offering a personalized touch, a handmade paracord dog leash combines strength, style, and practicality. Whether you're an experienced crafter or new to DIY projects, creating your own leash is a rewarding way to ensure your pet has gear that’s both safe and unique. This guide walks you through every stage of the process, from selecting materials to finishing techniques, so you can make a leash that stands up to daily walks, hikes, and tugs without sacrificing aesthetics.
Why Choose Paracord for a Dog Leash?
Parachute cord, commonly known as paracord, was originally developed for military use due to its high tensile strength and resistance to abrasion. Modern Type III paracord (also called 550 cord) supports up to 550 pounds of weight—far more than any dog will ever exert during normal activity. Beyond strength, paracord offers flexibility in design: it comes in dozens of colors and patterns, allowing you to create a leash that reflects your dog’s personality or matches your outdoor gear.
Additionally, if needed in an emergency, the inner strands of paracord can be unraveled and used for tasks like securing gear, making temporary repairs, or even first aid applications—making a paracord leash a smart choice for hikers and adventurers.
“Handmade leashes not only offer better control and durability but also reflect the bond between owner and pet.” — Jordan Mills, Outdoor Pet Gear Designer
Materials and Tools You’ll Need
Before beginning your project, gather all necessary supplies. Having everything ready ensures a smooth workflow and prevents interruptions mid-process.
| Item | Purpose | Notes |
|---|---|---|
| Paracord (Type III, 550 lb test) | Main body of the leash | Approximately 50–60 feet depending on desired length |
| Heavy-duty metal carabiner or bolt snap | Attachment to collar/harness | Choose stainless steel or nickel-plated for rust resistance |
| Adjustable loop toggle or metal D-ring | Handle adjustment or clip point | Optional for custom handle designs |
| Lighter or matches | Melting cut ends to prevent fraying | Use with caution; work in ventilated area |
| Measuring tape or ruler | Ensuring consistent length | Mark sections clearly |
| Masking tape or clips | Securing cord during braiding | Helps maintain tension |
| Scissors or cord cutter | Cutting paracord cleanly | A sharp blade prevents unraveling |
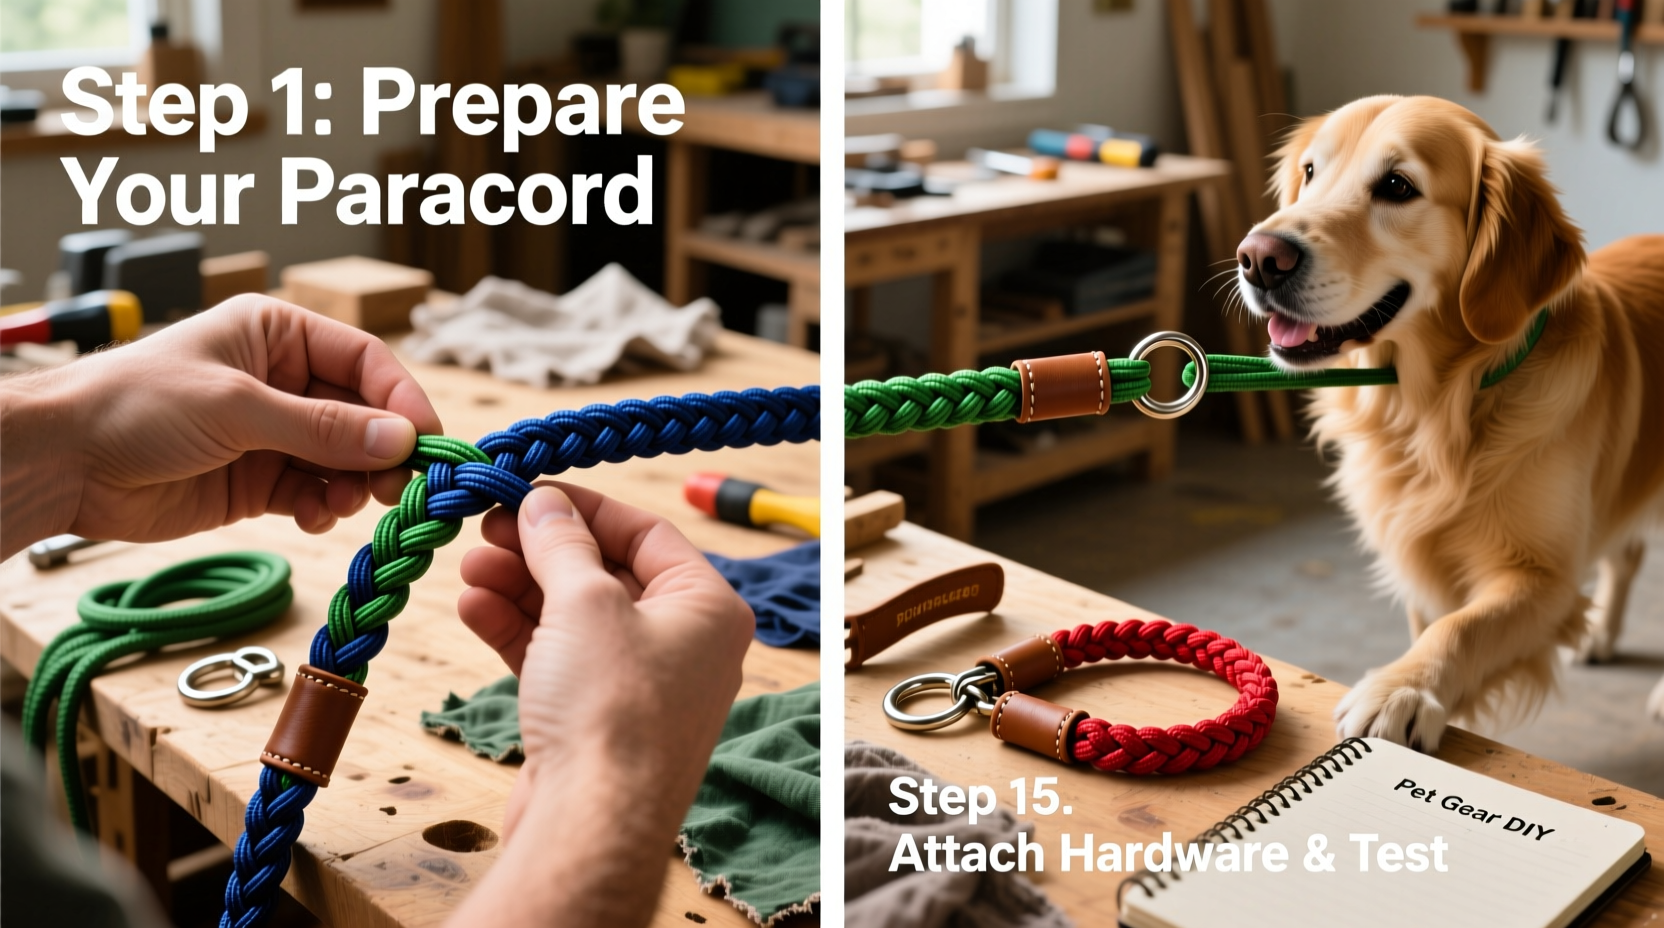
Step-by-Step Construction Guide
Follow these steps carefully to build a secure, professional-quality paracord leash approximately 4 feet long—a standard size suitable for most dogs.
- Measure and Cut the Paracord: For a 4-foot leash, you’ll need about 55 feet of paracord. This accounts for shrinkage during braiding. If adding a handle loop or reflective stitching, add extra length accordingly.
- Attach the Bolt Snap: Fold one end of the paracord to form a small loop (about 1 inch). Thread the folded end through the bolt snap, then tie a secure double fisherman’s knot or barrel knot around both strands to lock it in place. Trim excess and lightly melt the ends to seal.
- Begin the Cobra Braid (Square Knot Pattern): Hold the bolt snap securely or clamp it to a surface. Separate the working end into two equal strands. Start the cobra weave by bringing the right strand over the center, then under the left; repeat from the left side. Continue alternating sides down the length of the leash.
- Maintain Consistent Tension: As you braid, pull each knot firmly but evenly. Uneven tension leads to twisting or bulging. Use masking tape to anchor loose ends temporarily if needed.
- Incorporate Color Changes (Optional): To add visual interest, splice in different colored cords every few inches. Tie off each color segment with a square knot inside the braid to hide transitions seamlessly.
- Create a Comfortable Handle: After completing 3 feet of braid, form a looped handle by folding the cord back and continuing the weave for another 6–8 inches. This creates a double-layered grip that reduces hand strain.
- Finish the End: Once the desired length is reached, thread the final strands through the last few knots to secure. Trim and melt the ends carefully. Optionally, attach a second bolt snap or ring for versatility.
Reinforcement Tips for Heavy-Pull Dogs
- Weave a core line of additional paracord inside the braid for increased rigidity.
- Double-wrap critical stress points like the handle and snap attachment.
- Test the leash under controlled tension before full use.
Real-Life Example: Max’s Trail-Ready Leash
Sarah, an avid hiker from Colorado, wanted a reliable leash for her 70-pound Australian Shepherd, Max, who often pulls on steep trails. Store-bought leashes either wore out quickly or lacked comfort during long treks. She built a 5-foot paracord leash using camo-green and black cord, incorporating a reinforced handle and reflective silver stitching for low-light visibility. After six months of weekly mountain hikes, the leash shows minimal wear and has become her go-to gear—not just for walks, but as part of her emergency kit thanks to its multitasking potential.
This real-world example demonstrates how customization enhances both performance and longevity, proving that DIY doesn’t mean compromising quality.
Care and Maintenance Checklist
To keep your handmade leash looking and functioning its best, follow this simple maintenance routine:
- Inspect knots monthly for loosening or wear.
- Wipe clean with a damp cloth after muddy or wet walks.
- Air dry completely before storage—never store damp.
- Store coiled loosely in a dry, shaded area to prevent UV degradation.
- Retire the leash if internal strands show signs of breakage or fraying.
Frequently Asked Questions
How strong is a paracord dog leash really?
A properly constructed paracord leash using Type III cord can handle far more force than any dog generates during walking or pulling. The cobra braid multiplies strength through friction and knot integrity. However, always match leash design to your dog’s size and behavior—extra reinforcement is wise for large or strong breeds.
Can I wash my paracord leash?
Yes, but gently. Hand wash with mild soap and lukewarm water. Avoid machine washing or harsh detergents, which can degrade fibers and loosen knots. Rinse thoroughly and air dry away from direct sunlight.
Is it safe to leave a paracord leash outside?
Short-term exposure is fine, but prolonged sun or moisture weakens nylon over time. UV rays cause fading and brittleness; humidity promotes mold. Always bring the leash indoors after use for maximum lifespan.
Final Thoughts and Call to Action
Creating a durable and stylish dog leash from paracord is more than a craft—it’s an investment in safety, sustainability, and personal expression. With basic tools and attention to detail, you can produce a leash that outperforms commercial options while carrying a piece of your effort and care. Every knot tied is a promise of reliability for your four-legged companion.
Now that you have the knowledge, grab your cord and start weaving. Whether you make one for your own dog or gift it to a fellow pet lover, your handmade creation will stand out in both form and function. Share your finished design online, tag fellow DIYers, or teach someone else the technique—because great gear is even better when shared.


 浙公网安备
33010002000092号
浙公网安备
33010002000092号 浙B2-20120091-4
Comments
No comments yet. Why don't you start the discussion?