
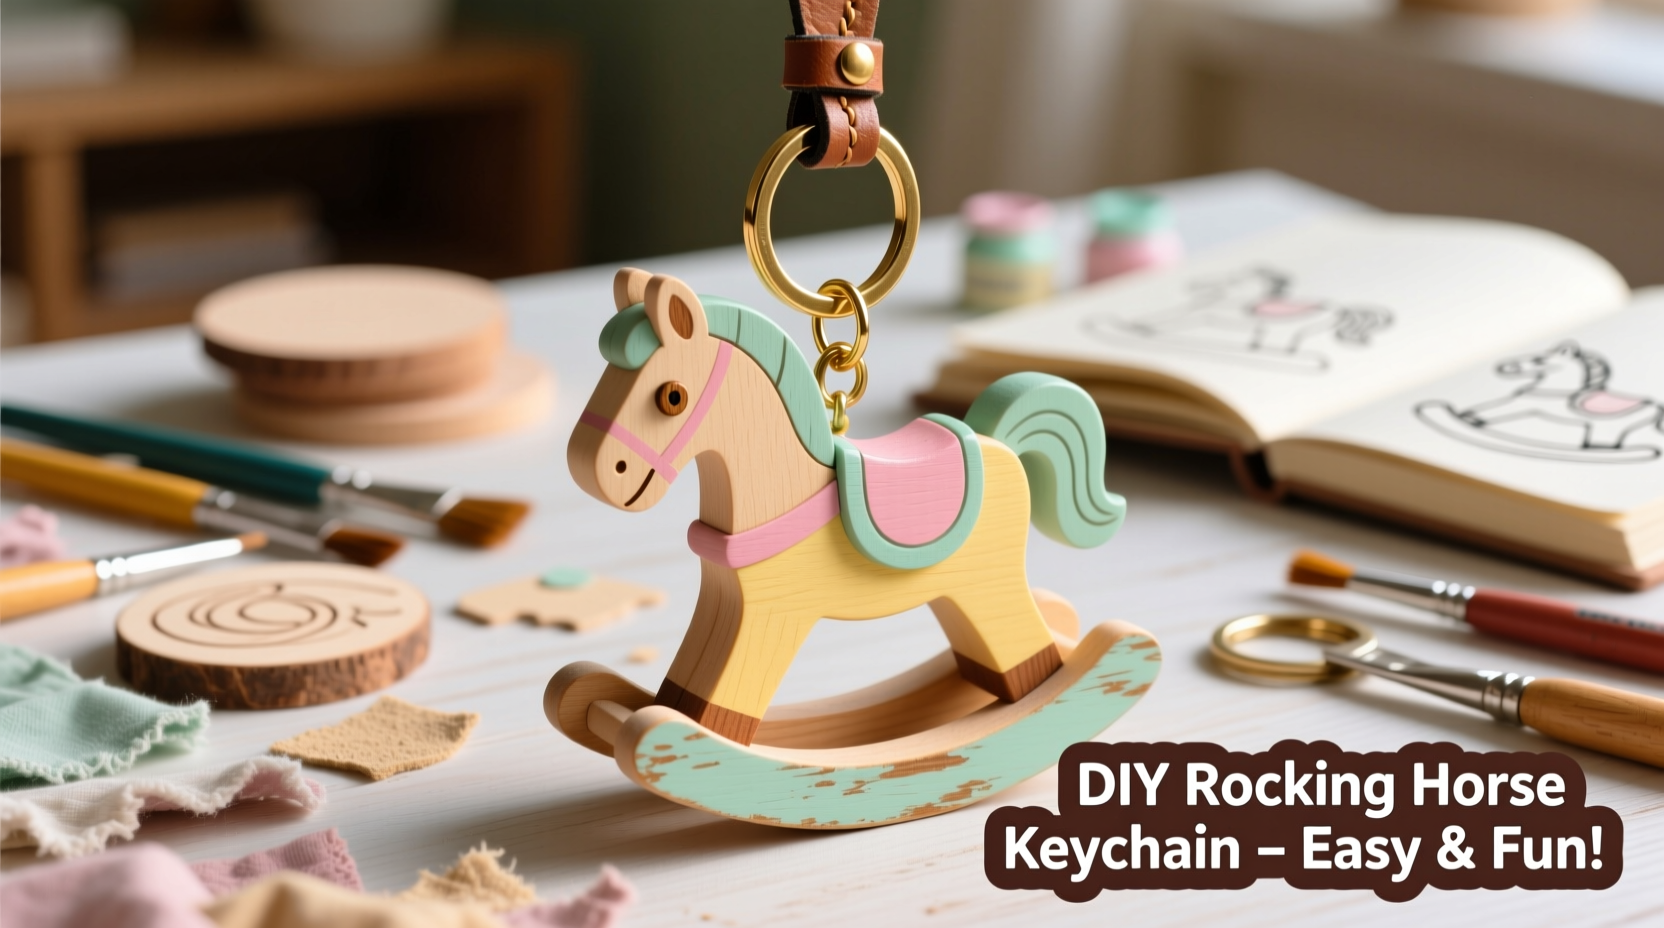
There’s something timeless about the charm of a rocking horse—the nostalgic silhouette, the whimsy of childhood imagination, and the warmth of handmade tradition. Now, you can capture that magic in miniature form with a DIY rocking horse keychain ornament. Small enough to dangle from keys or backpacks, yet detailed enough to feel special, this project blends creativity, simplicity, and personal flair. Whether you're crafting for yourself, making holiday gifts, or leading a kids’ craft session, this guide walks you through every step to create a durable, customized keepsake.
Why This Project Works for All Skill Levels
This DIY is intentionally designed to be accessible. No advanced tools or sewing skills are required. The materials are affordable and widely available, and the construction relies on basic techniques like cutting, gluing, and painting. What makes it truly rewarding is the ability to personalize each piece—color choices, added names, decorative touches—transforming a simple craft into a meaningful token.
Fabric and felt versions offer softness and texture, while wood or polymer clay variations provide sturdiness and fine detail. You can adapt the design based on your preferred medium, time, and audience. Parents can make simplified versions with children; artisans can add intricate embellishments for boutique gifting.
Materials and Tools You’ll Need
The beauty of this project lies in its flexibility. Below is a comprehensive list of options depending on your chosen method. Pick one base material and build from there.
| Category | Item | Notes |
|---|---|---|
| Base Material | Felt (wool or synthetic) | Easy to cut, glue, and sew; ideal for beginners |
| Balsa wood or thin plywood | Sturdy and paintable; requires sanding | |
| Polymer clay (e.g., Sculpey) | Moldable and oven-bakeable; allows fine sculpting | |
| Tools | Scissors, craft knife, ruler, pencil | For precise shaping and marking |
| Adhesives | Hot glue gun, fabric glue, epoxy (for metal) | Choose based on material compatibility |
| Decorative Elements | Acrylic paints, markers, yarn, beads, glitter | Add personality and dimension |
| Hardware | Keyring, jump ring, split ring | Ensure size fits your design (typically 15–25mm) |
Step-by-Step Guide to Building Your Rocking Horse Keychain
- Design the Template
Create a small rocking horse outline (about 2–3 inches tall). Sketch freehand or print a silhouette. Include the horse body, head, rockers, and optional saddle. Trace onto cardboard to make a reusable stencil. - Cut Out the Base Shape
Transfer the template to your chosen material. For felt or fabric, cut two identical pieces. For wood or clay, shape one solid piece. If using clay, bake according to manufacturer instructions after shaping. - Add Dimension and Detail
Paint or draw facial features, mane, and saddle details. Use contrasting thread to embroider eyes or a mouth on fabric versions. For wooden models, lightly sand edges before painting for a smooth finish. - Assemble (if applicable)
If using layered materials (like two felt sides), glue around the edges, leaving a small gap to insert stuffing (polyester fiberfill) if desired. Seal completely once stuffed. For rigid materials, skip stuffing and focus on clean finishing. - Attach the Rockers
Cut a curved base from matching or contrasting material. Glue securely beneath the horse’s legs. Reinforce with extra adhesive if using lightweight wood or thick felt. - Finish with Hardware
Glue or solder a jump ring to the top of the horse’s head or ear. Once fully set, attach a keyring. For polymer clay, embed the jump ring before baking to secure it permanently.
Personalization Ideas That Make It Unique
A keychain becomes memorable when it reflects the recipient—or the creator. Here are ways to elevate your design beyond the basics:
- Use metallic paint or glitter glue to highlight manes and saddles.
- Add a tiny ribbon bow around the horse’s neck.
- Inscribe a name or date with a fine-tip paint pen.
- Match colors to a child’s favorite outfit or room decor.
- Create a themed set—seasonal horses in holiday attire, or monochrome versions for minimalist adults.
“Handmade ornaments carry emotional weight. A tiny rocking horse isn’t just a trinket—it’s a symbol of play, memory, and care.” — Lena Briggs, Craft Educator & Author of *Tiny Treasures: Miniature Crafts with Meaning*
Mini Case Study: A Mother’s Handmade Gift Journey
Sarah, a first-time mom from Portland, wanted to create something special for her baby’s first Christmas. Instead of buying generic decorations, she made six miniature rocking horse keychains—one for each grandparent and close aunt. Using soft pastel felt, embroidered details, and hand-painted names, she assembled them over a weekend. She attached each to a luggage tag with a note: “For the ones who help my little one dream.”
The response was overwhelming. Relatives called them “heirloom-level cute” and hung them not just on keys, but on rearview mirrors and nursery mobiles. One grandmother kept hers on her walker. Sarah now makes a new design every year, documenting her child’s growth through evolving styles—first a rattle horse, then one with a birthday crown, next with school-themed accessories.
Her story illustrates how a simple craft, infused with intention, transcends function and becomes legacy.
Checklist: Before You Call It Done
Ensure your keychain is both beautiful and functional by reviewing this final checklist:
- ✅ All glued parts are fully cured and secure.
- ✅ Paint and decorations won’t chip with light rubbing.
- ✅ The keyring opens and closes smoothly.
- ✅ Personalization is legible and centered.
- ✅ Edges are neat and free of excess glue or fraying.
- ✅ Weight is balanced—horse doesn’t tip forward or back.
Frequently Asked Questions
Can I make this with kids?
Absolutely. Use pre-cut templates, washable glue, and large yarn for manes. Skip sharp tools and opt for sticker eyes or drawn details. Supervise hot glue use or replace it with fabric-safe tape during assembly.
How do I make the keychain water-resistant?
For outdoor or high-moisture use, apply a clear sealant spray (matte or glossy) after painting. Avoid submerging fabric versions. Polymer clay and sealed wood hold up best to occasional dampness.
What if I don’t have crafting experience?
Start with felt—it’s forgiving, requires no drying time, and allows quick corrections. Use printable templates from free craft sites, and limit decoration to coloring with permanent markers. Even a simple two-color horse looks charming.
Final Thoughts: More Than Just a Keychain
This DIY rocking horse keychain is more than a craft—it’s an invitation to slow down, create with purpose, and gift something irreplaceable. In an age of mass production, handmade items stand out not for perfection, but for heart. Each brushstroke, stitch, or glued bead carries intention. Whether you’re celebrating a milestone, expressing affection, or simply enjoying a creative pause, this project proves that small things can hold big meaning.


 浙公网安备
33010002000092号
浙公网安备
33010002000092号 浙B2-20120091-4
Comments
No comments yet. Why don't you start the discussion?