
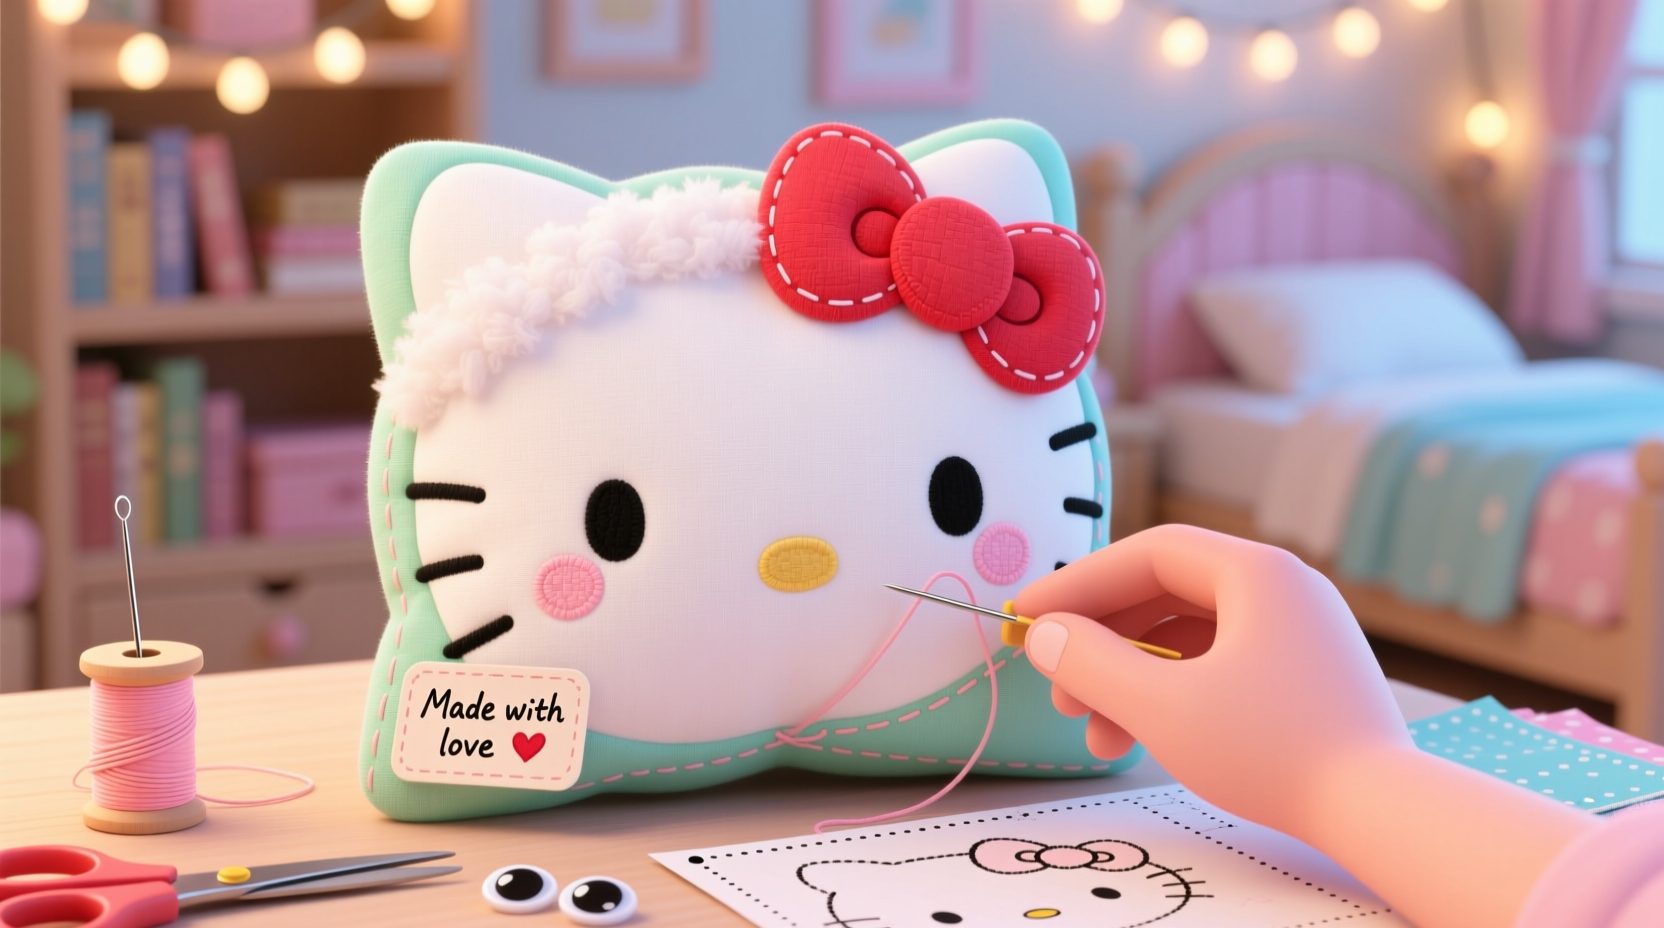
There’s something timeless about Hello Kitty—her simple design, gentle expression, and iconic red bow have made her a beloved figure across generations. Bringing that charm into your home doesn’t require a trip to the store. With basic sewing skills and a few carefully chosen materials, you can craft a soft, huggable Hello Kitty plush pillow that doubles as both decoration and comfort. This guide walks you through every stage, from selecting fabric to adding the final embroidered details, ensuring even beginners can complete the project with confidence.
Gathering Your Materials
The foundation of any successful craft lies in preparation. Before touching needle or thread, assemble all necessary supplies. Choosing high-quality, soft fabrics ensures your finished pillow feels as cozy as it looks. Opt for cotton, fleece, or minky fabric—they’re durable, easy to work with, and safe for machine washing.
- White and red fleece or cotton fabric (½ yard each)
- Polyester fiberfill stuffing
- Embroidery floss (black and red)
- Sharp fabric scissors
- Pins or fabric clips
- Sewing needle or sewing machine
- Water-soluble fabric marker or chalk
- Tailor’s measuring tape
- Printed Hello Kitty pattern template (downloadable online or hand-drawn)
Creating and Cutting the Pattern
A precise pattern ensures symmetry and professional results. You’ll need two main pieces: the head and the bow. The head is essentially a large circle with two smaller ear circles attached symmetrically at the top. For a standard 12-inch pillow, draw a 10-inch diameter circle for the face. Then, sketch two 3-inch circles overlapping the top edge to form the ears.
For the bow, draw a central diamond shape (about 3 inches tall) with two rounded side loops resembling teardrops. Cut one set from red fabric for the front and another from white for backing. Use the same template for both sides of the head, tracing it onto the wrong side of the white fabric with a fabric marker.
| Pattern Piece | Quantity | Fabric Color |
|---|---|---|
| Head (with ears) | 2 | White |
| Bow (front) | 1 | Red |
| Bow (backing) | 1 | White |
| Nose/eye guides | Optional transfer | N/A |
Once traced, cut carefully along the lines. Use pins or clips to keep layers together if cutting double thicknesses. Smooth edges yield cleaner seams, so take your time.
Step-by-Step Sewing Process
With all pieces cut, begin construction. Start with the bow, as it’s smaller and simpler, allowing you to build momentum before tackling the main body.
- Sew the bow: Place the red bow front and white backing together, right sides facing. Pin around the edges, leaving a 1.5-inch gap on one loop for turning. Stitch with a ¼-inch seam allowance. Trim curves to reduce bulk, then turn right side out using a blunt tool like a chopstick. Press gently with an iron on low heat, being careful not to melt synthetic fibers.
- Topstitch the bow: To give it a polished look, stitch around the entire perimeter ⅛ inch from the edge. This also closes the turning gap.
- Attach the bow: Position the bow centered on one white head piece, with the knot aligned just above where the face will be. Pin in place.
- Sew the head: Place the second head piece on top, right sides together. Pin thoroughly around the outer edge, including over the bow base to secure it. Sew with a ¼-inch seam, backstitching at start and end. Leave a 3-inch opening on the bottom curve for turning and stuffing.
- Clip curves and turn: Snip small wedges into the seam allowance around curved areas—especially near ears—to allow the fabric to lie flat when turned. Turn the entire piece right side out through the opening.
- Stuff firmly but evenly: Use small handfuls of fiberfill, pushing it into the ears and facial contours first. Build up the center gradually until the pillow feels plush but not overstuffed.
- Close the opening: Fold the seam edges inward and use a ladder stitch (invisible hand stitch) to close the gap securely.
Adding Facial Features and Final Details
Hello Kitty’s face is minimalist but expressive. Accuracy matters—her eyes and nose are positioned precisely for that signature look. Refer to official design guidelines: the left eye is slightly higher than the right, and the nose sits centered below them, forming a subtle triangle.
Use black embroidery floss to create French knots for the eyes and a small straight stitch for the nose. For durability and washability, avoid glue-on eyes. Instead, embroider directly onto the fabric with three strands of floss. Outline the nose with a tight satin stitch for definition.
If desired, add delicate whisker lines with light gray floss or leave them off—many modern versions do. Finally, tie a thin red ribbon around the bow’s knot for extra dimension, securing it with a hidden stitch.
“Hand-stitched details transform a simple plush into a cherished keepsake. Precision in placement creates emotional connection.” — Lena Park, Soft Sculpture Artist & Craft Instructor
Mini Case Study: A Gift That Grew Into a Business
Sophie Chen, a hobby crafter from Portland, began making Hello Kitty pillows for her niece’s birthday. After posting photos online, friends requested custom versions. Within six months, she launched a small Etsy shop specializing in handmade kawaii-style plush pillows. Her secret? Consistency in proportion and attention to facial detail, which customers said “felt authentic, not generic.” She now teaches weekend workshops, emphasizing that even novice sewers can achieve professional results with patience and proper technique.
Common Pitfalls and How to Avoid Them
Mistakes are part of learning, but knowing what to watch for helps streamline the process.
| Issue | Why It Happens | Solution |
|---|---|---|
| Lopsided ears | Uneven cutting or misaligned pinning | Double-check symmetry before sewing; use templates fixed with weights |
| Stuffed ears collapse | Insufficient stuffing or loose stitching | Overstuff ears slightly; reinforce ear seams with backstitching |
| Bow twists after attachment | Not secured between head layers | Sandwich bow base between head pieces before sewing outer seam |
| Visible seam holes after turning | Seam allowance too narrow or skipped clipping | Trim curves carefully; use sharp scissors for precision |
FAQ
Can I make this without a sewing machine?
Absolutely. While a machine speeds up the process, all steps can be done by hand using a backstitch for seams and ladder stitch for closure. Just allow extra time and use thimble protection when pushing needles through dense layers.
Is this project safe for young children?
The finished pillow is safe for display or supervised use, but small embroidered features pose a choking hazard if torn. For kids under 3, consider using larger, sewn-on felt shapes instead of tiny stitches, and reinforce all seams with double stitching.
How do I clean the pillow after it’s made?
Spot clean with mild detergent and a damp cloth. If necessary, hand wash gently and air dry flat. Avoid submerging embroidered areas to preserve thread integrity.
Crafting Checklist
- ☐ Download or draw a printable Hello Kitty pattern
- ☐ Wash and iron fabric before cutting
- ☐ Cut two head pieces and bow components accurately
- ☐ Sew and attach bow before assembling head
- ☐ Sew head pieces with right sides together, leaving opening
- ☐ Clip curves, turn, and stuff evenly
- ☐ Embroider facial features with secure knots
- ☐ Hand-stitch closure invisibly
- ☐ Inspect for loose threads and trim excess
Conclusion
Creating a DIY Hello Kitty plush pillow blends nostalgia with craftsmanship, offering a rewarding way to personalize your space or gift something meaningful. Each stitch adds character, and every finished piece carries the warmth of handmade care. Whether you're crafting for relaxation, decoration, or as a stepping stone into textile art, this project proves that simple tools and thoughtful execution can produce something truly special.


 浙公网安备
33010002000092号
浙公网安备
33010002000092号 浙B2-20120091-4
Comments
No comments yet. Why don't you start the discussion?