
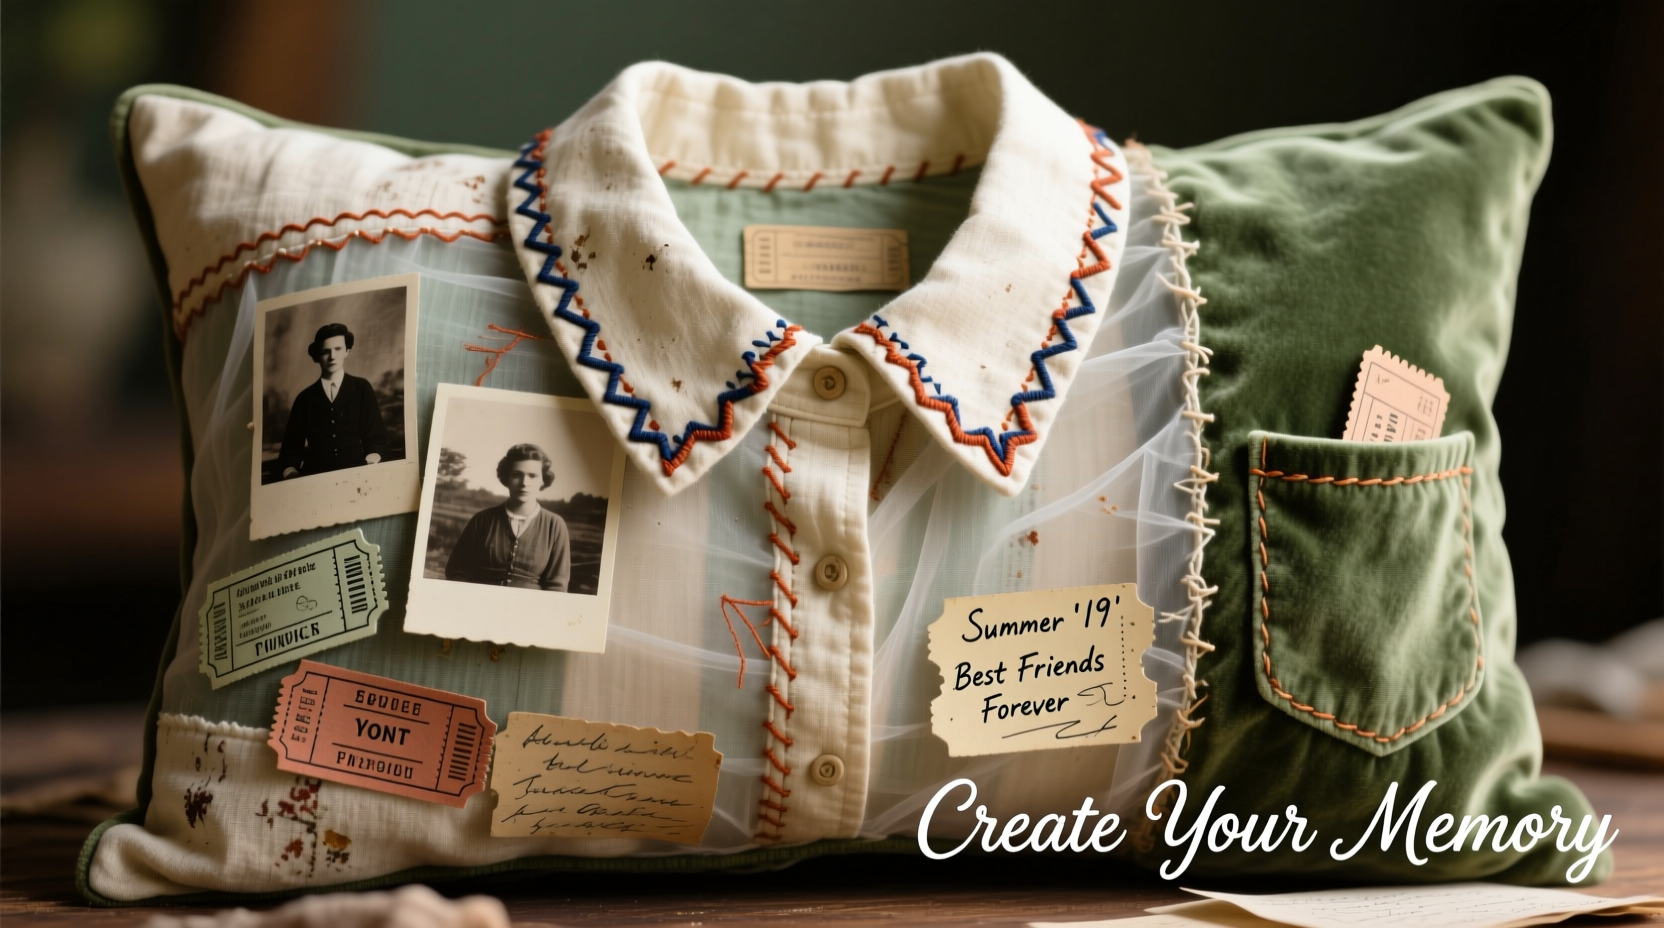
Transforming a cherished shirt into a memory pillow is more than a craft—it’s an act of preservation. Whether it’s a wedding dress shirt, a child’s first jersey, or a uniform worn by a loved one, fabric holds stories. By incorporating the collar as a focal point, you elevate the emotional resonance and aesthetic appeal of the finished piece. This guide walks through the process with precision, offering practical techniques, material recommendations, and design insights to help you create a lasting keepsake.
Selecting the Right Shirt and Planning Your Design
The foundation of a successful memory pillow lies in choosing the right garment. Not all shirts are equally suited for repurposing. Prioritize fabrics that are structurally sound, minimally faded, and free from large stains or holes—especially around the collar and cuffs, which are often used as accent features.
Cotton dress shirts, button-downs, and oxford fabrics work exceptionally well due to their durability and clean grain lines. Avoid overly stretchy knits unless you’re experienced with stabilizing fabric, as they can distort during cutting and sewing.
Before cutting, lay the shirt flat and examine its elements. The collar, placket, cuff, and pocket offer distinctive textures and shapes. Decide whether you want the collar centered on the front, framed at the top like a cameo, or integrated into a layered design. Sketch a rough layout on paper to visualize proportions and placement.
Essential Materials and Tools Checklist
Gathering the right supplies ensures a smooth workflow and professional finish. Here’s what you’ll need:
- Fabric scissors or rotary cutter
- Self-healing cutting mat (if using rotary cutter)
- Measuring tape or ruler
- Pins or fabric clips
- Sewing machine with universal needles (size 80/12 recommended)
- Matching thread (cotton-wrapped polyester works well)
- Fusible interfacing (medium weight, for stabilizing collars)
- Pillow insert (12”x16” standard size, or customize to fit)
- Iron and ironing board
- Chalk or fabric marker
- Hand-sewing needle (for final closure if needed)
“Preserving textile memories requires patience and respect for the original garment. Every stitch should honor the history embedded in the fabric.” — Lena Torres, Textile Archivist & Craft Preservationist
Step-by-Step Construction Guide
Follow this sequence to assemble your memory pillow with attention to detail and structural integrity.
- Pre-wash and press the shirt: Gently launder the garment to remove odors and potential residues, then iron it flat. This prevents future shrinkage and ensures clean seams.
- Trace and cut pillow panels: Measure and mark two squares or rectangles (typically 14”x18” for a standard lumbar-style pillow). Cut from the body of the shirt, avoiding buttons and seams where possible. Use the yoke or chest area for consistent pattern alignment.
- Prepare the collar: Carefully deconstruct the collar from the shirt neckline. Trim away excess seam allowances, then apply fusible interfacing to the back to maintain stiffness. Press flat with low heat.
- Position and attach the collar: Pin the collar to the front panel, either centered or aligned at the top edge. Stitch around the perimeter using a straight or decorative stitch. Reinforce corners for durability.
- Sew the pillow exterior: Place the front and back panels right sides together. Pin around the edges, leaving a 4–5 inch gap on one side for turning. Sew with a ½ inch seam allowance.
- Clip curves and corners: Trim excess fabric at corners and along curved edges to reduce bulk. Be careful not to cut the stitches.
- Turn and press: Flip the pillow cover right side out through the opening. Use a blunt tool (like a chopstick) to push out corners gently. Iron the entire surface for crisp edges.
- Insert and hand-stitch: Slide in the pillow form. Fold the raw edges of the opening inward and hand-stitch closed using a ladder stitch for an invisible finish.
Design Variations and Creative Enhancements
While the classic collar-centered pillow is timeless, personalization deepens its significance. Consider these variations:
| Design Idea | Description | Best For |
|---|---|---|
| Collar Frame | Mount the collar within a stitched border, like a picture frame | Dress shirts with intricate stitching |
| Layered Memory Quilt Style | Incorporate patches from multiple garments | Commemorating milestones (graduations, retirements) |
| Button Accent Border | Sew original shirt buttons along one edge | Wedding or military uniforms |
| Monogram Overlay | Add initials or date via embroidery over the collar | Gifts for anniversaries or memorials |
You might also incorporate a small fabric tag on the back with a handwritten note, such as “Worn on our wedding day, June 2010,” stitched discreetly in matching thread.
Real Example: A Mother’s Keepsake Pillow
Sarah, a school counselor from Portland, transformed her late son’s soccer jersey into a memory pillow after he moved abroad for university. She removed the team logo and collar, stabilized them with interfacing, and centered the collar at the top of a navy cotton blend backing. Around the inner border, she stitched his jersey number in white thread. “Every time I sit on the couch, I see it there,” she said. “It’s not about holding on—it’s about keeping something tangible close, without needing to explain why it matters.”
Care and Longevity Tips
Memory pillows are meant to be touched and displayed, but they also require gentle care to preserve their condition over time.
Store the pillow away from direct sunlight to prevent fading, especially if dyes are not colorfast. Rotate its position periodically if used daily. If the pillow will be stored long-term, place it in a breathable cotton bag with acid-free tissue paper to protect against moisture and yellowing.
Frequently Asked Questions
Can I use a dry-clean-only shirt?
Yes, but handle with extra caution. Have the shirt professionally cleaned before starting, and avoid water exposure during construction. Use a dry pressing method with a pressing cloth to prevent shine or water spots.
What if the collar is damaged?
Minor fraying can be reinforced with interfacing and carefully trimmed. For significant damage, consider framing a section of the shirtfront instead and using the collar as a smaller appliqué element, such as a heart-shaped patch stitched near the corner.
How do I make the pillow firmer?
Choose a high-density foam insert instead of polyester stuffing. Foam retains shape better and provides a crisper silhouette, ideal for display purposes. Alternatively, double-layer the outer fabric for added structure.
Final Thoughts and Encouragement
A memory shirt pillow with collar details bridges the past and present. It turns absence into presence, loss into legacy, and clothing into comfort. The process doesn’t demand expert-level sewing skills—just intention, attention, and reverence for the story the fabric carries.
Start with a shirt that speaks to you. Trace its lines, feel its texture, and let the design emerge organically. Whether you’re crafting for yourself or as a gift, each stitch becomes part of a narrative that continues beyond the last button.


 浙公网安备
33010002000092号
浙公网安备
33010002000092号 浙B2-20120091-4
Comments
No comments yet. Why don't you start the discussion?