
Walking your dog should be a joyful experience, not one marred by frayed cords, weak clasps, or uncomfortable grips. While store-bought leashes are convenient, they often lack personalization, durability, or the satisfaction of creating something functional with your own hands. Crafting a DIY dog leash allows you to tailor length, strength, and style to your dog’s size, temperament, and your daily routine. More importantly, a well-made homemade leash can outlast commercial versions when built with quality materials and thoughtful construction.
This guide walks you through every stage of building a creative, long-lasting dog leash using accessible tools and materials. Whether you're an experienced crafter or new to DIY projects, this process is both rewarding and practical. From selecting rugged webbing to attaching secure hardware, each step ensures safety, comfort, and aesthetic appeal.
Why Build Your Own Dog Leash?
Commercial leashes vary widely in quality. Many use thin nylon, plastic clips, or stitching that fails under tension. By making your own, you control every aspect: material thickness, clasp strength, handle design, and even color coordination with your dog’s collar. You also avoid mass-produced waste and support sustainable pet ownership.
Customization is another major benefit. Need a 6-foot leash for urban walking? A 4-foot version for training? Or a retractable-style loop without the mechanical complexity? You decide. Plus, adding reflective thread, padded handles, or personalized tags turns a simple tool into a statement piece.
“Handmade leashes aren’t just functional—they reflect the bond between owner and dog. When built correctly, they’re safer and more durable than most off-the-shelf options.” — Jordan Lee, Pet Product Designer & Outdoor Safety Consultant
Materials and Tools Checklist
Before beginning, gather all necessary supplies. Using high-quality components ensures longevity and safety, especially for strong or energetic dogs.
Essential Materials
- Durable webbing (1-inch wide nylon or polyester, minimum 5 feet)
- Heavy-duty trigger snap hook (rated for at least 500 lbs)
- Swivel clasp (optional, reduces tangling)
- Thread (UV-resistant bonded nylon, Tex 70 or higher)
- Heat source (lighter or heat sealer)
- Measuring tape
- Scissors or rotary cutter
- Sewing machine (industrial or heavy-duty domestic)
- Pins or clips
- Leather or neoprene (for padded grip, optional)
Optional Upgrades
- Reflective stitching or trim
- Carabiner for attaching waste bags
- Extra D-ring near handle for secondary attachment
- Adjustable slider for variable length
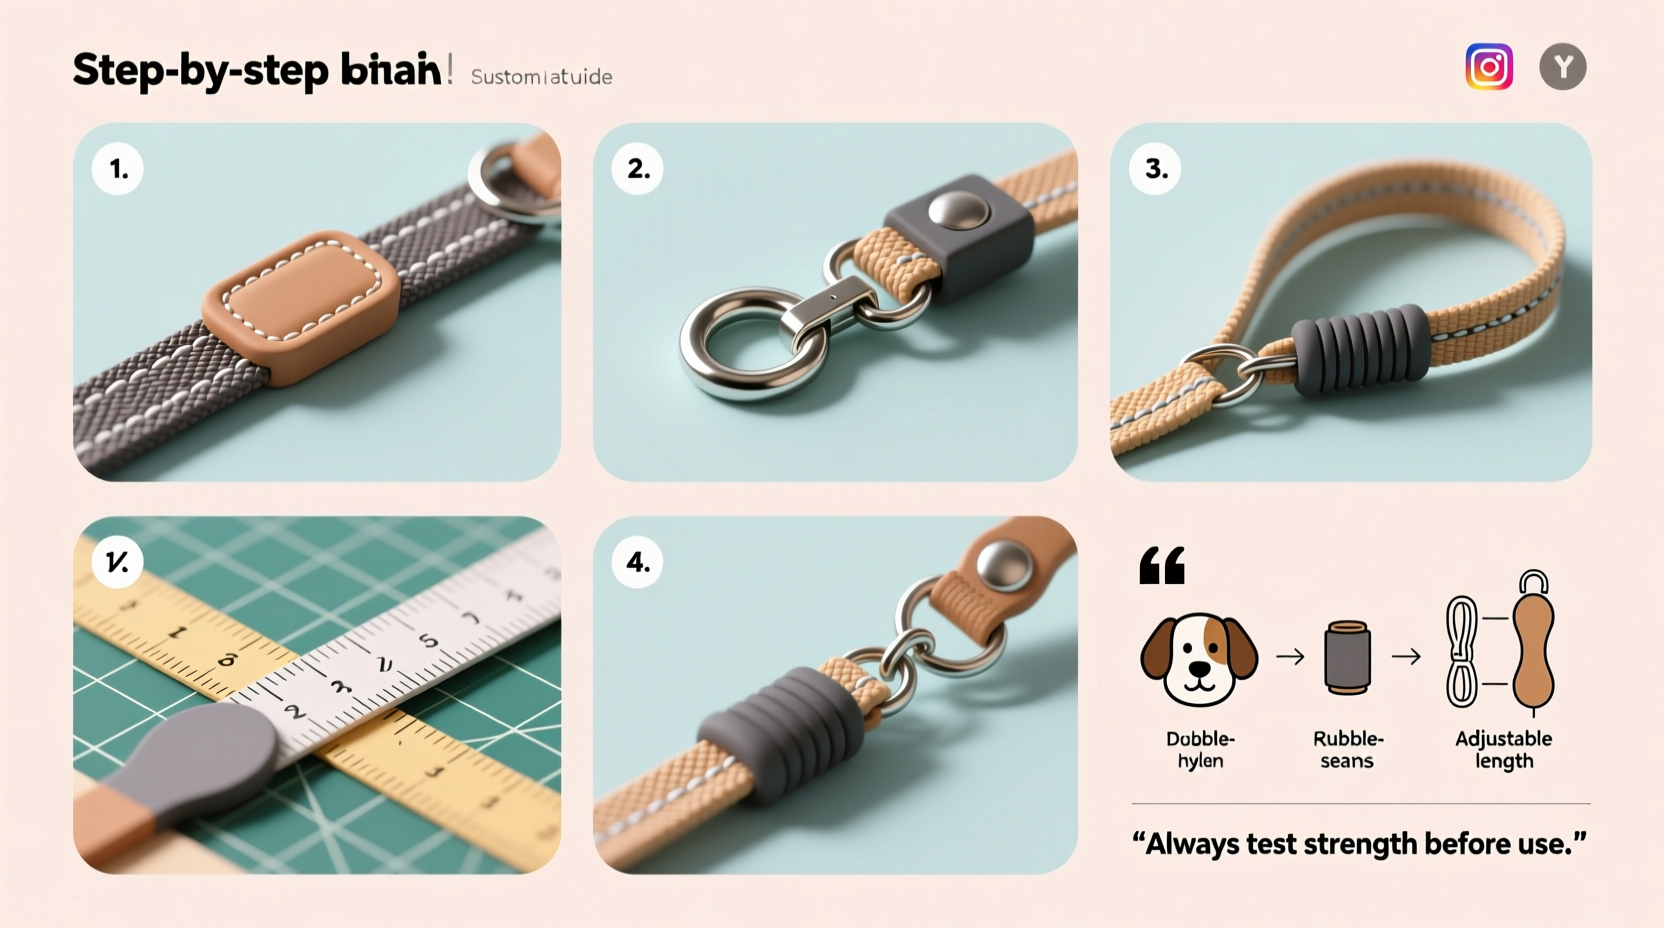
Step-by-Step Construction Guide
Follow these steps carefully to build a professional-grade leash that stands up to daily use.
- Measure and Cut Webbing
Decide on total length. Standard lengths: 4 ft (training), 6 ft (walking), or 10 ft (off-leash recall). Add 6 inches for folding at ends. For a 6-foot leash, cut 6.5 feet of webbing. - Seal the Ends
Use a lighter to lightly melt the cut edges of the webbing. This prevents fraying. Pass the flame evenly across the edge until it seals—do not burn or blacken. - Create the Handle Loop
Fold one end of the webbing back 6 inches. Align edges precisely. Pin or clip in place. Sew a box-and-X pattern here using tight stitches (12–14 per inch). Reinforce with a second pass if needed. This forms the hand loop. - Attach the Snap Hook
At the opposite end, fold the webbing 1 inch and insert the snap hook’s flat end. Ensure the hook opens away from the leash body for easy clipping. Sew a dense rectangular pattern around the folded section. Use multiple rows to lock the hardware securely. - Reinforce Critical Points
The areas around the snap and handle endure the most stress. Double-stitch each zone. Consider bar tacks (tight zigzag stitches) at pivot points for extra strength. - Add Padded Grip (Optional)
Cut a 5-inch strip of neoprene or vegetable-tanned leather. Slide it over the leash near the handle. Sew through all layers to secure. This cushions your hand during long walks or sudden pulls. - Incorporate Swivel or D-Ring (Optional)
Insert a swivel clasp between the snap and webbing to prevent twisting. Alternatively, add a small D-ring near the handle to clip keys or poop bag holders. - Final Inspection
Check all seams for skipped stitches. Tug firmly on both ends and hardware. Confirm no loose threads or weak spots. Trim excess neatly.
Material Comparison: Choosing the Right Webbing
Not all webbing performs equally. The right choice depends on your dog’s strength, environment, and intended use.
| Material | Pros | Cons | Best For |
|---|---|---|---|
| Nylon Webbing | Strong, flexible, water-resistant, affordable | Can stretch slightly when wet | Medium to large active dogs |
| Polyester Webbing | No stretch, UV resistant, holds color well | Less flexible than nylon | Sun-heavy climates, precision training |
| Braided Rope (Climbing Grade) | Excellent grip, shock-absorbent | Harder to sew, bulkier | Aggressive pullers, outdoor adventures |
| Leather-Wrapped | Luxurious feel, ages beautifully | Requires conditioning, costly | Fashion-focused owners, short leashes |
Real Example: Max the Hiking Lab
Sarah, an avid hiker in Colorado, struggled with her Labrador Retriever Max breaking cheap leashes on rocky trails. After two snapped hooks and a frayed cord, she decided to make her own. She chose 1-inch polyester webbing in blaze orange for visibility, added a stainless steel snap rated for 800 lbs, and included a padded neoprene grip for comfort during steep climbs. She also sewed in reflective thread along the spine.
Two years later, the leash remains in daily use. It has survived snow, mud, river crossings, and Max’s enthusiastic lunges at squirrels. “I’ve had people stop me on trails asking where I bought it,” Sarah says. “When I tell them I made it, they’re shocked. It looks like something from an outdoor brand.”
Care and Maintenance Tips
A handmade leash will last longer with basic upkeep.
- Wipe down with a damp cloth after muddy or wet walks.
- Hand wash occasionally with mild soap; air dry completely before storage.
- Inspect stitching monthly, especially at stress points.
- Store coiled loosely—avoid tight wraps that create permanent creases.
- Replace immediately if you notice fraying, bent hardware, or loose stitching.
Frequently Asked Questions
Can I make a leash without a sewing machine?
Yes, but with limitations. Heavy-duty hand stitching (using a harness needle and waxed thread) can work for smaller dogs. However, machines provide consistent, high-tension seams essential for larger or strong-pulling breeds. Knots alone are unsafe and not recommended.
How do I choose the right snap hook size?
Select a snap rated for at least 500 lbs, regardless of your dog’s size. Small hooks may open unexpectedly under pressure. Look for forged steel or marine-grade brass with a deep gate closure. Avoid plastic-coated or decorative snaps meant only for ID tags.
Is it safe to use recycled materials?
Only if they meet strength standards. Seatbelt webbing from cars is a popular recycled option—it's strong and often free. However, inspect for wear, UV damage, or chemical exposure. Never reuse unknown hardware. When in doubt, buy new components for safety.
Build Confidence With Every Step
Creating your own dog leash isn’t just about saving money—it’s about taking responsibility for your pet’s safety and expressing creativity. With durable materials, precise stitching, and attention to detail, you can craft a leash that’s stronger, more comfortable, and more meaningful than anything off the shelf. Once you complete your first build, you may find yourself making matching collars, travel leads, or even gifts for fellow dog lovers.


 浙公网安备
33010002000092号
浙公网安备
33010002000092号 浙B2-20120091-4
Comments
No comments yet. Why don't you start the discussion?