
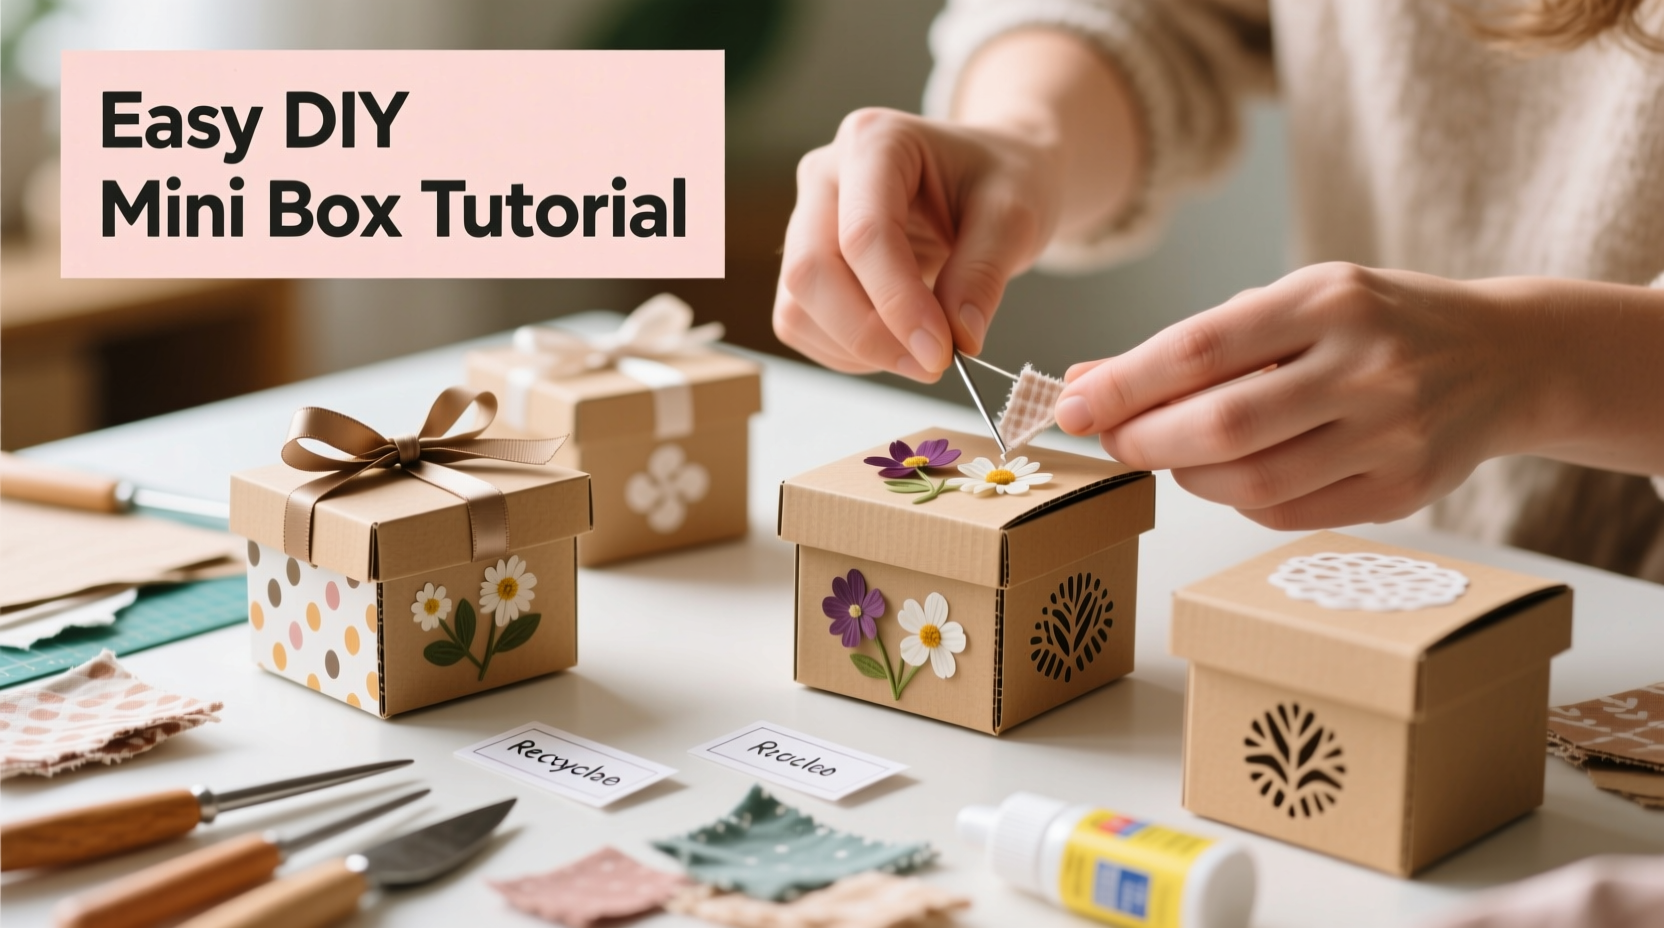
Small handmade boxes serve more than just a functional purpose—they bring charm, personalization, and creativity into everyday life. Whether you're looking to store jewelry, organize desk items, or create unique gift packaging, crafting small boxes at home is an accessible and rewarding project. With minimal tools and common household materials, you can design beautiful, sturdy containers that reflect your style and ingenuity. This guide explores practical methods, material options, and clever enhancements to help you master the art of homemade box-making.
Why Make Your Own Small Boxes?
Commercially available containers often lack personality and may not fit specific needs. Homemade boxes allow complete customization in size, shape, color, and function. They’re also eco-friendly—especially when made from recycled paper, cardboard, or fabric scraps. Beyond utility, creating boxes by hand fosters mindfulness and creative expression, making it ideal for crafters, teachers, parents, and DIY enthusiasts.
Basic Materials and Tools You’ll Need
The beauty of this craft lies in its simplicity. Most required supplies are likely already in your home. Here’s what you’ll typically need:
- Cardstock, construction paper, or thin cardboard (e.g., from packaging)
- Ruler and pencil
- Scissors or craft knife
- Glue stick, white glue, or double-sided tape
- Decorative elements: washi tape, stickers, stamps, paint, or fabric scraps
- Optional: bone folder (for crisp folds), cutting mat, corner punch
No specialized machinery is required. Even children can participate with supervision, making this a great family activity.
Step-by-Step Guide: Folding a Simple Paper Box
This foundational technique uses a single sheet of paper and requires no glue. It's perfect for quick projects or teaching beginners the basics of structural folding.
- Cut a square from cardstock or decorative paper (start with 6x6 inches).
- Place the paper face-down and fold it in half both horizontally and vertically. Crease well, then unfold.
- Fold each corner to the center point, forming a smaller square with triangular flaps.
- Open two opposite sides along the creases and press inward to form vertical walls.
- Fold the remaining two flaps inward and tuck them under the opposing tabs to lock the box.
- Gently press the base flat and open the box.
This origami-style box is lightweight but surprisingly stable. For added durability, reinforce edges with clear tape or line the interior with glue and tissue paper.
Constructing Sturdy Cardboard Boxes with Lids
For heavier use—like storing earrings or office supplies—a rigid box with a separate lid offers better protection and reusability.
Materials:
- Corrugated cardboard or chipboard
- Exacto knife or box cutter
- PVA glue or hot glue gun
- Clear varnish or Mod Podge (optional, for sealing)
Construction Steps:
- Measure and cut two rectangles for the base and lid (e.g., 4\"x3\").
- Cut four strips for the base walls: two at 4\"x1.5\" and two at 3\"x1.5\".
- Glue the side walls to the base, mitering corners for clean joints.
- Repeat for the lid, ensuring its inner dimensions are slightly larger than the base for a snug fit.
- Once dry, sand rough edges and apply a sealant if desired.
- Decorate using paint, decoupage, or fabric covering.
Decorative Techniques to Elevate Your Boxes
A plain box becomes a keepsake with thoughtful embellishment. Consider these approaches:
- Washi Tape Accents: Apply tape along edges or create geometric patterns on surfaces.
- Decoupage: Use napkin cutouts or printed images sealed with glue.
- Stitching: For fabric-covered boxes, hand-stitch borders using embroidery floss.
- Embossing: Press designs into thick paper using textured molds or stamps.
- Personalization: Add names, dates, or messages with metallic pens or rubber stamps.
These touches transform utilitarian containers into meaningful gifts or heirloom pieces.
Alternative Methods: Fabric-Wrapped and Eco-Friendly Boxes
Expand beyond paper with sustainable and tactile variations.
Fabric-Wrapped Boxes
Use empty tissue boxes or custom-cut cardboard. Wrap tightly with fabric using fabric glue, folding corners neatly like gift wrapping. Ideal for nurseries or vanity organizers.
Egg Carton Mini Containers
Individual egg cups make whimsical trinket holders. Cut apart, paint, and reinforce with glue. Great for kids’ craft sessions.
Newspaper Roll Boxes
Roll newspaper strips tightly around a pen, secure with glue, and coil into circular bases. Stack layers to form cylindrical boxes—perfect for pencils or succulents.
“Handmade boxes connect us to the rhythm of slow creation. Each fold and finish tells a story.” — Lila Chen, Craft Educator and Author of *Everyday Paper Crafts*
Comparison of Box-Making Methods
| Method | Best For | Time Required | Durability | Skill Level |
|---|---|---|---|---|
| Origami Folded Box | Lightweight gifts, decorations | 5–10 minutes | Low | Beginner |
| Cardboard + Glue Box | Storage, gifting, long-term use | 30–45 minutes | High | Intermediate |
| Fabric-Wrapped Box | Nurseries, cosmetics, decor | 20–35 minutes | Medium-High | Beginner-Intermediate |
| Egg Carton Cup | Kids' crafts, novelty items | 10–15 minutes | Low | Beginner |
| Newspaper Coil Pot | Eco-art, planters, wall hangings | 1–2 hours (drying time) | Medium | Intermediate |
Mini Case Study: A Teacher’s Classroom Organization System
Sarah, a third-grade teacher in Portland, needed affordable solutions to organize art supplies. Instead of buying plastic bins, she led her students in making cardboard boxes decorated with themed labels—“Glitter,” “Markers,” “Buttons.” Using cereal boxes and watercolor paint, they crafted over 30 containers in one afternoon. The project boosted fine motor skills, encouraged teamwork, and created a vibrant, personalized classroom aesthetic. Two years later, many boxes remain in use, proving that handmade doesn’t mean temporary.
Checklist: How to Make a Successful Small Box at Home
- ☐ Choose the right material for your intended use (paper, cardboard, fabric)
- ☐ Measure and mark precisely before cutting
- ☐ Score fold lines with a blunt tool for clean edges
- ☐ Test-fit components before gluing
- ☐ Reinforce corners and seams for longevity
- ☐ Decorate after structure is complete
- ☐ Allow glue to dry fully before handling
Frequently Asked Questions
Can I make waterproof boxes at home?
Yes. Seal paper or cardboard boxes with multiple coats of clear acrylic spray, Mod Podge Outdoor, or epoxy resin. For full water resistance, consider lining the interior with vinyl or aluminum foil before assembly.
How do I prevent my boxes from warping?
Use even pressure when applying glue and let pieces dry flat under a light weight (like books). Avoid humid environments during drying. For large boxes, sandwich between foam boards to maintain shape.
What’s the smallest box I can realistically make?
With precision tools, you can create boxes as small as 1 inch cubed using cardstock. Use tweezers and a magnifier for accuracy. Origami miniature boxes are popular in Japanese kumiko traditions.
Conclusion: Start Crafting Today
Making small boxes at home blends practicality with creativity in a uniquely satisfying way. From folded paper treasures to reinforced storage solutions, each method offers room for innovation and personal touch. These containers aren’t just useful—they become expressions of care, patience, and imagination. Whether you're organizing your workspace, preparing heartfelt gifts, or engaging children in hands-on learning, the simple act of building a box connects you to centuries of craft tradition.


 浙公网安备
33010002000092号
浙公网安备
33010002000092号 浙B2-20120091-4
Comments
No comments yet. Why don't you start the discussion?