
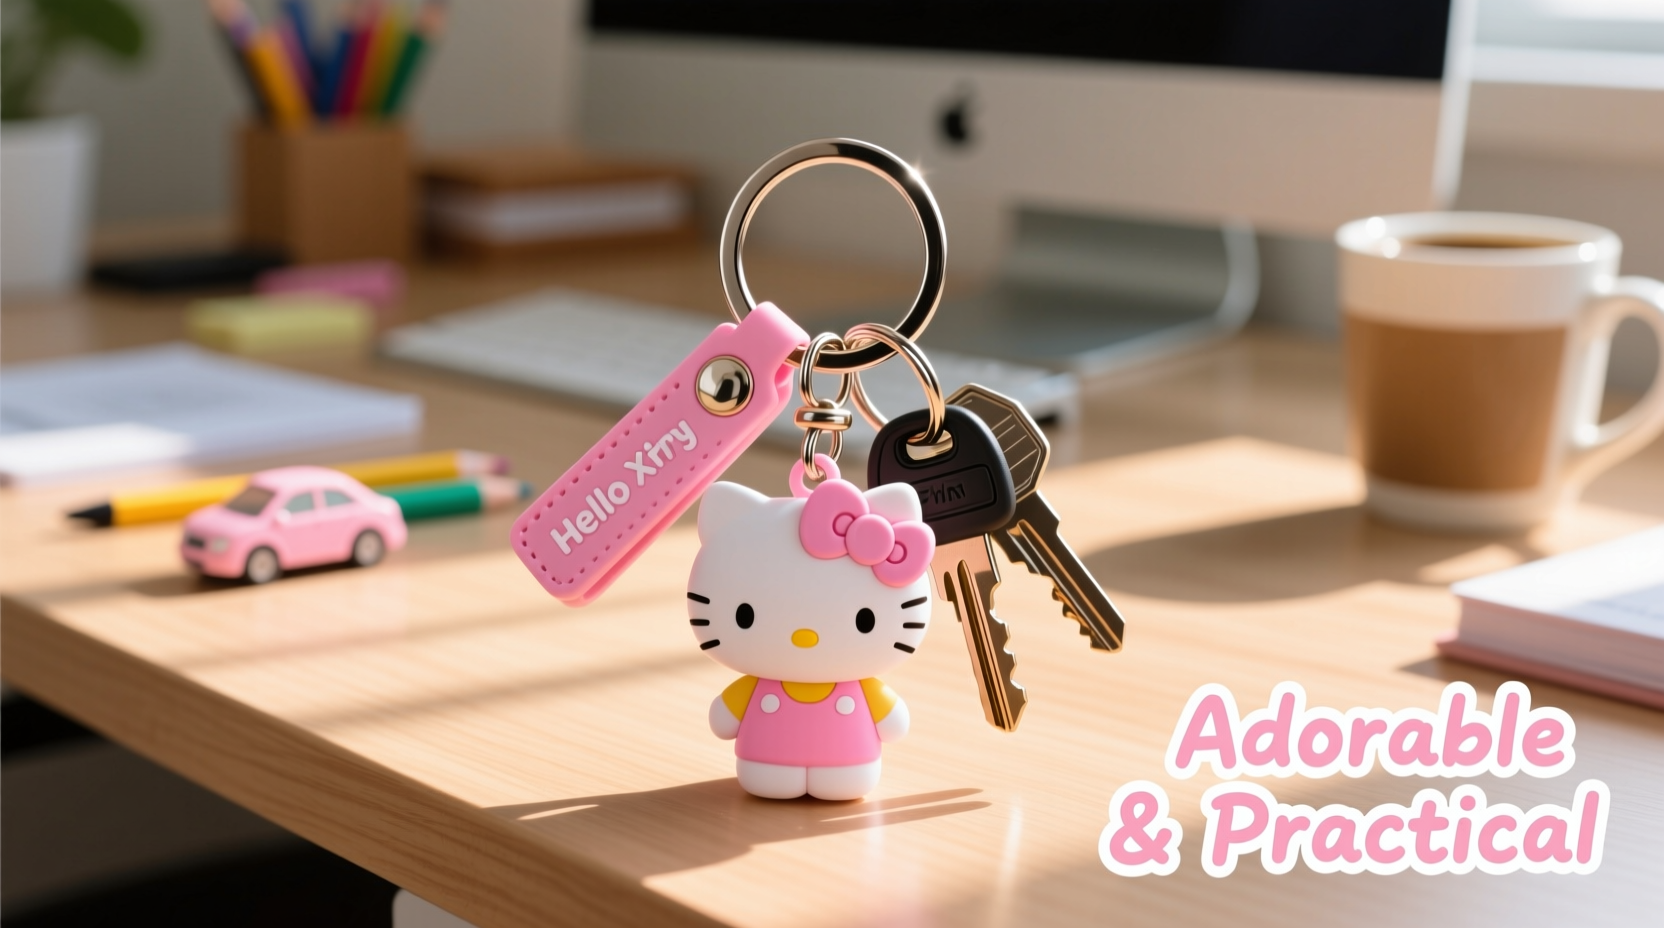
Carrying a Hello Kitty keychain isn’t just about functionality—it’s a statement of personality, nostalgia, or affection for one of the most iconic characters in pop culture. But attaching it securely without damaging your keys, losing the charm, or creating clutter can be trickier than it seems. Many people simply clip it on and hope for the best, only to find the charm cracked, the ring bent, or the entire keychain slipping off after a week of use.
The goal is simple: keep your Hello Kitty keychain visible, secure, and intact through daily wear and tear. Whether you're using a plushie, enamel charm, acrylic figure, or silicone design, the attachment method matters. This guide explores practical, inventive, and durable ways to integrate your favorite Sanrio companion into your everyday carry—without compromising convenience or safety.
Choose the Right Attachment Style for Your Keychain Type
Hello Kitty keychains come in many forms—each with different structural needs. A plush toy requires different handling than a hard enamel pin repurposed as a key fob. Understanding your keychain’s material and build helps determine the safest way to attach it.
| Keychain Type | Best Attachment Method | Risk of Damage if Poorly Attached |
|---|---|---|
| Plush or fabric-based | Zip tie loop or keyring sleeve | Fraying, stuffing loss, tearing at seam |
| Enamel or metal charm | Split ring with backing stopper | Scratching other keys, falling off |
| Acrylic or resin figure | Snap hook with rubber grommet | Crazing, chipping at stress points |
| Silicone or rubber | Direct threading or O-ring | Stretching, permanent deformation |
Matching the attachment style to the material ensures longevity. For example, forcing a thick plush loop onto a small keyring can strain stitching, while letting a metal charm rattle freely may scratch both keys and surfaces.
Step-by-Step Guide: Secure Your Hello Kitty Keychain in 5 Minutes
Follow this straightforward process to attach your keychain safely and stylishly.
- Assess the keychain's connector. Is it a lobster clasp, jump ring, fabric loop, or hole? Note its size and strength.
- Select a compatible keyring. Use a larger-diameter ring (30mm or more) if adding multiple items. Oval rings prevent rotation better than round ones.
- Add a protective buffer. Slide a small rubber grommet, heat-shrink tube, or silicone sleeve over the keyring before attaching the charm to reduce friction.
- Attach securely. Open a split ring with pliers if needed, thread the keychain on, then close tightly. For loops, ensure no part hangs loose where it could catch.
- Test durability. Shake gently and tug slightly to confirm it won’t detach during normal use.
This method prevents common issues like snagging on pockets, bags, or fingers—especially important if you frequently pull keys from tight spaces.
Smart Upgrades: Creative Ways to Display Without Risk
Why settle for basic when you can personalize? These ideas enhance visibility and protection simultaneously.
- Use a swivel hook: A 360-degree rotating clasp reduces twisting and keeps Hello Kitty facing outward at all times.
- Create a mini display ring: Dedicate a separate small ring just for the keychain, then link it to your main keyring via a connector. This minimizes contact with heavy keys.
- Wrap with washi tape: Add color and grip by wrapping the base of your keyring with Sanrio-themed tape. It also cushions nearby items.
- Embed in a key organizer: Some slim metal organizers have external loops designed for charms—perfect for keeping Hello Kitty front and center without bulk.
These upgrades go beyond function—they turn your keychain into a curated accessory.
“People often underestimate how much mechanical stress a dangling charm endures. The constant swinging and impact can degrade even sturdy materials over time.” — Lena Torres, Product Durability Analyst
Mini Case Study: How Mia Kept Her Limited-Edition Hello Kitty Safe
Mia owns a rare translucent pink Hello Kitty keychain from a Japan-exclusive release. She wanted to use it daily but feared damage. Instead of clipping it directly to her car and house keys, she purchased a compact titanium key organizer with an exterior D-ring.
She attached the keychain using a micro-sized stainless steel split ring and added a clear silicone cap over the connection point to prevent UV fading and moisture ingress. After six months of daily use, her Hello Kitty remained pristine—no scratches, discoloration, or loosening.
The key was separation: high-value charm on the outside, functional keys inside. By treating the keychain as both decoration and collectible, Mia balanced sentiment and practicality.
Checklist: Attaching Your Hello Kitty Keychain Like a Pro
Before finalizing your setup, run through this checklist:
- ☑ Confirm the keychain’s attachment point is intact and reinforced
- ☑ Choose a keyring large enough to avoid crimping or strain
- ☑ Add a protective layer (rubber, silicone, tape) between metal parts
- ☑ Position the charm so it doesn’t interfere with key insertion
- ☑ Test for security by simulating real-world motion (shaking, dropping)
- ☑ Clean the charm monthly to prevent dirt buildup at stress points
Completing this list ensures your Hello Kitty stays secure, visible, and undamaged—even after months of daily use.
FAQ: Common Concerns About Keychain Attachment
Can I attach a Hello Kitty keychain without a hole or loop?
Yes. If your item lacks a built-in connector, use a clear zip tie to form a secure loop around a stable part (like the neck or base). Trim excess and melt the end slightly to prevent fraying. Avoid tying around delicate areas like ears or limbs.
Will attaching a keychain damage my keys?
Potentially. Metal-on-metal contact can cause micro-scratches that accumulate over time. To prevent this, use coated keyrings, spacing washers, or organize keys in a stack with the charm on the end.
How do I stop my Hello Kitty from spinning or flipping?
Use an oval keyring or a swivel clasp with a flat back. You can also add a rubber stopper between the charm and the first key to limit movement. Position heavier keys below the charm to act as a counterbalance.
Conclusion
A Hello Kitty keychain is more than a tool—it’s a piece of joy you carry every day. With thoughtful attachment methods, you preserve both its appearance and emotional value. From selecting the right ring to using protective buffers and smart organizers, each small decision adds up to long-term satisfaction.


 浙公网安备
33010002000092号
浙公网安备
33010002000092号 浙B2-20120091-4
Comments
No comments yet. Why don't you start the discussion?