
In the vast, blocky world of Minecraft, players are limited only by imagination. One of the most visually striking and functionally rewarding builds you can create is an aquarium. More than just a decorative feature, a well-designed aquarium adds life, color, and tranquility to any base or underwater structure. Whether you're constructing a coastal villa, a deep-sea laboratory, or a floating sky island with aquatic themes, integrating a dynamic aquarium elevates your build from ordinary to extraordinary.
A truly great aquarium balances aesthetics with practicality—offering clear views, easy maintenance, and safe habitats for fish, axolotls, and even turtles. This guide walks through the principles of creative and functional aquarium design, providing actionable steps, layout ideas, and expert-backed tips to help you craft stunning underwater displays that feel alive and immersive.
Selecting the Right Location and Purpose
The first decision in aquarium design is where to place it and what role it will play in your world. An aquarium can be:
- A centerpiece inside a home or museum
- An exterior wall feature on an ocean monument annex
- A standalone public exhibit in a player-built city
- A breeding and storage system for aquatic mobs
Choose a location with enough space and lighting control. Indoor aquariums benefit from subdued ambient light to enhance visibility, while outdoor tanks may require protective roofing to prevent rain interference or mob spawning above water surfaces.
Essential Materials and Mob Sourcing
Before construction begins, gather all necessary materials. The core components include transparent blocks, water source blocks, lighting elements, and bordering materials for framing.
| Component | Recommended Blocks | Notes |
|---|---|---|
| Transparent Walls | Glass, Glass Panes, Tinted Glass | Tinted glass reduces glare and enhances depth perception |
| Frame/Structure | Stone Bricks, Andesite, Dark Oak, Prismarine | Durable and thematically appropriate for aquatic settings |
| Lighting | Sea Lanterns, Glowstone, Redstone Lamps | Place behind or below tank for even illumination |
| Water Source | Buckets of Water or Direct Placement | Use source blocks only; avoid flowing water inside display areas |
| Mob Habitat Additions | Kelp, Seagrass, Coral Blocks, Sand, Gravel | Mimic natural biomes like warm oceans or lush caves |
Fish and other aquatic creatures can be collected using buckets. Tropical fish come in over 2,700 color variations, making them ideal for vibrant displays. Axolotls, found in lush caves, add interactivity—they follow players and fight hostile mobs. Turtles from beaches provide nostalgic value and breeding mechanics.
“An aquarium should reflect not just beauty, but behavior. Watching axolotls float lazily or tropical fish dart through coral tunnels creates immersion no static decoration can match.” — Lena Rhodes, Minecraft Environment Designer
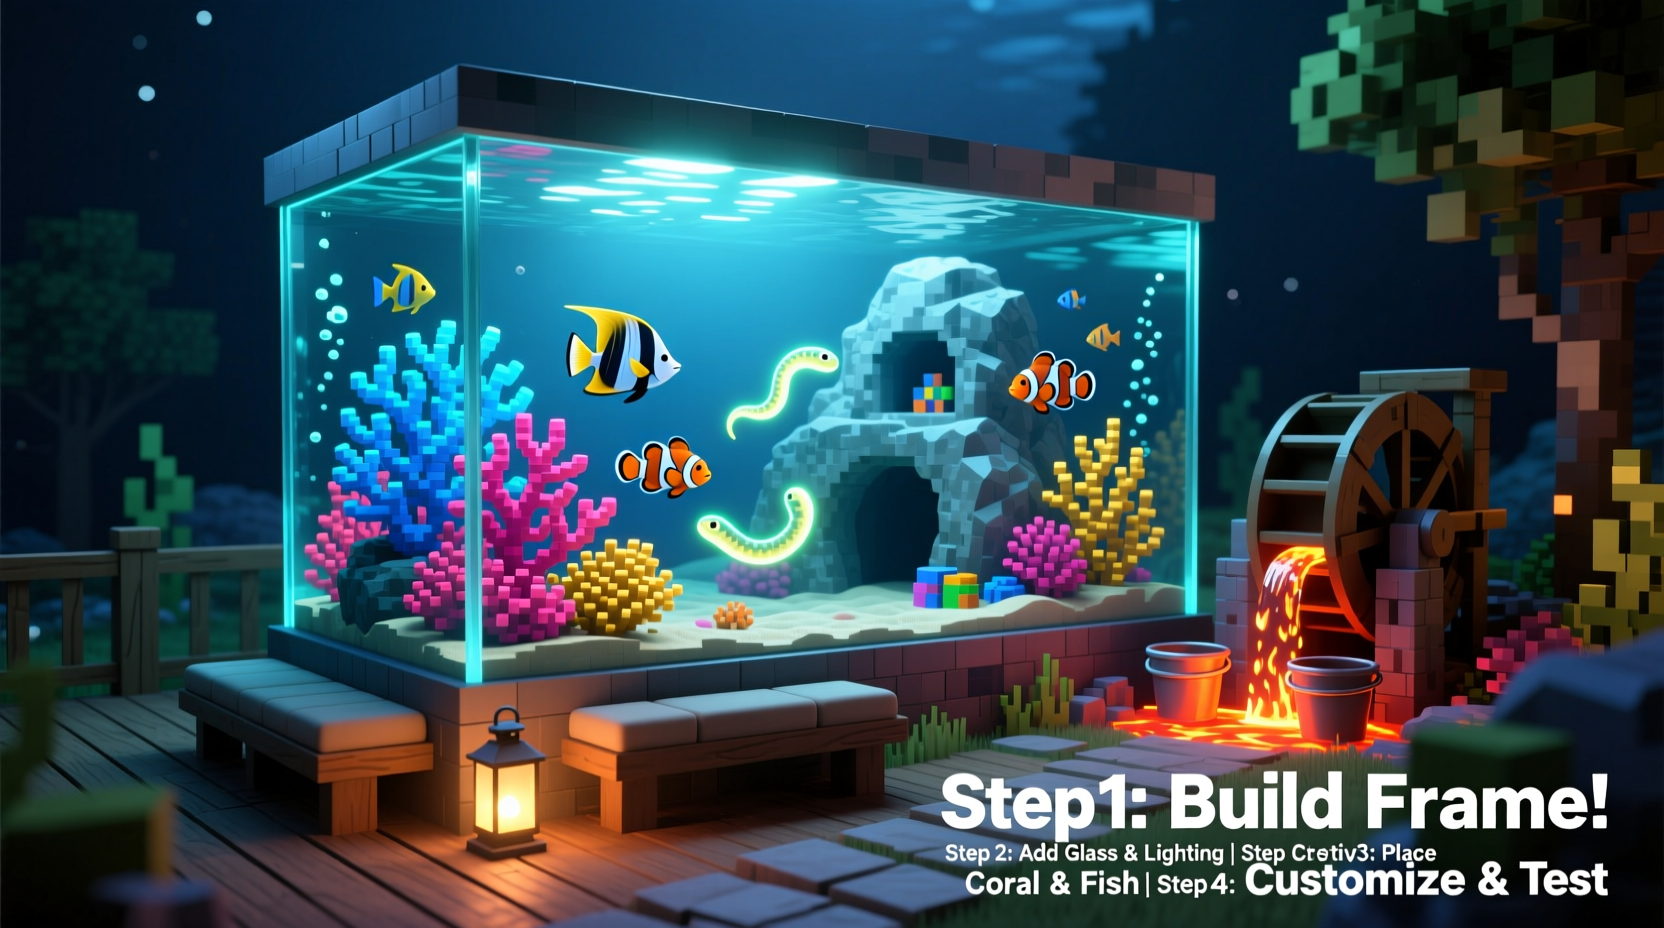
Step-by-Step Building Guide
Follow this structured process to ensure both structural integrity and visual appeal.
- Plan the Dimensions: Decide on size—small (5x3x3), medium (10x4x5), or large walk-in models. Sketch a rough layout including viewing sides and access points.
- Build the Frame: Use non-transparent blocks to outline the tank’s perimeter. Leave one side open for glass installation.
- Install Transparent Panels: Fill designated walls with glass or glass panes. For larger tanks, reinforce with vertical or horizontal supports made of iron bars or dark frames.
- Add Water Safely: Place water source blocks along the bottom layer first, working upward. Use buckets or infinite water tricks between two blocks to minimize spillage.
- Create the Interior Landscape: Layer sand or gravel at the base. Add kelp towers, coral clusters, and sea pickle lighting features. Bury magma blocks beneath gravel to simulate hydrothermal vents (with caution).
- Introduce Mobs: Release fish, axolotls, or turtles gently into the water using buckets. Avoid overcrowding—limit to 1–2 mobs per 10 blocks of volume for clarity.
- Light the Tank: Install sea lanterns underneath or behind rear walls. Use redstone lamps with switches for customizable day-night ambiance.
- Finalize Viewing Experience: Add seating, informational signs, or even a nearby shop selling fish buckets to turn the aquarium into a destination.
Creative Design Concepts
Move beyond the basic rectangle with these inspired layouts:
- Tunnel Aquarium: Build a glass tunnel through a water-filled corridor. Walk through schools of fish overhead and around you. Ideal for ocean bases or underwater cities.
- Wall-Mounted Panel: A slim, framed aquarium set into a room’s wall. Perfect for modern minimalist builds. Backlight with glowstone for dramatic effect.
- Multi-Tank Gallery: Arrange several smaller tanks by biome—cold ocean, warm river, deep dark edge—to showcase biodiversity.
- Hanging Sphere: Construct a spherical aquarium suspended from chains or pillars. Use scaffolding or sticky pistons during build phase for curvature accuracy.
- Interactive Breeding Hub: Combine functionality with display. Include separate chambers for breeding axolotls or turtles, with viewing windows and automated feeding systems via boat+lead setups.
For added realism, label tanks with oak signs indicating species names and origins. Use item frames with fish buckets to show available breeds for trade or collection.
Mini Case Study: The Netherport Marine Center
In a multiplayer survival server named \"EpochCraft,\" player Jax built the Netherport Marine Center—an underground transit hub connecting nether portals with a central aquatic atrium. The main chamber featured a 12x6x8 aquarium spanning two floors, housing axolotls, pufferfish, and glowing blue glow squid. Using prismarine bricks and sea lanterns, the tank became a light source for the entire station. Automated doors opened via pressure plates when players approached, triggering note blocks to play soft music sequences mimicking ocean waves. This integration of utility, aesthetics, and interaction turned the aquarium into the server’s most visited landmark.
Maintenance and Optimization Checklist
To keep your aquarium performing well and looking pristine, follow this checklist regularly:
- ✅ Check for water leaks after updates or explosions
- ✅ Replace dead coral blocks (they turn gray if out of water)
- ✅ Clear unwanted mob spawns on top of the tank
- ✅ Replenish kelp or seagrass if consumed by turtles
- ✅ Reset trapped air pockets if fish get stuck
- ✅ Rename and organize fish buckets in chests for quick restocking
- ✅ Test lighting circuits if using redstone-powered lamps
Consider setting up a maintenance schedule—especially on servers—where team members rotate inspection duties weekly.
FAQ
Can I use ice or frosted ice as part of my aquarium?
No. Frosted ice forms when water spreads near packed ice in cold biomes and damages entities walking over it. It has no practical use in aquariums and disrupts water flow. Stick to standard water and glass combinations.
How do I prevent fish from despawning?
Fish placed using buckets will not despawn unless killed or removed. Naturally spawned fish in oceans may disappear if too far from players. Always use bucket-released specimens for permanent exhibits.
Are there performance concerns with large aquariums?
Large volumes of water and active mobs can impact frame rates, especially with multiple light sources. Optimize by limiting mob counts, using fewer emissive blocks, and avoiding excessive particle effects nearby.
Conclusion
A thoughtfully designed Minecraft aquarium blends creativity, engineering, and ecological simulation into a living piece of architecture. From selecting the right glass type to choreographing the movement of aquatic life, every detail contributes to a more immersive and enjoyable gameplay experience. These structures aren’t just eye candy—they serve educational, recreational, and even functional roles in complex builds.


 浙公网安备
33010002000092号
浙公网安备
33010002000092号 浙B2-20120091-4
Comments
No comments yet. Why don't you start the discussion?